Matplotlib中的水平堆积条形图

17

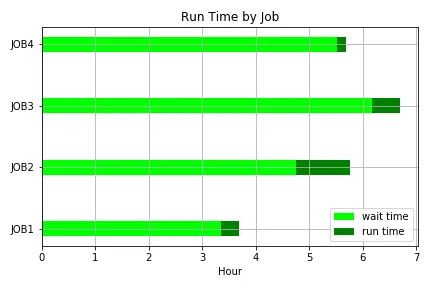
我试图使用 matplotlib 创建一个水平堆叠条形图,但我不知道如何使条形实际上堆叠在一起,而不是全部从y轴开始。

以下是我的测试代码。

fig = plt.figure()
ax = fig.add_subplot(1,1,1)
plot_chart(df, fig, ax)
ind = arange(df.shape[0])      
ax.barh(ind, df['EndUse_91_1.0'], color='#FFFF00')
ax.barh(ind, df['EndUse_91_nan'], color='#FFFF00')
ax.barh(ind, df['EndUse_80_1.0'], color='#0070C0')
ax.barh(ind, df['EndUse_80_nan'], color='#0070C0')
plt.show()

看到tcaswell的评论后,进行了编辑以使用left关键字参数。

fig = plt.figure()
ax = fig.add_subplot(1,1,1)
plot_chart(df, fig, ax)
ind = arange(df.shape[0])      
ax.barh(ind, df['EndUse_91_1.0'], color='#FFFF00')
lefts = df['EndUse_91_1.0']
ax.barh(ind, df['EndUse_91_nan'], color='#FFFF00', left=lefts)
lefts = lefts + df['EndUse_91_1.0']
ax.barh(ind, df['EndUse_80_1.0'], color='#0070C0', left=lefts)
lefts = lefts + df['EndUse_91_1.0']
ax.barh(ind, df['EndUse_80_nan'], color='#0070C0', left=lefts)
plt.show()

这似乎是正确的方法,但如果某个条形图没有数据,则会失败,因为它试图将 nan 添加到一个值中,然后返回 nan 。


2
在matplotlib中绘制堆叠条形图并为每个部分添加标签 - Trenton McKinney
4个回答

8
这是一张简单的水平堆叠条形图,用于显示等待和运行时间。
from datetime import datetime
import matplotlib.pyplot as plt

jobs = ['JOB1','JOB2','JOB3','JOB4']

# input wait times
waittimesin = ['03:20:50','04:45:10','06:10:40','05:30:30']
# converting wait times to float
waittimes = []
for wt in waittimesin:
    waittime = datetime.strptime(wt,'%H:%M:%S')
    waittime = waittime.hour + waittime.minute/60 + waittime.second/3600
    waittimes.append(waittime)

# input run times
runtimesin = ['00:20:50','01:00:10','00:30:40','00:10:30']
# converting run times to float    
runtimes = []
for rt in runtimesin:
    runtime = datetime.strptime(rt,'%H:%M:%S')
    runtime = runtime.hour + runtime.minute/60 + runtime.second/3600
    runtimes.append(runtime)

fig = plt.figure()
ax = fig.add_subplot(111)
ax.barh(jobs, waittimes, align='center', height=.25, color='#00ff00',label='wait time')
ax.barh(jobs, runtimes, align='center', height=.25, left=waittimes, color='g',label='run time')
ax.set_yticks(jobs)
ax.set_xlabel('Hour')
ax.set_title('Run Time by Job')
ax.grid(True)
ax.legend()
plt.tight_layout()
#plt.savefig('C:\\Data\\stackedbar.png')
plt.show()

See stacked bar graph


8

既然您正在使用pandas,值得一提的是您可以本地进行堆叠条形图绘制:

df2.plot(kind='bar', stacked=True)

请参阅文档中的可视化部分


7

这里有一个解决方案,虽然我确信一定有更好的方法。 series.fillna(0) 部分用 0 替换任何 nan

fig = plt.figure()
ax = fig.add_subplot(1,1,1)
plot_chart(df, fig, ax)
ind = arange(df.shape[0])      
ax.barh(ind, df['EndUse_91_1.0'], color='#FFFF00')
lefts = df['EndUse_91_1.0'].fillna(0)
ax.barh(ind, df['EndUse_91_nan'], color='#FFFF00', left=lefts)
lefts = lefts + df['EndUse_91_1.0'].fillna(0)
ax.barh(ind, df['EndUse_80_1.0'], color='#0070C0', left=lefts)
lefts = lefts + df['EndUse_91_1.0'].fillna(0)
ax.barh(ind, df['EndUse_80_nan'], color='#0070C0', left=lefts)
plt.show()

6
作为一个附注,你可以通过以下方式将重复的代码包装在循环中:
data_lst = [df['EndUse_91_1.0'], ..]
color_lst = ["FFFF00", ..]
left = 0
for data, color in zip(data_lst, color_lst):
    ax.barh(ind, data, color=color, left=left)
    left += data

取模数据清洗


网页内容由stack overflow 提供, 点击上面的
可以查看英文原文,
原文链接