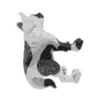
Python OpenCV:裁剪图像到内容并使背景透明

6
我有以下图片:

Image 1

我想要将图片裁剪为实际内容并将背景(白色空间)设为透明。我看到了这个问题:如何基于内容裁剪图像(Python & OpenCV)?,看完答案后,尝试了下面的代码:
img = cv.imread("tmp/"+img+".png")
mask = np.zeros(img.shape[:2],np.uint8)

bgdModel = np.zeros((1,65),np.float64)
fgdModel = np.zeros((1,65),np.float64)

rect = (55,55,110,110)
cv.grabCut(img,mask,rect,bgdModel,fgdModel,5,cv.GC_INIT_WITH_RECT)

mask2 = np.where((mask==2)|(mask==0),0,1).astype('uint8')
img = img*mask2[:,:,np.newaxis]

plt.imshow(img),plt.colorbar(),plt.show()

但是当我尝试这段代码时,我得到了以下结果: 结果 
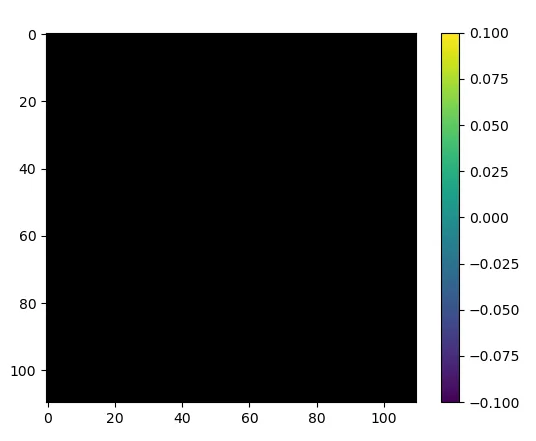
这并不是我正在寻找的结果,期望的结果是:
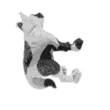
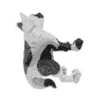
 期望的结果

您的图像周围有一个白色圆圈,然后是透明背景。这真的是您想要的起点吗?白色圆圈要保留吗? - fmw42
3个回答

6

下面是使用Python/OpenCV的一种方法。

正如我在评论中提到的,你提供的图像周围有一个白色圆圈和透明背景。我已将背景完全变为白色以作为我的输入。

输入:

enter image description here

import cv2
import numpy as np

# read image
img = cv2.imread('cow.png')

# convert to grayscale
gray = cv2.cvtColor(img,cv2.COLOR_BGR2GRAY)

# invert gray image
gray = 255 - gray

# threshold
thresh = cv2.threshold(gray,0,255,cv2.THRESH_BINARY)[1]

# apply close and open morphology to fill tiny black and white holes and save as mask
kernel = np.ones((3,3), np.uint8)
mask = cv2.morphologyEx(thresh, cv2.MORPH_CLOSE, kernel)
mask = cv2.morphologyEx(mask, cv2.MORPH_OPEN, kernel)

# get contours (presumably just one around the nonzero pixels) 
contours = cv2.findContours(mask, cv2.RETR_EXTERNAL, cv2.CHAIN_APPROX_SIMPLE)
contours = contours[0] if len(contours) == 2 else contours[1]
cntr = contours[0]
x,y,w,h = cv2.boundingRect(cntr)

# make background transparent by placing the mask into the alpha channel
new_img = cv2.cvtColor(img, cv2.COLOR_BGR2BGRA)
new_img[:, :, 3] = mask

# then crop it to bounding rectangle
crop = new_img[y:y+h, x:x+w]

# save cropped image
cv2.imwrite('cow_thresh.png',thresh)
cv2.imwrite('cow_mask.png',mask)
cv2.imwrite('cow_transparent_cropped.png',crop)

# show the images
cv2.imshow("THRESH", thresh)
cv2.imshow("MASK", mask)
cv2.imshow("CROP", crop)
cv2.waitKey(0)
cv2.destroyAllWindows()


阈值化图像:

输入图像描述

蒙版:

输入图像描述

带有透明背景的裁剪结果:

输入图像描述


0

对我有效的方法是:

original_image = cv2.imread(path)    
#Converting the bgr image to an image with the alpha channel
original_image = cv2.cvtColor(original_image, cv2.BGR2BGRA)
#Transforming every alpha pixel to a transparent pixel.
original_image[np.where(np.all(original_image == 255, -1))] = 0

然后写入图像。


0

假设要转换为透明的背景其BGR通道是白色的(就像您的图像中一样),您可以执行以下操作:

import cv2
import numpy as np

img = cv2.imread("cat.png")
img[np.where(np.all(img == 255, -1))] = 0
img_transparent = cv2.cvtColor(img, cv2.COLOR_BGR2BGRA)
img_transparent[np.where(np.all(img == 0, -1))] = 0

cv2.imshow("transparent.png", img_transparent)

输入图像:

enter image description here

输出图片:

enter image description here

我们可以通过点击第二张图片来确定它是透明的;透明的背景将会显示为灰色(至少在 Firefox 中是这样)。

网页内容由stack overflow 提供, 点击上面的
可以查看英文原文,
原文链接