我正在使用 iPhone X 和 ARFaceKit 来捕捉用户的脸部。目标是用用户的图像贴在脸部网格上。
我只查看来自AR会话的单个帧(一个ARFrame)。
通过ARFaceGeometry,我有一组描述面部的顶点。
我生成当前帧的capturedImage的jpeg表示。
然后我想找到将创建的jpeg映射到网格顶点的纹理坐标。我想:
将顶点从模型空间映射到世界空间;
将顶点从世界空间映射到相机空间;
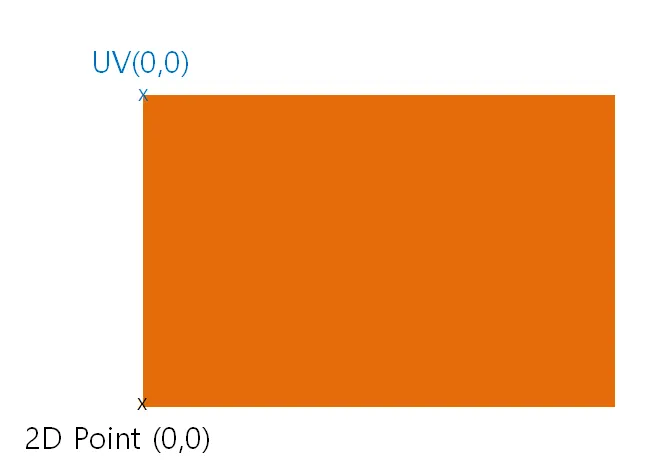
除以图像尺寸,获取纹理的像素坐标。
let geometry: ARFaceGeometry = contentUpdater.faceGeometry! let theCamera = session.currentFrame?.camera
let theFaceAnchor: SCNNode = contentUpdater.faceNode let anchorTransform = float4x4((theFaceAnchor?.transform)!)
for index in 0..<totalVertices { let vertex = geometry.vertices[index]
 // Step 1: Model space to world space, using the anchor's transform
 let vertex4 = float4(vertex.x, vertex.y, vertex.z, 1.0)
 let worldSpace = anchorTransform * vertex4

 // Step 2: World space to camera space
 let world3 = float3(worldSpace.x, worldSpace.y, worldSpace.z)
 let projectedPt = theCamera?.projectPoint(world3, orientation: .landscapeRight, viewportSize: (theCamera?.imageResolution)!)

 // Step 3: Divide by image width/height to get pixel coordinates
 if (projectedPt != nil) {
     let vtx = projectedPt!.x / (theCamera?.imageResolution.width)!
     let vty = projectedPt!.y / (theCamera?.imageResolution.height)!
     textureVs += "vt \(vtx) \(vty)\n"
 }
}
这并不起作用,反而给我返回一个非常奇怪的脸!我做错了什么?