在下面的图片中,我试图用黑色遮盖带有名称“jupiter”的内部设计带。
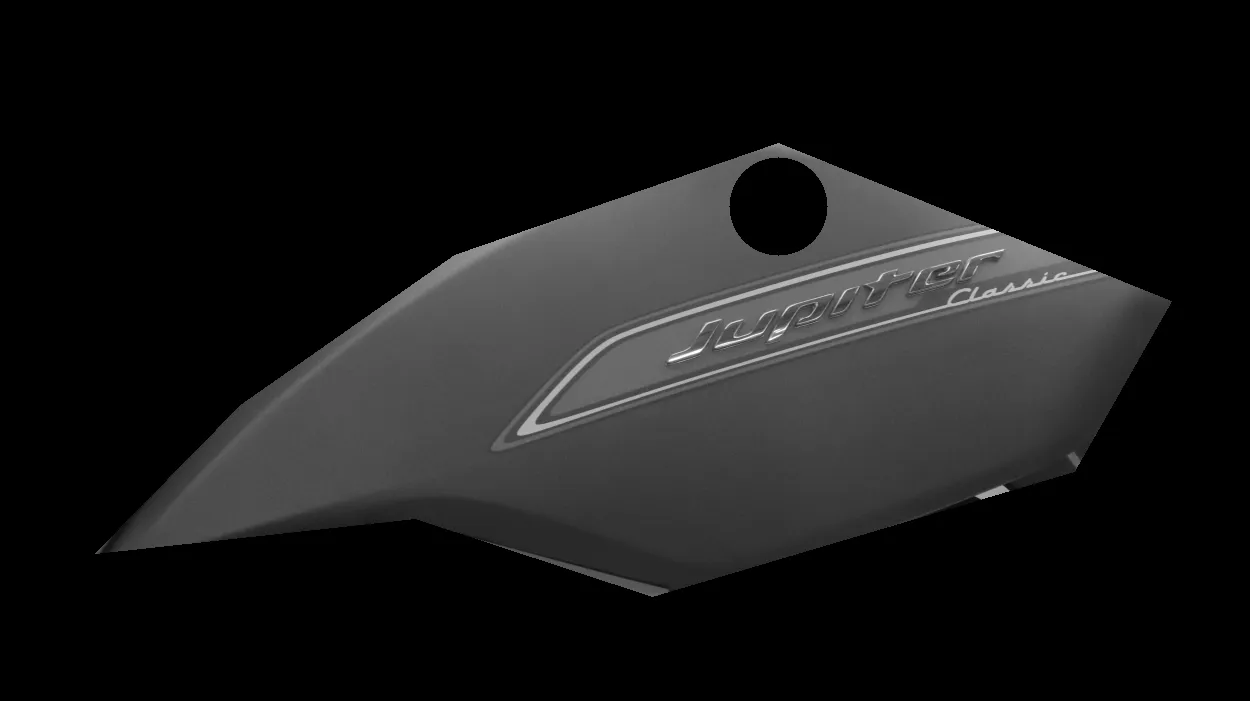

我想要的结果是以下内容
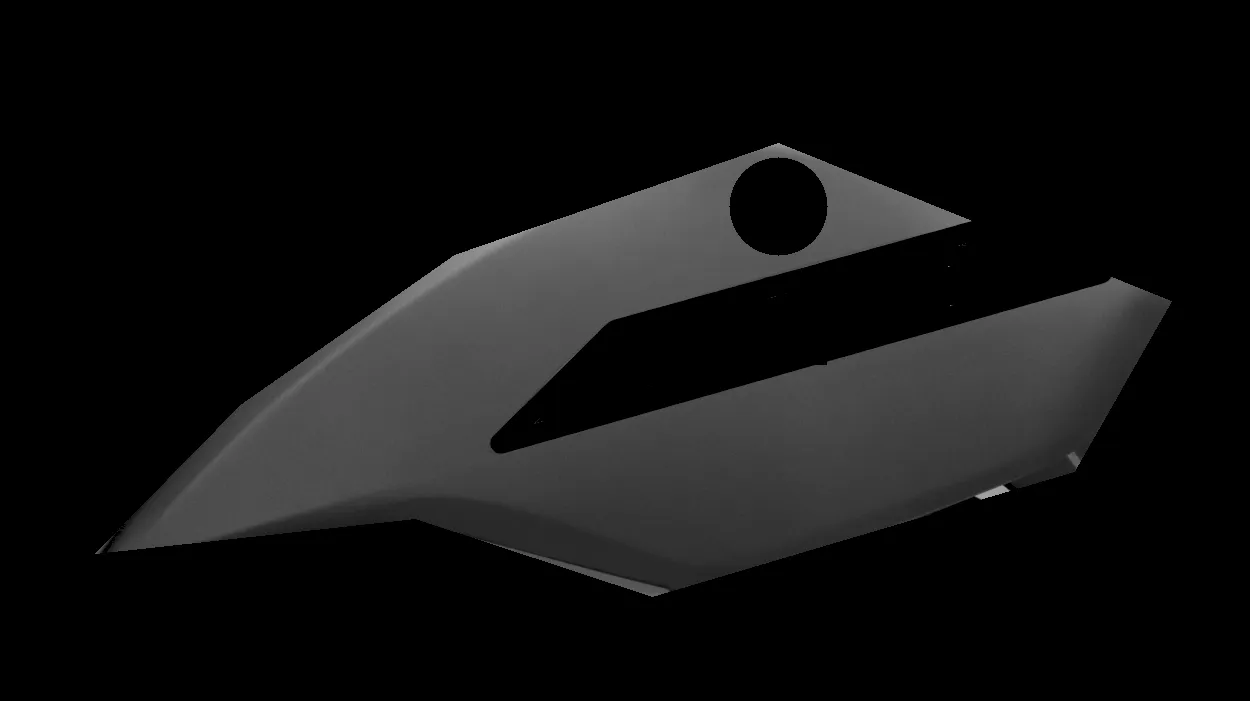
我需要怎么改进才能完全将其涂黑?
我想要的结果是以下内容
我需要怎么改进才能完全将其涂黑?
import cv2
import os
import numpy as np
import matplotlib.pyplot as plt
import copy
%matplotlib inline
#-----------------------------------------------------------------------------------
I = cv2.imread('E:\\Mukul\\others\\stof.png') #input image
#I.shape
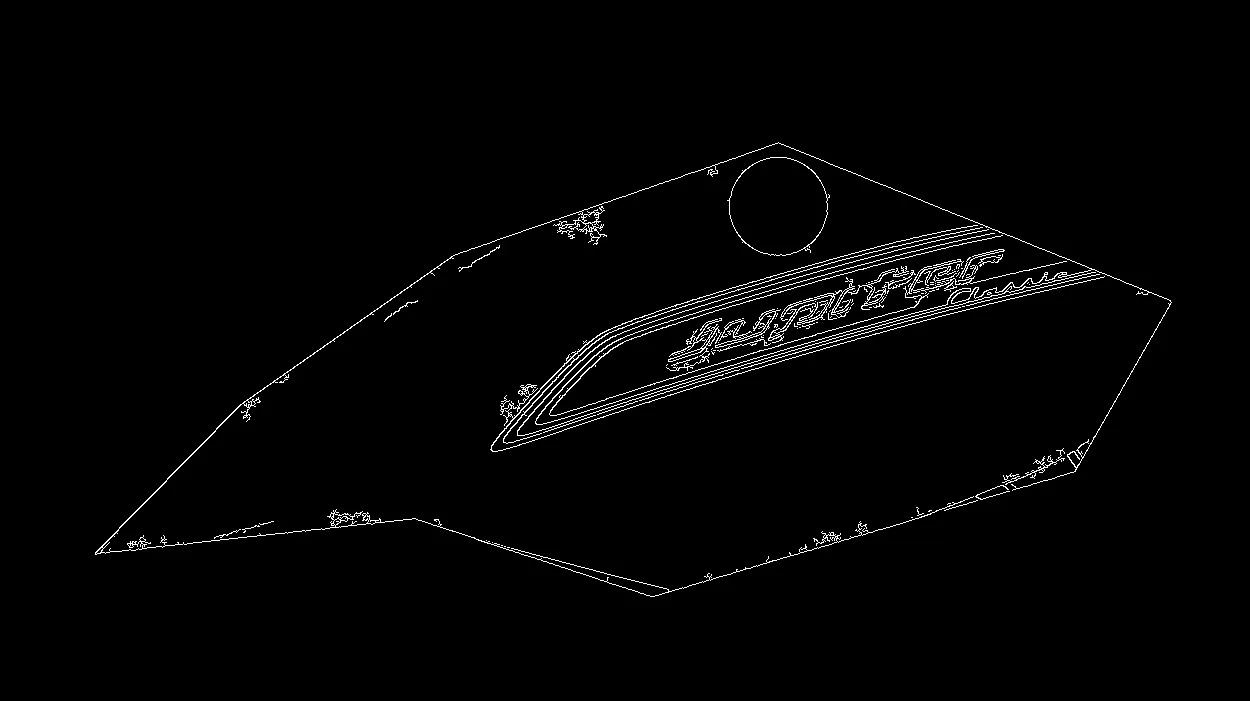
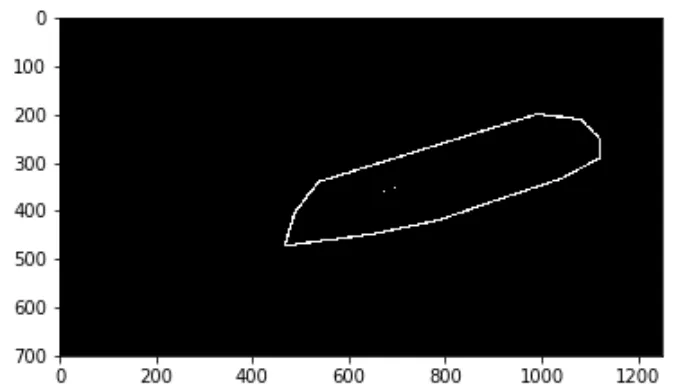
I_cnt = np.where(I[:,:,2] == 255) #location of your bounding box region
I_mask = np.zeros_like(I[:,:,2]) # mask for the input image
I_mask[list(I_cnt[0]), list(I_cnt[1])] = 255
plt.imshow(I_mask, cmap = 'gray')
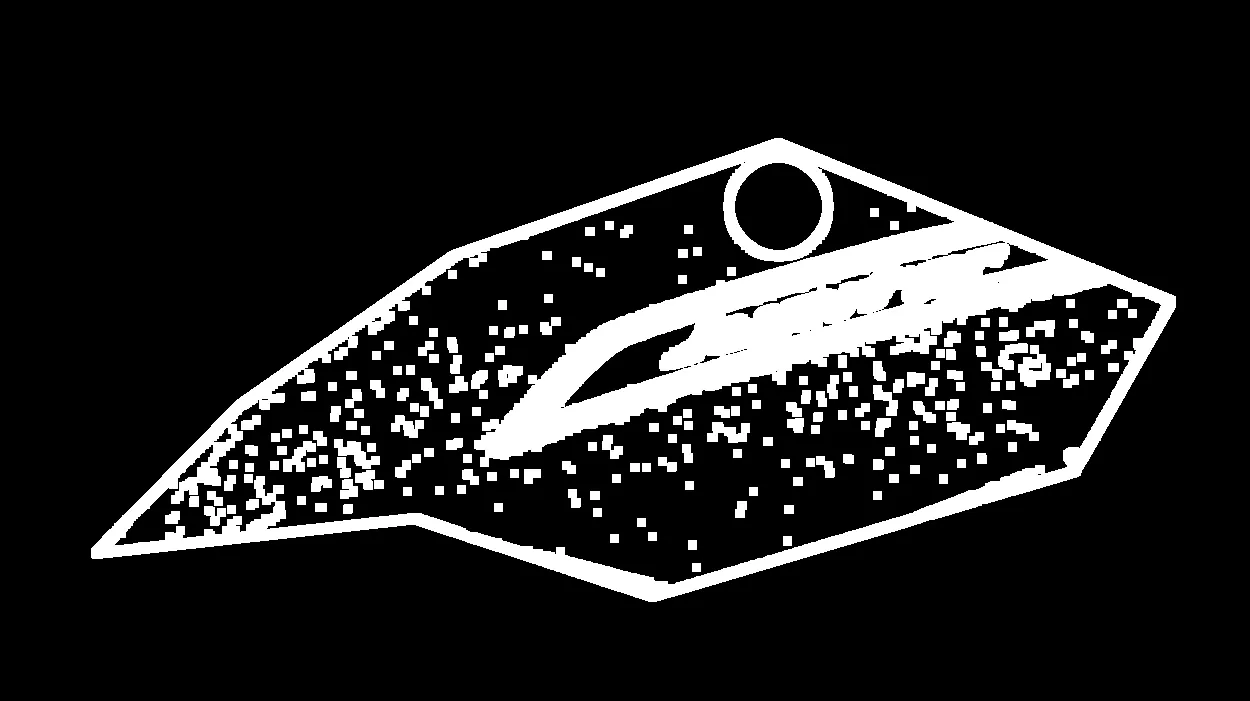
I_cnt1, _ = cv2.findContours(I_mask, cv2.RETR_EXTERNAL, cv2.CHAIN_APPROX_NONE)
np.array(I_cnt1).shape # (1, 1420, 1, 2)
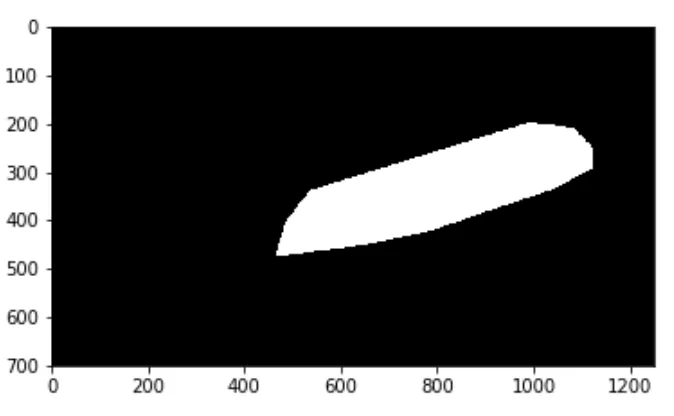
cv2.fillConvexPoly(I_mask, I_cnt1[0], 255)
plt.imshow(I_mask,cmap = 'gray')
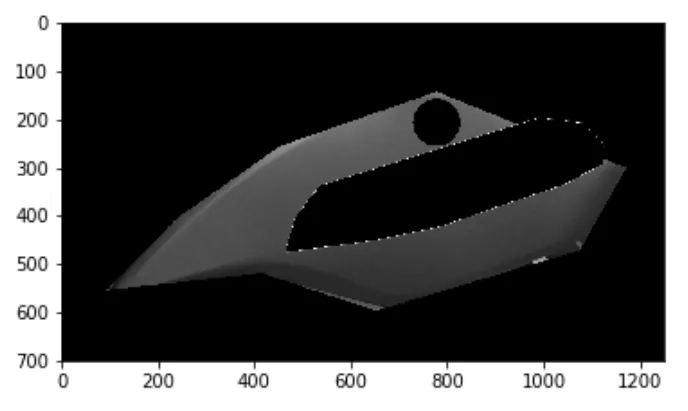
由于我们希望边界框区域是黑色的,因此我们将使用cv2.bitwise_not()反转图像,然后使用cv2.bitwise_and()获取所需的输出图像。
I_mask1 = cv2.bitwise_not(I_mask)
out = cv2.bitwise_and(I_mask1, I[:,:,2])
plt.imshow(out,cmap = 'gray')
不必使用上述代码来查找二进制掩模的轮廓,然后使用cv2.fillConvexPoly()函数填充区域。我们可以直接将I_cnt [0](包含x坐标的数组)和I_cnt [1](包含y坐标的数组)转换为一个(x,y)坐标数组,使用以下代码:
temp_list = []
for a, b in zip(I_cnt[0], I_cnt[1]):
     temp_list.append([a, b])
ctr = np.array(temp_list).reshape((-1,1,2)).astype(np.int32)

I_mask2 = np.zeros_like(I[:,:,2])
I_mask2[list(I_cnt[0]), list(I_cnt[1])] = 255
plt.imshow(I_mask2, cmap = 'gray')


cv2.fillConvexPoly(I_mask1, ctr, 255)
plt.imshow(I_mask2,cmap = 'gray')