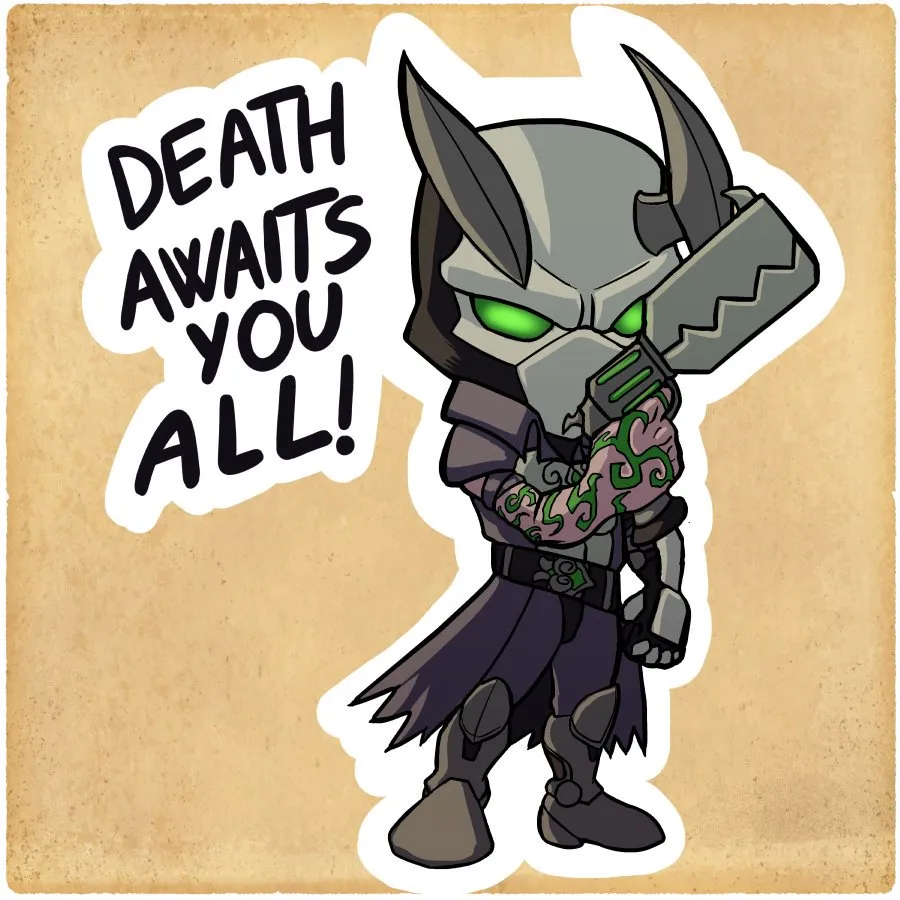
我正在学习OpenCV,试图将一张小图片贴在一张大图片上面。但是,它显示了一个错误,因为两张图片应该拥有相同的大小。我也尝试遵循提供的建议(如如何使用Pillow将图片粘贴到更大的图片上?和如何使用PIL在Python中将一个图像合成到另一个图像上?)
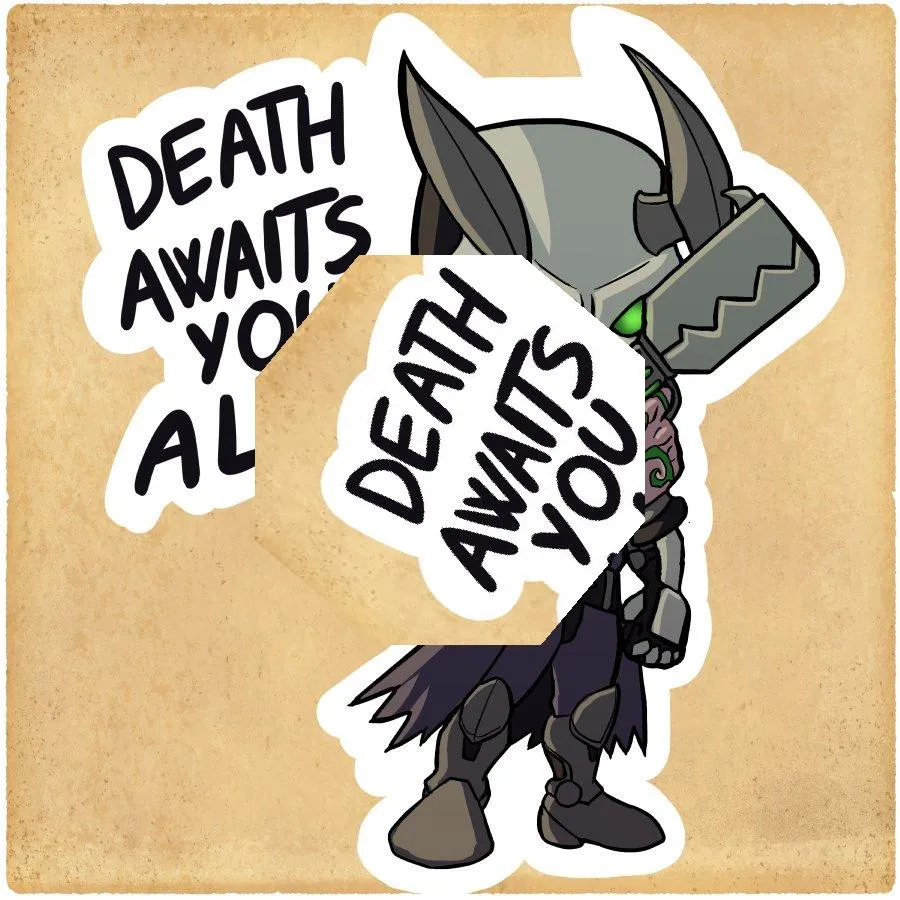
最终输出的图像应该位于中心位置。
   import cv2 as cv
   from scipy import ndimage

   img1 = cv.imread('Please put your file name')

   top_left_x = min([x1,x2,x3,x4])
   top_left_y = min([y1,y2,y3,y4])
   bot_right_x = max([x1,x2,x3,x4])
   bot_right_y = max([y1,y2,y3,y4])

   y_right =bot_right_y + 1
   x_right =bot_right_x + 1

  cropped = img[top_left_y: y_right, top_left_x: x_right]

  rotate = ndimage.rotate(cropped, ang)
最终输出的图像应该位于中心位置。