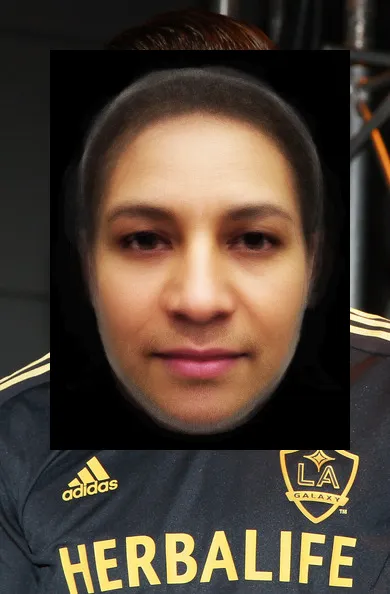
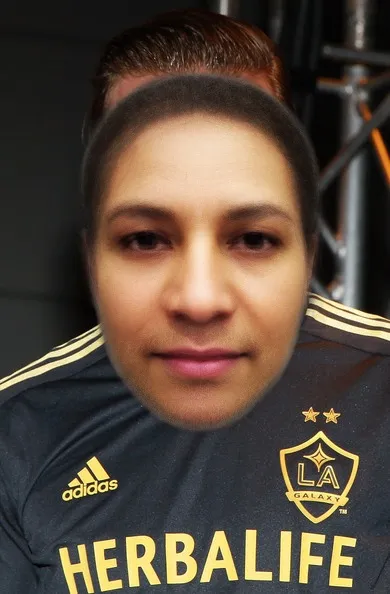
嗨,我正在创建一个程序,用于将图像中的一张脸替换为其他人的脸。但是,我卡在了尝试将新脸插入原始、更大的图像上。我已经研究了 ROI 和 addWeight(需要图像大小相同),但我没有找到用 Python 实现这个功能的方法。任何建议都是很好的,我是 OpenCV 新手。
我正在使用以下测试图像:
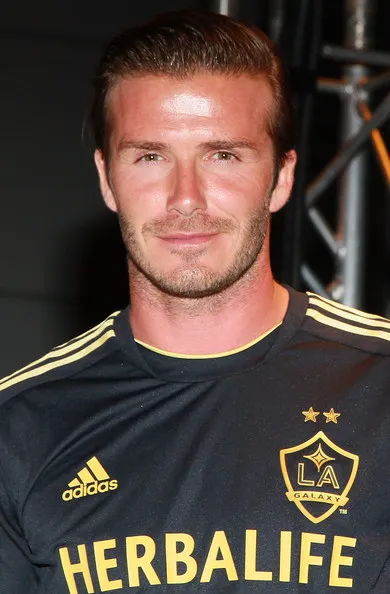
小图片: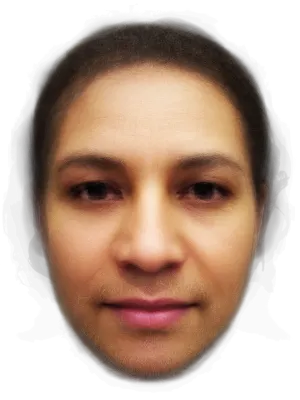 大图片:
大图片:
 以下是迄今为止的代码...其他示例的混合:
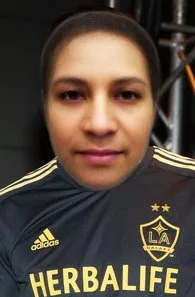
我正在使用以下测试图像:
小图片:
大图片:
以下是迄今为止的代码...其他示例的混合:import cv2
import cv2.cv as cv
import sys
import numpy
def detect(img, cascade):
rects = cascade.detectMultiScale(img, scaleFactor=1.1, minNeighbors=3, minSize=(10, 10), flags = cv.CV_HAAR_SCALE_IMAGE)
if len(rects) == 0:
return []
rects[:,2:] += rects[:,:2]
return rects
def draw_rects(img, rects, color):
for x1, y1, x2, y2 in rects:
cv2.rectangle(img, (x1, y1), (x2, y2), color, 2)
if __name__ == '__main__':
if len(sys.argv) != 2: ## Check for error in usage syntax
print "Usage : python faces.py <image_file>"
else:
img = cv2.imread(sys.argv[1],cv2.CV_LOAD_IMAGE_COLOR) ## Read image file
if (img == None):
print "Could not open or find the image"
else:
cascade = cv2.CascadeClassifier("haarcascade_frontalface_alt.xml")
gray = cv2.cvtColor(img, cv.CV_BGR2GRAY)
gray = cv2.equalizeHist(gray)
rects = detect(gray, cascade)
## Extract face coordinates
x1 = rects[0][3]
y1 = rects[0][0]
x2 = rects[0][4]
y2 = rects[0][5]
y=y2-y1
x=x2-x1
## Extract face ROI
faceROI = gray[x1:x2, y1:y2]
## Show face ROI
cv2.imshow('Display face ROI', faceROI)
small = cv2.imread("average_face.png",cv2.CV_LOAD_IMAGE_COLOR)
print "here"
small=cv2.resize(small, (x, y))
cv2.namedWindow('Display image') ## create window for display
cv2.imshow('Display image', small) ## Show image in the window
print "size of image: ", img.shape ## print size of image
cv2.waitKey(1000)
l_img[y_offset:y_offset+s_img.shape[0], x_offset:x_offset+s_img.shape[1], c] =你那里的意思是什么? - GuySoft