我的项目是将航空照片对齐,制作一张镶嵌地图。我的计划是从两张照片开始,将第二张与第一张对齐,并创建一个“初始镶嵌图”来组合这两个对齐的图像。完成后,我会将第三张照片与初始镶嵌图对齐,然后将第四张照片与结果对齐,以此类推,逐步构建地图。
我有两种方法来实现这一点,但更精确的方法需要使用calcOpticalFlowPyrLK(),只能用于两张图片的阶段,因为两张输入图片必须具有相同的大小。因此,我尝试了一种新的解决方案,但它不够准确,每一步引入的误差都会堆积,最终产生无意义的结果。
我的问题有两个方面,如果您知道其中一个答案,您可以只回答一个,除非您想回答两个。首先,是否有办法使用类似于calcOpticalFlowPyrLK()的东西,但是可以处理不同大小的两张图片(包括任何潜在的解决方法)?其次,是否有办法修改检测器/描述符解决方案,使其更加准确?
以下是仅适用于两张图片的精确版本:
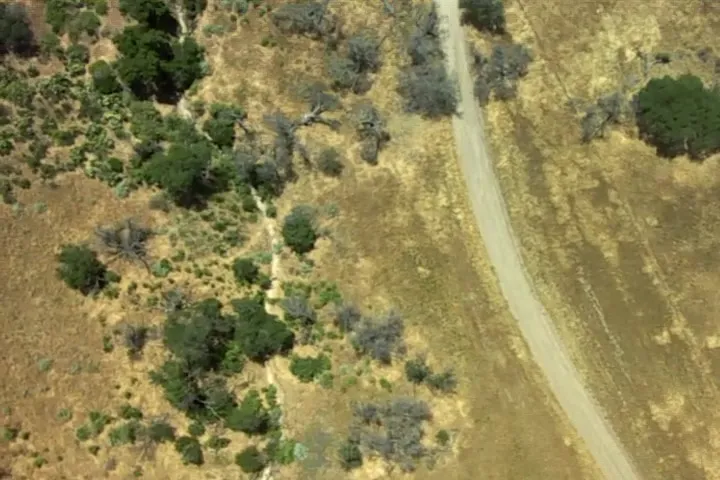
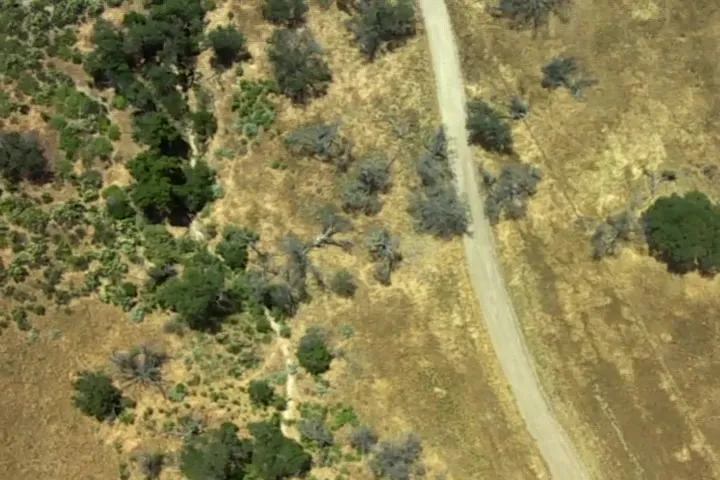
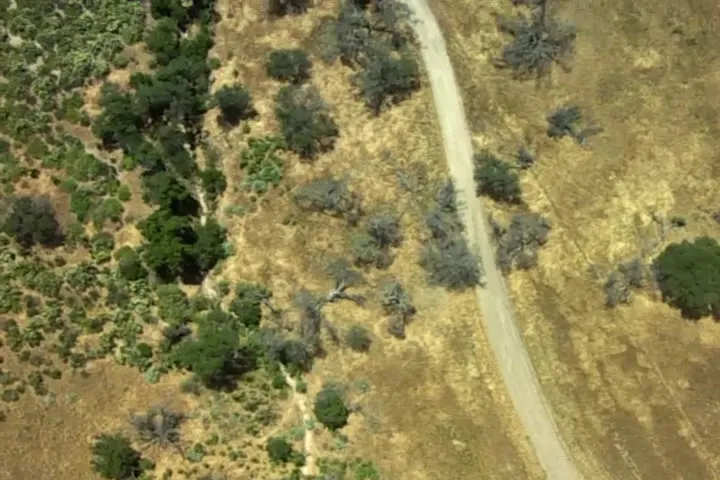
最后,这里是我正在使用的一些图片: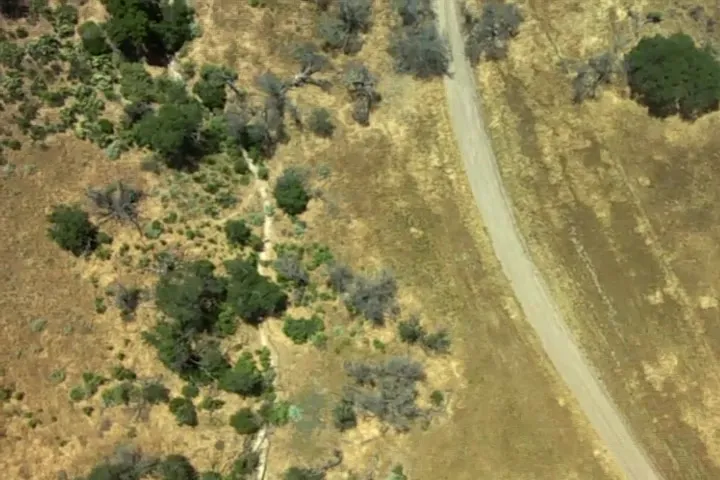
我有两种方法来实现这一点,但更精确的方法需要使用calcOpticalFlowPyrLK(),只能用于两张图片的阶段,因为两张输入图片必须具有相同的大小。因此,我尝试了一种新的解决方案,但它不够准确,每一步引入的误差都会堆积,最终产生无意义的结果。
我的问题有两个方面,如果您知道其中一个答案,您可以只回答一个,除非您想回答两个。首先,是否有办法使用类似于calcOpticalFlowPyrLK()的东西,但是可以处理不同大小的两张图片(包括任何潜在的解决方法)?其次,是否有办法修改检测器/描述符解决方案,使其更加准确?
以下是仅适用于两张图片的精确版本:
# load images
base = cv2.imread("images/1.jpg")
curr = cv2.imread("images/2.jpg")

# convert to grayscale
base_gray = cv2.cvtColor(base, cv2.COLOR_BGR2GRAY)

# find the coordinates of good features to track  in base
base_features = cv2.goodFeaturesToTrack(base_gray, 3000, .01, 10)

# find corresponding features in current photo
curr_features = np.array([])
curr_features, pyr_stati, _ = cv2.calcOpticalFlowPyrLK(base, curr, base_features, curr_features, flags=1)

# only add features for which a match was found to the pruned arrays
base_features_pruned = []
curr_features_pruned = []
for index, status in enumerate(pyr_stati):
    if status == 1:
        base_features_pruned.append(base_features[index])
        curr_features_pruned.append(curr_features[index])

# convert lists to numpy arrays so they can be passed to opencv function
bf_final = np.asarray(base_features_pruned)
cf_final = np.asarray(curr_features_pruned)

# find perspective transformation using the arrays of corresponding points
transformation, hom_stati = cv2.findHomography(cf_final, bf_final, method=cv2.RANSAC, ransacReprojThreshold=1)

# transform the images and overlay them to see if they align properly
# not what I do in the actual program, just for use in the example code
# so that you can see how they align, if you decide to run it
height, width = curr.shape[:2]
mod_photo = cv2.warpPerspective(curr, transformation, (width, height))
new_image = cv2.addWeighted(mod_photo, .5, base, .5, 1)
以下是适用于多张图片但存在误差的方法:
# load images
base = cv2.imread("images/1.jpg")
curr = cv2.imread("images/2.jpg")


# convert to grayscale
base_gray = cv2.cvtColor(self.base, cv2.COLOR_BGR2GRAY)

# DIFFERENCES START
curr_gray = cv2.cvtColor(self.curr_photo, cv2.COLOR_BGR2GRAY)

# create detector, get keypoints and descriptors
detector = cv2.ORB_create()
base_keys, base_desc = detector.detectAndCompute(base_gray, None)
curr_keys, curr_desc = detector.detectAndCompute(curr_gray, None)

matcher = cv2.DescriptorMatcher_create("BruteForce-Hamming")

max_dist = 0.0
min_dist = 100.0

for match in matches:
     dist = match.distance
     min_dist = dist if dist < min_dist else min_dist
     max_dist = dist if dist > max_dist else max_dist

good_matches = [match for match in matches if match.distance <= 3 * min_dist ]

base_matches = []
curr_matches = []
for match in good_matches:
    base_matches.append(base_keys[match.queryIdx].pt)
    curr_matches.append(curr_keys[match.trainIdx].pt)

bf_final = np.asarray(base_matches)
cf_final = np.asarray(curr_matches)

# SAME AS BEFORE

# find perspective transformation using the arrays of corresponding points
transformation, hom_stati = cv2.findHomography(cf_final, bf_final, method=cv2.RANSAC, ransacReprojThreshold=1)

# transform the images and overlay them to see if they align properly
# not what I do in the actual program, just for use in the example code
# so that you can see how they align, if you decide to run it
height, width = curr.shape[:2]
mod_photo = cv2.warpPerspective(curr, transformation, (width, height))
new_image = cv2.addWeighted(mod_photo, .5, base, .5, 1)
最后,这里是我正在使用的一些图片: