我无法从视差中获取正常的深度图。以下是我的代码:
#include "opencv2/core/core.hpp"
#include "opencv2/calib3d/calib3d.hpp"
#include <opencv2/highgui/highgui.hpp>
#include <opencv2/imgproc/imgproc.hpp>
#include "opencv2/contrib/contrib.hpp"
#include <cstdio>
#include <iostream>
#include <fstream>

using namespace cv;
using namespace std;

ofstream out("points.txt");

int main()
{
    Mat img1, img2;
    img1 = imread("images/im7rect.bmp");
    img2 = imread("images/im8rect.bmp");

    //resize(img1, img1, Size(320, 280));
    //resize(img2, img2, Size(320, 280));

    Mat g1,g2, disp, disp8;
    cvtColor(img1, g1, CV_BGR2GRAY);
    cvtColor(img2, g2, CV_BGR2GRAY);

    int sadSize = 3;
    StereoSGBM sbm;
    sbm.SADWindowSize = sadSize;
    sbm.numberOfDisparities = 144;//144; 128
    sbm.preFilterCap = 10; //63
    sbm.minDisparity = 0; //-39; 0
    sbm.uniquenessRatio = 10;
    sbm.speckleWindowSize = 100;
    sbm.speckleRange = 32;
    sbm.disp12MaxDiff = 1;
    sbm.fullDP = true;
    sbm.P1 = sadSize*sadSize*4;
    sbm.P2 = sadSize*sadSize*32;
    sbm(g1, g2, disp);

    normalize(disp, disp8, 0, 255, CV_MINMAX, CV_8U);

    Mat dispSGBMscale;
    disp.convertTo(dispSGBMscale,CV_32F, 1./16);

    imshow("image", img1);

    imshow("disparity", disp8);

    Mat Q;
    FileStorage fs("Q.txt", FileStorage::READ);
    fs["Q"] >> Q;
    fs.release();

    Mat points, points1;
    //reprojectImageTo3D(disp, points, Q, true);
    reprojectImageTo3D(disp, points, Q, false, CV_32F);
    imshow("points", points);

    ofstream point_cloud_file;
    point_cloud_file.open ("point_cloud.xyz");
    for(int i = 0; i < points.rows; i++) {
        for(int j = 0; j < points.cols; j++) {
            Vec3f point = points.at<Vec3f>(i,j);
            if(point[2] < 10) {
                point_cloud_file << point[0] << " " << point[1] << " " << point[2]
                    << " " << static_cast<unsigned>(img1.at<uchar>(i,j)) << " " << static_cast<unsigned>(img1.at<uchar>(i,j)) << " " << static_cast<unsigned>(img1.at<uchar>(i,j)) << endl;
            }
        }
    }
    point_cloud_file.close();

    waitKey(0);

    return 0;
}
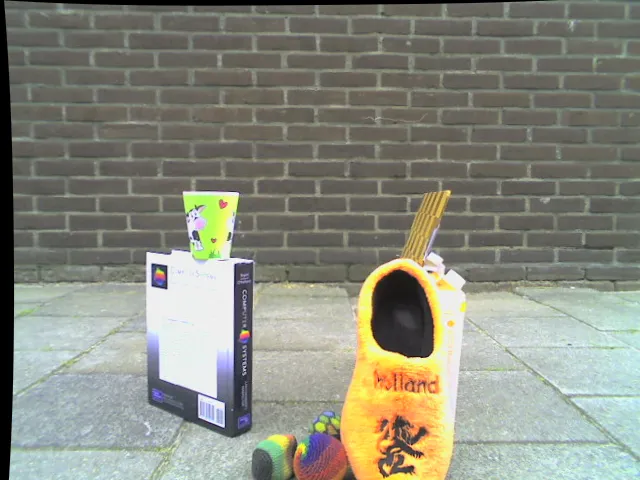
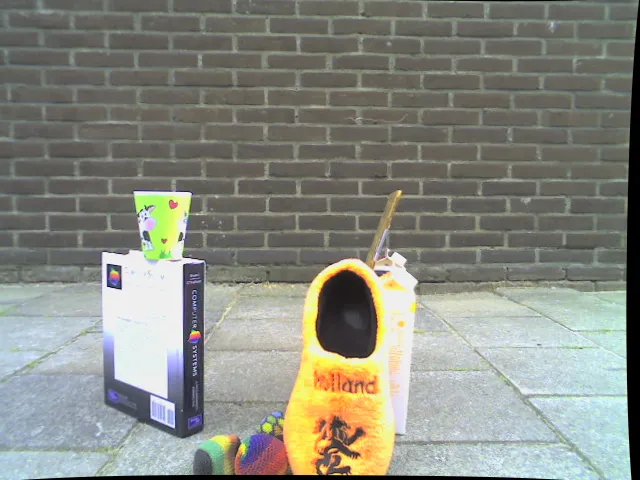
我的图片是:
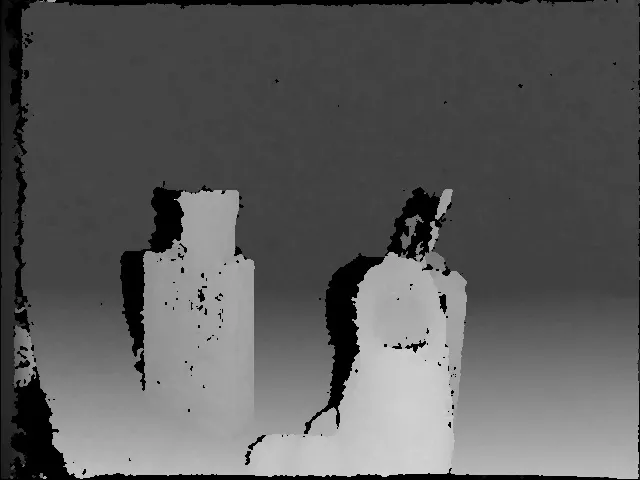
视差图:
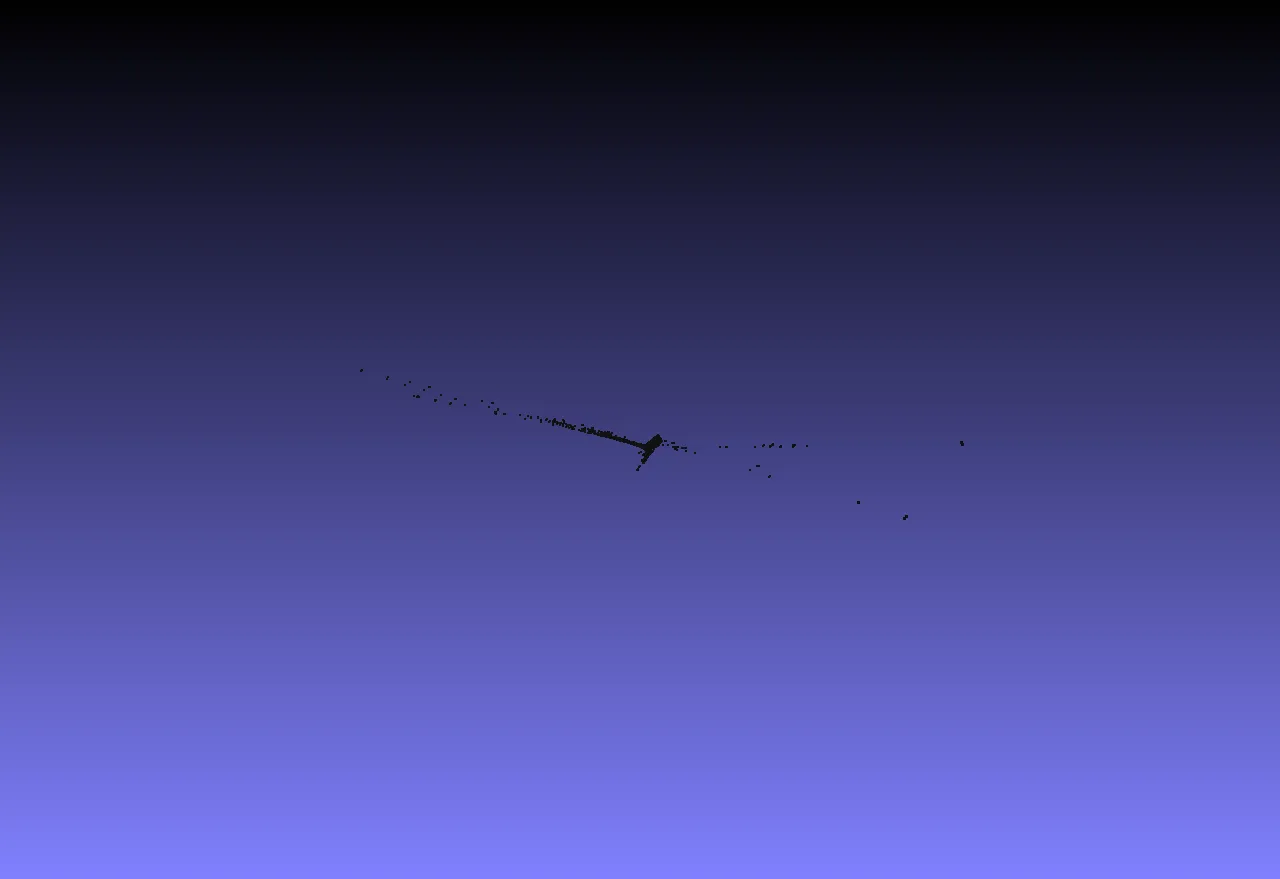
我得到了类似于这样的点云:
Q相等: [ 1., 0., 0., -3.2883545303344727e+02, 0., 1., 0., -2.3697290992736816e+02, 0., 0., 0., 5.4497170185417110e+02, 0., 0., -1.4446083962336606e-02, 0. ]
我尝试了很多其他方法。我尝试使用不同的图像,但没有一个能够得到正常的深度图。
我做错了什么?我应该使用reprojectImageTo3D还是使用其他方法?最好的可视化深度图的方法是什么?(我尝试过point_cloud库) 或者您能否提供带有数据集和校准信息的工作示例,以便我可以运行它并获得深度图。或者如何从middlebury立体数据库中获取深度图(http://vision.middlebury.edu/stereo/data/),我认为没有足够的校准信息。
编辑:
现在我得到了类似于:

当然更好了,但仍然不正常。
编辑2: 我尝试了您所说的:
Mat disp;
disp = imread("disparity-image.pgm", CV_LOAD_IMAGE_GRAYSCALE);

Mat disp64;
disp.convertTo(disp64,CV_64F, 1.0/16.0);
imshow("disp", disp);
使用cv::minMaxIdx(...)函数,我得到了以下结果:

当我注释掉这一行时,结果如下所示:

附带说明:请问如何只知道基线和以像素为单位的焦距时计算深度?