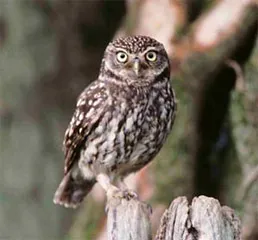
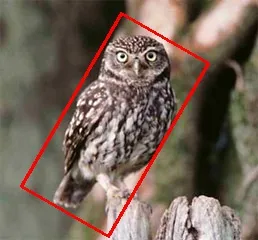
其他方法只有在旋转后矩形的内容仍在旋转后的图像中时才有效,在其他情况下会遭遇严重失败。如果部分内容丢失了怎么办?请参考下面的示例:
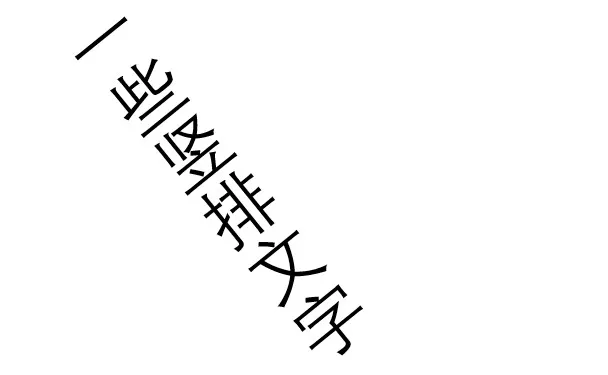
如果您要使用上述方法裁剪旋转矩形文本区域,
import cv2
import numpy as np
def main():
img = cv2.imread("big_vertical_text.jpg")
cnt = np.array([
[[64, 49]],
[[122, 11]],
[[391, 326]],
[[308, 373]]
])
print("shape of cnt: {}".format(cnt.shape))
rect = cv2.minAreaRect(cnt)
print("rect: {}".format(rect))
box = cv2.boxPoints(rect)
box = np.int0(box)
print("bounding box: {}".format(box))
cv2.drawContours(img, [box], 0, (0, 0, 255), 2)
img_crop, img_rot = crop_rect(img, rect)
print("size of original img: {}".format(img.shape))
print("size of rotated img: {}".format(img_rot.shape))
print("size of cropped img: {}".format(img_crop.shape))
new_size = (int(img_rot.shape[1]/2), int(img_rot.shape[0]/2))
img_rot_resized = cv2.resize(img_rot, new_size)
new_size = (int(img.shape[1]/2)), int(img.shape[0]/2)
img_resized = cv2.resize(img, new_size)
cv2.imshow("original contour", img_resized)
cv2.imshow("rotated image", img_rot_resized)
cv2.imshow("cropped_box", img_crop)
cv2.waitKey(0)
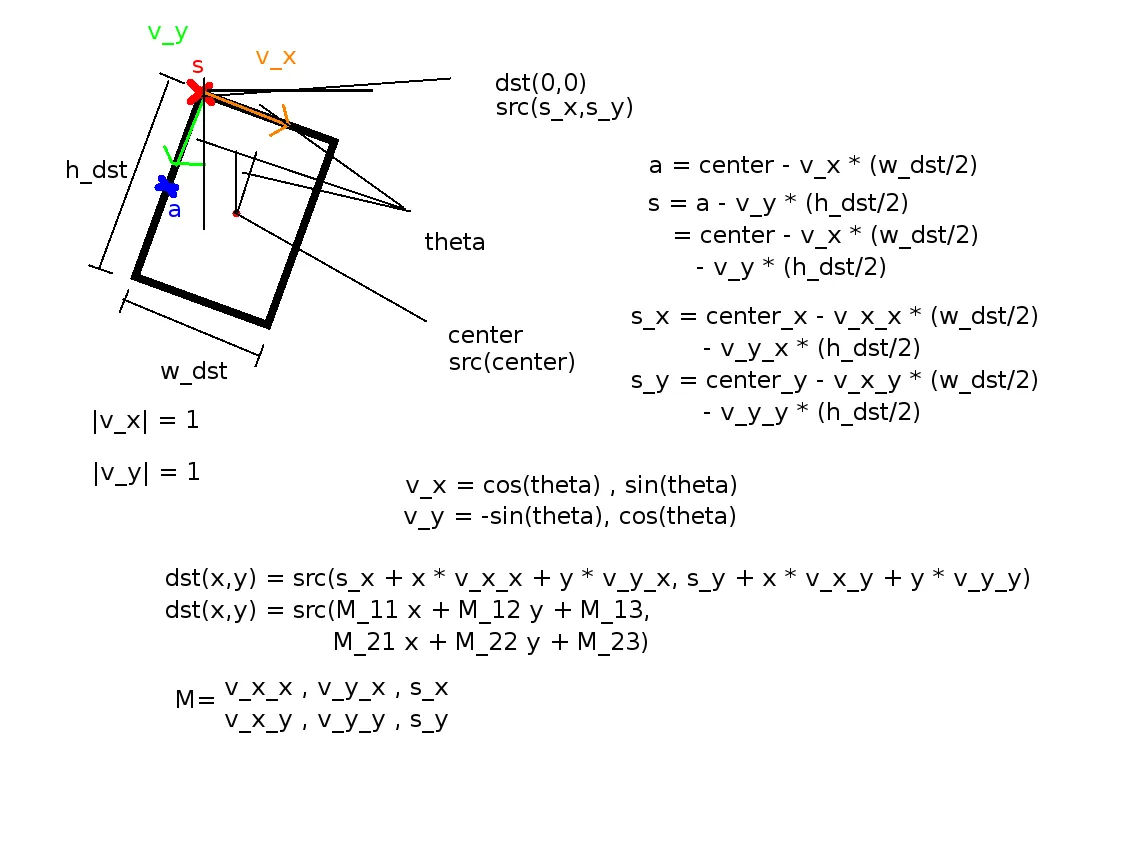
def crop_rect(img, rect):
center = rect[0]
size = rect[1]
angle = rect[2]
center, size = tuple(map(int, center)), tuple(map(int, size))
height, width = img.shape[0], img.shape[1]
print("width: {}, height: {}".format(width, height))
M = cv2.getRotationMatrix2D(center, angle, 1)
img_rot = cv2.warpAffine(img, M, (width, height))
img_crop = cv2.getRectSubPix(img_rot, size, center)
return img_crop, img_rot
if __name__ == "__main__":
main()
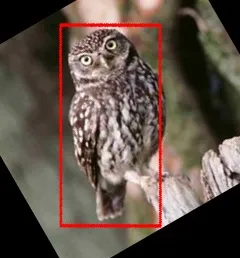
这是你将会得到的:
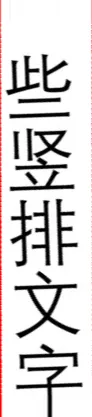
显然,一些部分被剪掉了!既然我们可以使用cv.boxPoints()方法获取其四个角点,为什么不直接扭曲旋转的矩形呢?
import cv2
import numpy as np


def main():
    img = cv2.imread("big_vertical_text.jpg")
    cnt = np.array([
            [[64, 49]],
            [[122, 11]],
            [[391, 326]],
            [[308, 373]]
        ])
    print("shape of cnt: {}".format(cnt.shape))
    rect = cv2.minAreaRect(cnt)
    print("rect: {}".format(rect))

    box = cv2.boxPoints(rect)
    box = np.int0(box)
    width = int(rect[1][0])
    height = int(rect[1][1])

    src_pts = box.astype("float32")
    dst_pts = np.array([[0, height-1],
                        [0, 0],
                        [width-1, 0],
                        [width-1, height-1]], dtype="float32")
    M = cv2.getPerspectiveTransform(src_pts, dst_pts)
    warped = cv2.warpPerspective(img, M, (width, height))
现在裁剪后的图片变成了{{cropped image}}。
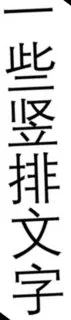
很好,不是吗?如果你仔细检查,你会注意到裁剪的图像中有一些黑色区域。这是因为检测到的矩形的一小部分超出了图像的边界。为了解决这个问题,你可以稍微
填充图像,然后再进行裁剪。
这个答案中有一个示例。
现在,我们比较两种从图像中裁剪旋转矩形的方法。这种方法不需要旋转图像,并且可以用更少的代码更优雅地处理这个问题。