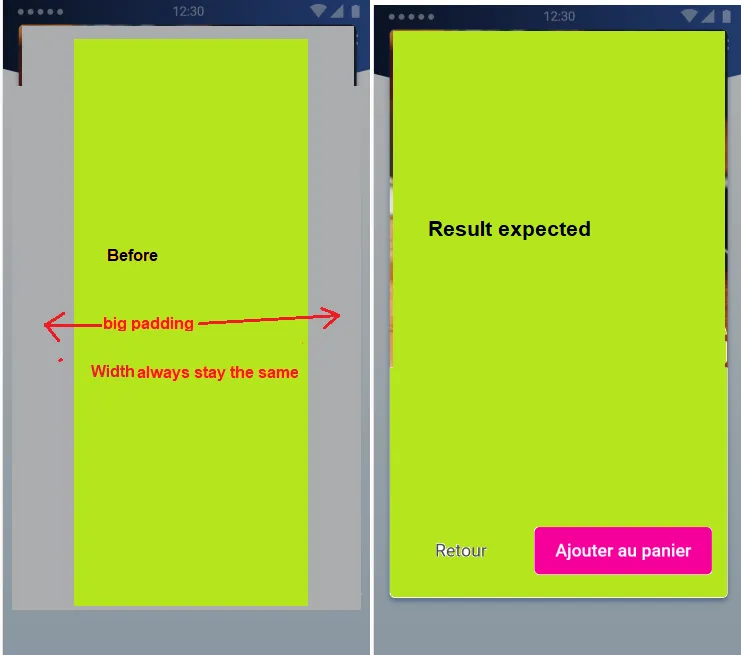
我的解决方案是将Dialog包含在一个小部件中,通过修改MediaQueryData来克服Dialog类添加的额外填充。
import 'package:myapp/widgets/dialog_inset_defeat.dart';
...

showDialog(
    context: context,
    builder: (_) => DialogInsetDefeat(
      context: context,
      child: SimpleDialog(...),
    )
);
...或使用showDialogWithInsets()来自定义值:
showDialogWithInsets(
    context: context,
    edgeInsets: EdgeInsets.symmetric(horizontal: 8),
    builder: (_) => SimpleDialog(...),
    )
);
文件对话框_inset_defeat.dart
import 'package:flutter/material.dart';
class DialogInsetDefeat extends StatelessWidget {
final BuildContext context;
final Widget child;
final deInset = EdgeInsets.symmetric(horizontal: -40, vertical: -24);
final EdgeInsets edgeInsets;
DialogInsetDefeat({@required this.context, @required this.child, this.edgeInsets});
@override
Widget build(BuildContext context) {
var netEdgeInsets = deInset + (edgeInsets ?? EdgeInsets.zero);
return MediaQuery(
data: MediaQuery.of(context).copyWith(viewInsets: netEdgeInsets),
child: child,
);
}
}
Future<T> showDialogWithInsets<T>({
@required BuildContext context,
bool barrierDismissible = true,
@required WidgetBuilder builder,
EdgeInsets edgeInsets,
}) {
return showDialog(
context: context,
builder: (_) => DialogInsetDefeat(
context: context,
edgeInsets: edgeInsets,
child: Builder(builder: builder),
),
barrierDismissible: barrierDismissible,
);
}
从Flutter 1.8.3版本开始,对我来说可行。但你的情况可能不同。
 有任何想法吗?


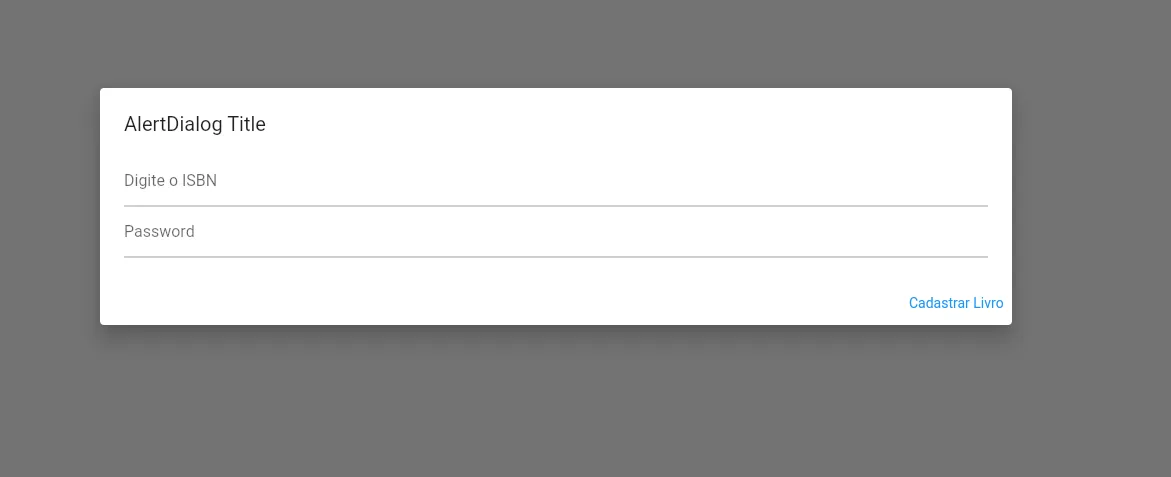
insetPadding确实适用于AlertDialog以及Dialog,但是Dialog没有使用ConstrainedBox实现,而AlertDialog则有。这意味着AlertDialog的大小基于其子元素自适应。为了克服这个问题并使AlertDialog响应insetPadding,请将AlertDialog的content设置为Center(child: SizedBox(width: MediaQuery.of(context).size.width, child: {YOUR ACTUAL ALERT CONTENT}))。您还可以摆脱Center并将SizeBox.height设置为与宽度相同。参见:https://github.com/flutter/flutter/issues/61154#issuecomment-770627805 - ubiquibacon