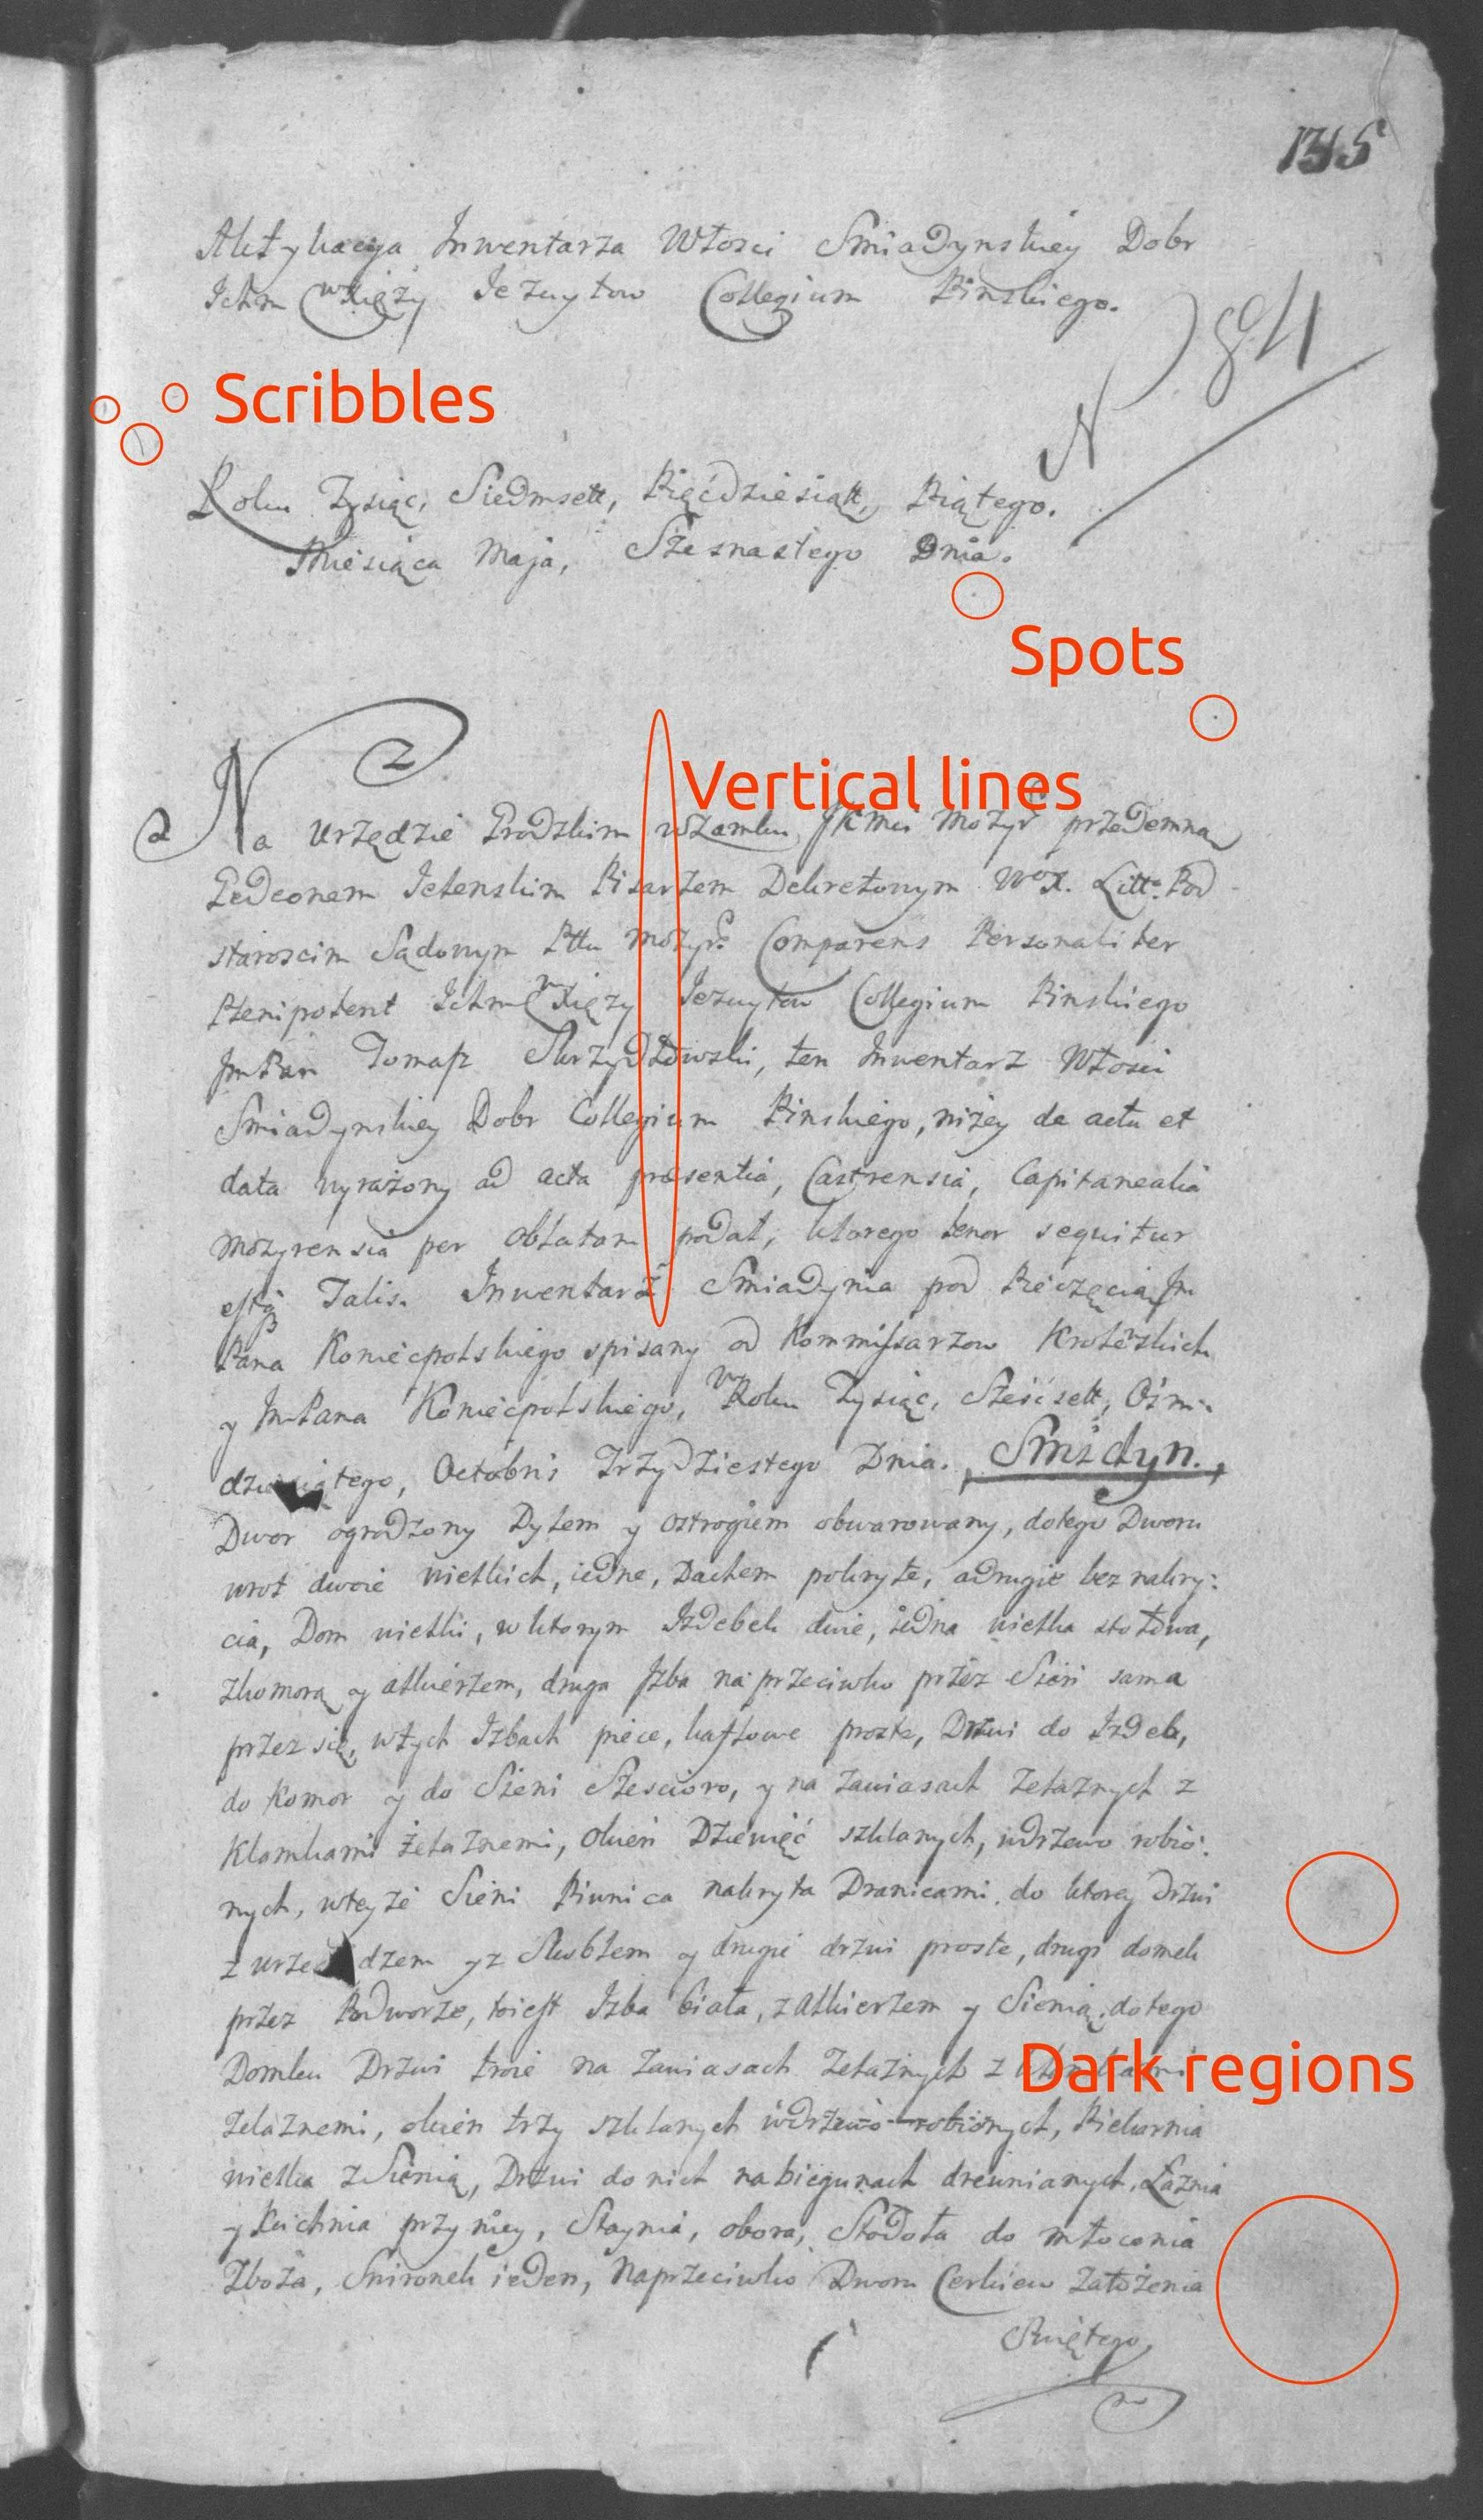
受BoboDarph方案的启发,我制作了一种类似纸张的质感。现在,我需要添加来自上面真实照片的艺术品。
以下是代码:
import cv2
import numpy as np


BG_COLOR = 209
BG_SIGMA = 5
MONOCHROME = 1


def blank_image(width=1024, height=1024, background=BG_COLOR):
    """
    It creates a blank image of the given background color
    """
    img = np.full((height, width, MONOCHROME), background, np.uint8)
    return img


def add_noise(img, sigma=BG_SIGMA):
    """
    Adds noise to the existing image
    """
    width, height, ch = img.shape
    n = noise(width, height, sigma=sigma)
    img = img + n
    return img.clip(0, 255)


def noise(width, height, ratio=1, sigma=BG_SIGMA):
    """
    The function generates an image, filled with gaussian nose. If ratio parameter is specified,
    noise will be generated for a lesser image and then it will be upscaled to the original size.
    In that case noise will generate larger square patterns. To avoid multiple lines, the upscale
    uses interpolation.

    :param ratio: the size of generated noise "pixels"
    :param sigma: defines bounds of noise fluctuations
    """
    mean = 0
    assert width % ratio == 0, "Can't scale image with of size {} and ratio {}".format(width, ratio)
    assert height % ratio == 0, "Can't scale image with of size {} and ratio {}".format(height, ratio)

    h = int(height / ratio)
    w = int(width / ratio)

    result = np.random.normal(mean, sigma, (w, h, MONOCHROME))
    if ratio > 1:
        result = cv2.resize(result, dsize=(width, height), interpolation=cv2.INTER_LINEAR)
    return result.reshape((width, height, MONOCHROME))


def texture(image, sigma=BG_SIGMA, turbulence=2):
    """
    Consequently applies noise patterns to the original image from big to small.

    sigma: defines bounds of noise fluctuations
    turbulence: defines how quickly big patterns will be replaced with the small ones. The lower
    value - the more iterations will be performed during texture generation.
    """
    result = image.astype(float)
    cols, rows, ch = image.shape
    ratio = cols
    while not ratio == 1:
        result += noise(cols, rows, ratio, sigma=sigma)
        ratio = (ratio // turbulence) or 1
    cut = np.clip(result, 0, 255)
    return cut.astype(np.uint8)


if __name__ == '__main__':
    cv2.imwrite('texture.jpg', texture(blank_image(background=230), sigma=4, turbulence=4))
    cv2.imwrite('texture-and-noise.jpg', add_noise(texture(blank_image(background=230), sigma=4), sigma=10))

    cv2.imwrite('noise.jpg', add_noise(blank_image(1024, 1024), sigma=10))
生成的图片:


