OpenCV支持比较两张图像,并返回一些值(可能是百分比),以指示这些图像有多相似吗?例如,如果传递了相同的图像两次,则返回100%,如果图像完全不同,则返回0%。
我已经在StackOverflow上阅读了很多类似的主题。 我也做了很多谷歌搜索。 不幸的是,我找不到满意的答案。
OpenCV支持比较两张图像,并返回一些值(可能是百分比),以指示这些图像有多相似吗?例如,如果传递了相同的图像两次,则返回100%,如果图像完全不同,则返回0%。
我已经在StackOverflow上阅读了很多类似的主题。 我也做了很多谷歌搜索。 不幸的是,我找不到满意的答案。
这是一个庞大的主题,其答案从三行代码到整个研究杂志都有。
我将概述最常见的技术及其结果。
其中一种最简单且最快速的方法。几十年前提出作为寻找图片相似性的手段。其想法是,森林会有很多绿色,人脸会有很多粉色,或者其他颜色。因此,如果你比较两张森林的图片,你会发现它们的直方图相似度很高,因为它们都有很多绿色。
缺点:过于简单化了。香蕉和沙滩看起来一样,因为它们都是黄色的。
OpenCV方法:compareHist()
这里有一个很好的例子:matchTemplate finding good match。它将搜索图像与被搜索的图像进行卷积。通常用于在更大的图像中查找较小的图像部分。
缺点:仅适用于完全相同大小和方向的相同图像。
OpenCV方法:matchTemplate()
被认为是最有效的图像搜索方式之一。从图像中提取出一些特征,可以保证即使在旋转、缩放或倾斜后,也能够再次识别相同的特征。以这种方式提取的特征可以与其他图像特征集进行匹配。其中有高比例特征与第一个相同的图像被认为描绘了相同场景。
找到两组点之间的单应性将允许您找到原始图片之间的拍摄角度差异或重叠的数量。
关于此方面有许多OpenCV教程/示例,还有一个不错的视频here。整个OpenCV模块(features2d)专门用于此。
缺点:它可能很慢。它不是完美的。
在OpenCV Q&A网站上,我正在谈论特征描述符和纹理描述符之间的区别。特征描述符非常适用于比较整个图像,而纹理描述符则用于识别图像中的对象,例如人脸或汽车。
absdiff进行处理。https://www.codota.com/code/java/methods/org.opencv.core.Core/absdiff对结果进行阈值处理可以生成一个掩码,使您能够突出显示从场景到场景发生变化的区域。 - Max F.由于没有人发布完整具体示例,下面介绍两种比较两个图像相似度的定量方法。一种是用于比较具有相同尺寸的图像;另一种适用于无缩放不变换的图像。这两种方法都返回一个相似度分数,范围从0到100,其中0表示完全不同的图像,100表示相同/重复的图像。对于其他所有介于两者之间的值:分数越低,相似度越低;分数越高,相似度越高。
方法1:结构相似性指数(SSIM)
为了比较差异并确定两个图像之间的确切差异,我们可以利用结构相似性指数(SSIM),它被介绍在“图像质量评估:从误差可见性到结构相似性”中。SSIM是一种基于局部信息之间的统计特性估计结构相似性退化的图像质量评估方法,其范围在[-1, 1]之间,并且通常使用滑动窗口计算整个图像的SSIM值,其结果是所有单个窗口结果的平均值。此方法已经在scikit-image图像处理库中实现,可以使用pip install scikit-image安装。
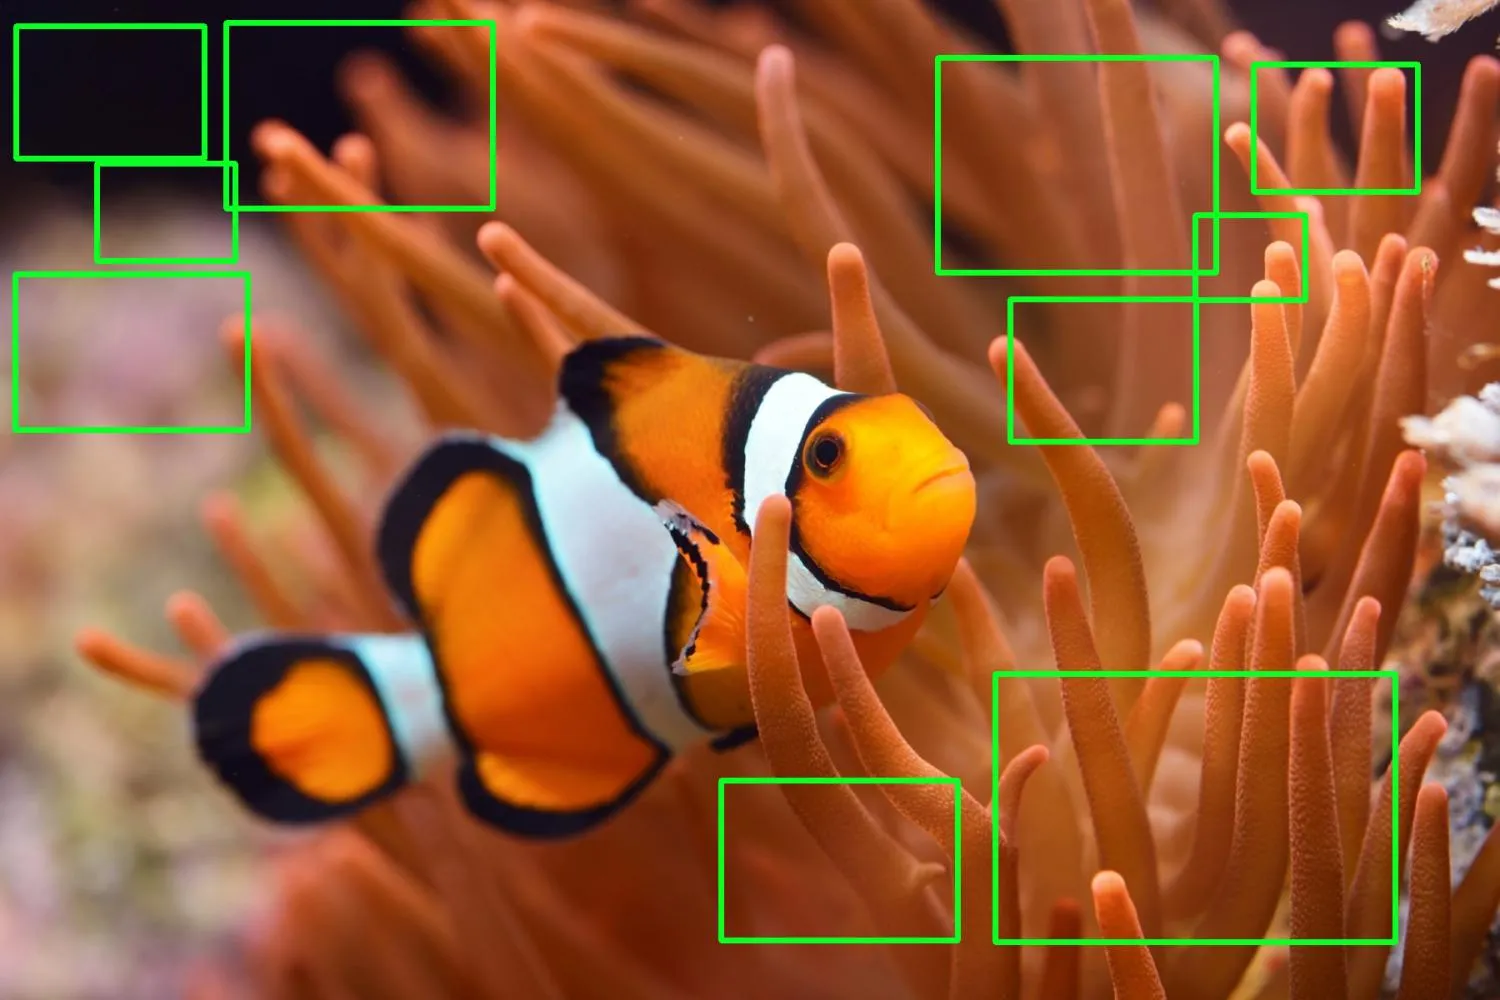
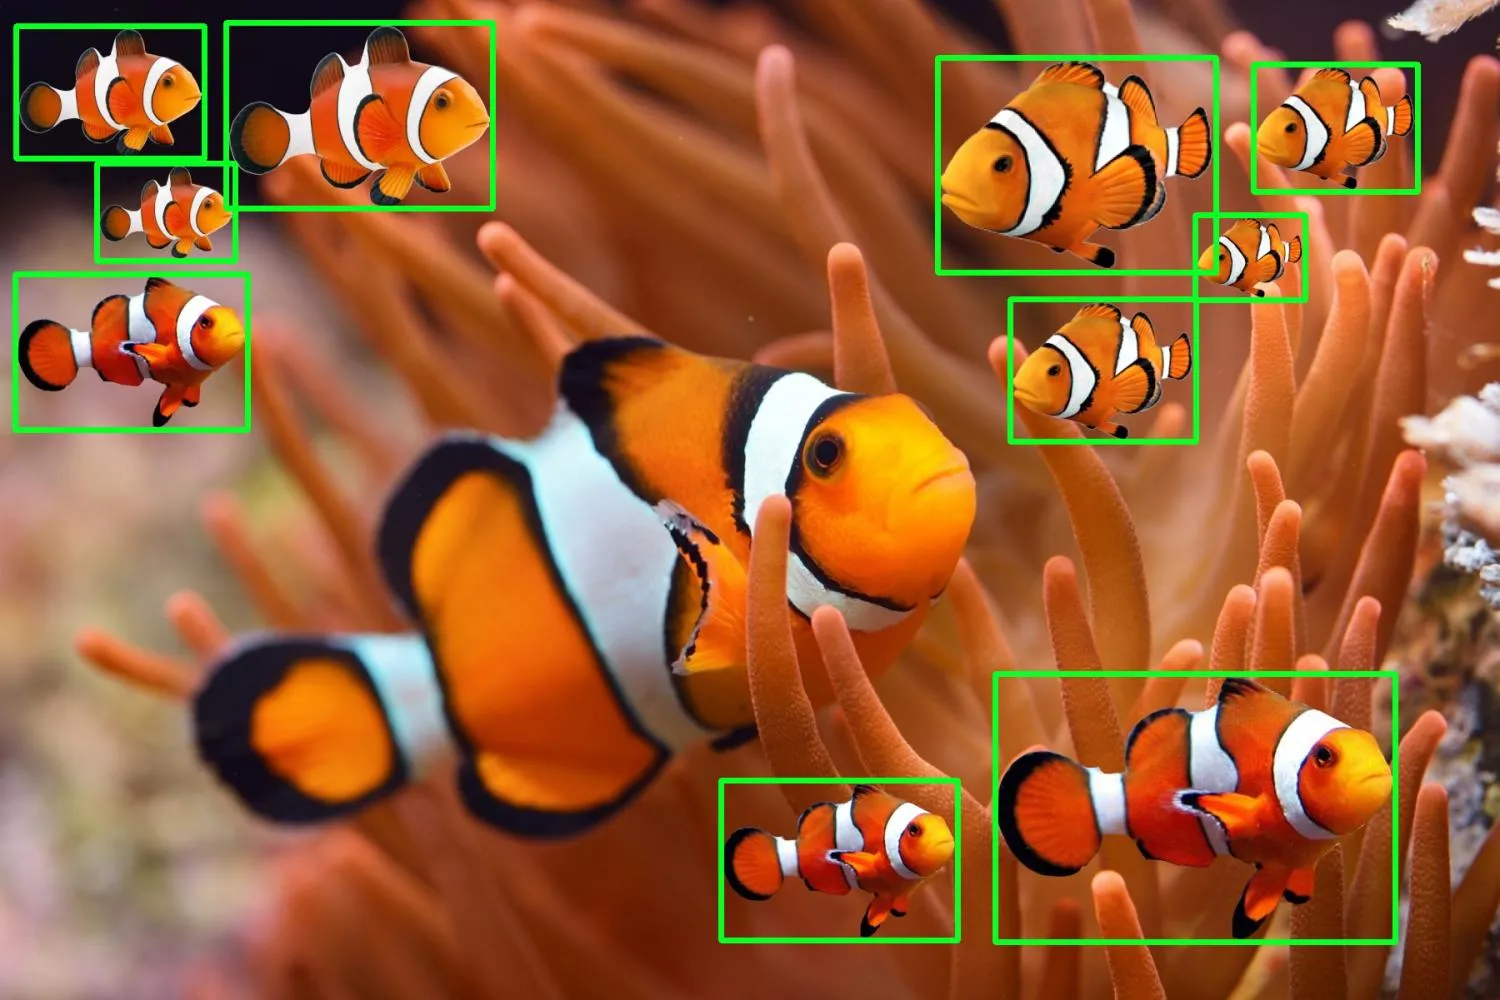
skimage.metrics.structural_similarity()函数返回一个比较分数score和差异图像diff。 score表示两个图像之间的平均SSIM分数,具有更高的值代表更高的相似度。diff图像包含实际的图像差异,其中较暗的区域具有更大的差异。大的差异区域用黑色突出显示,而小的差异则用灰色显示。以下是一个例子:
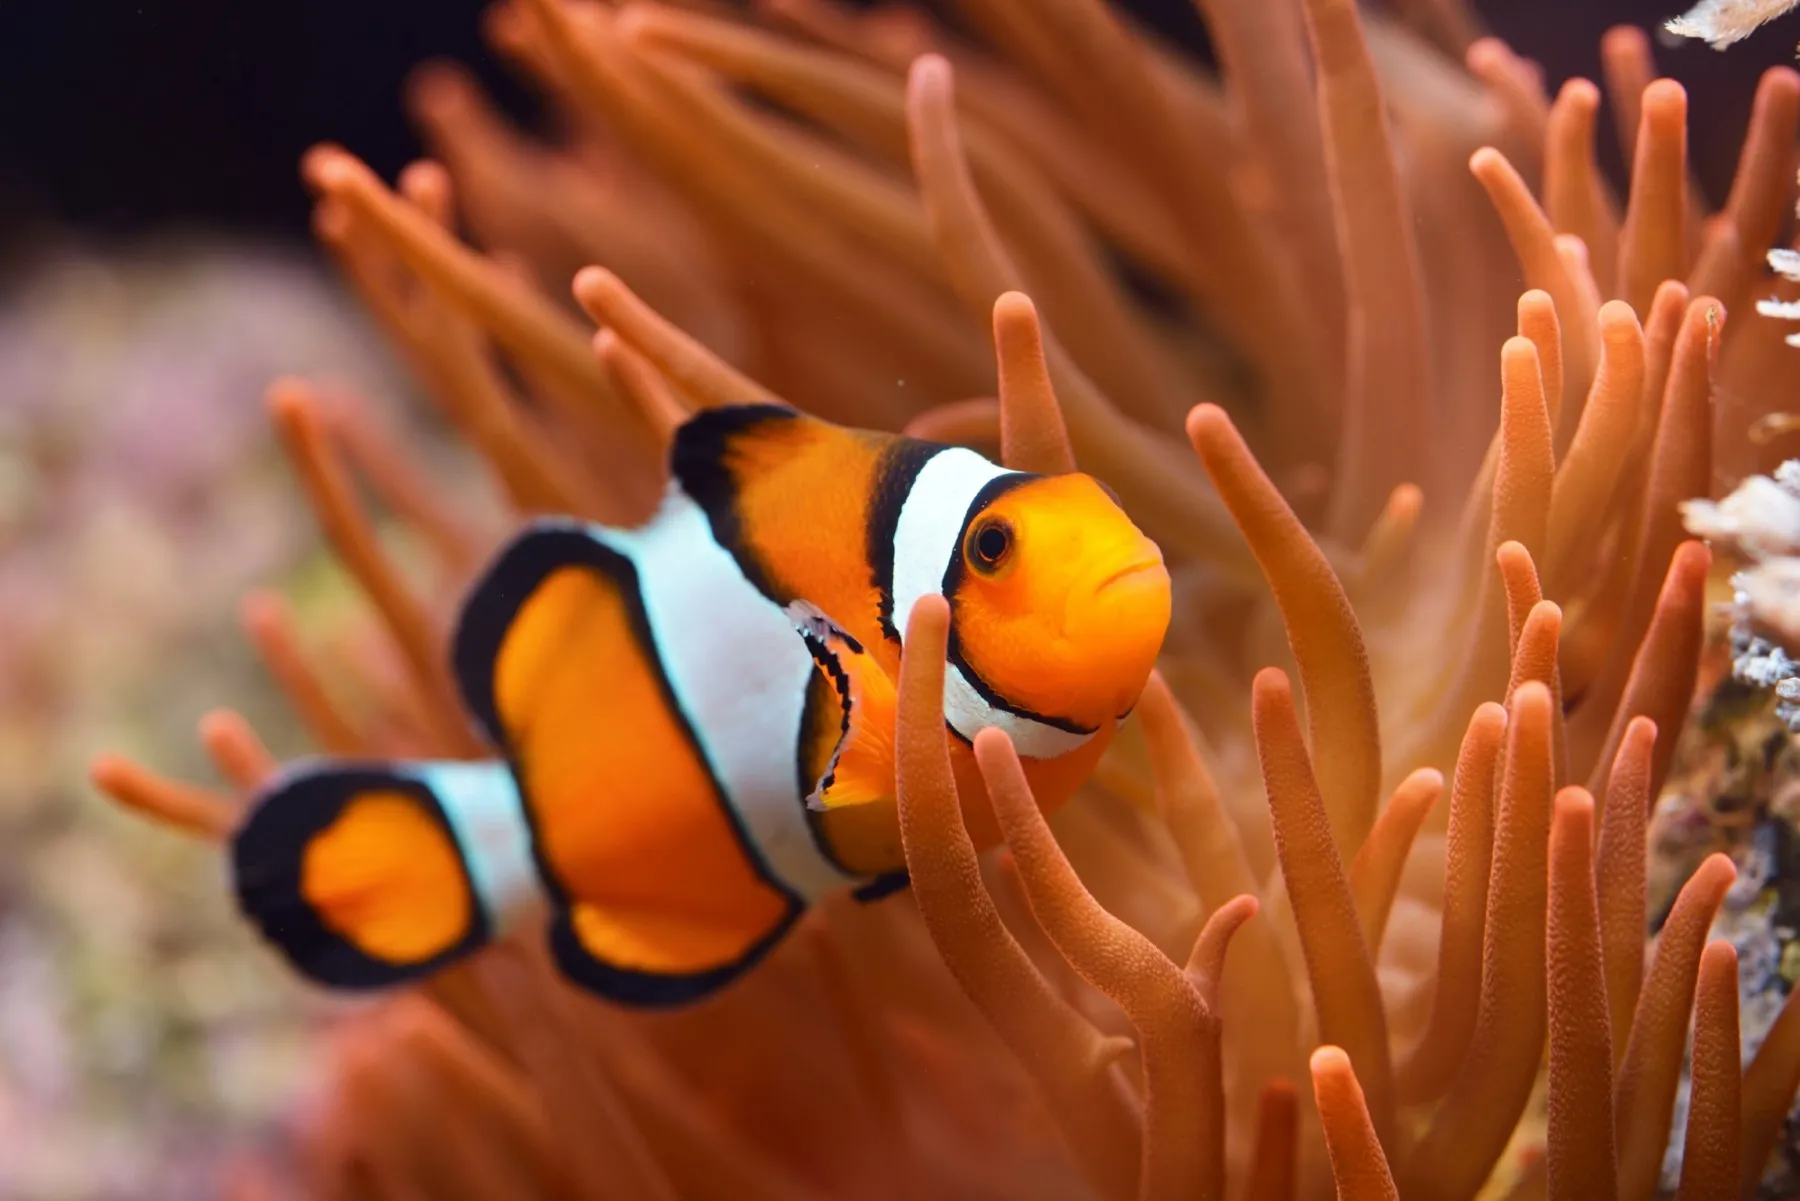
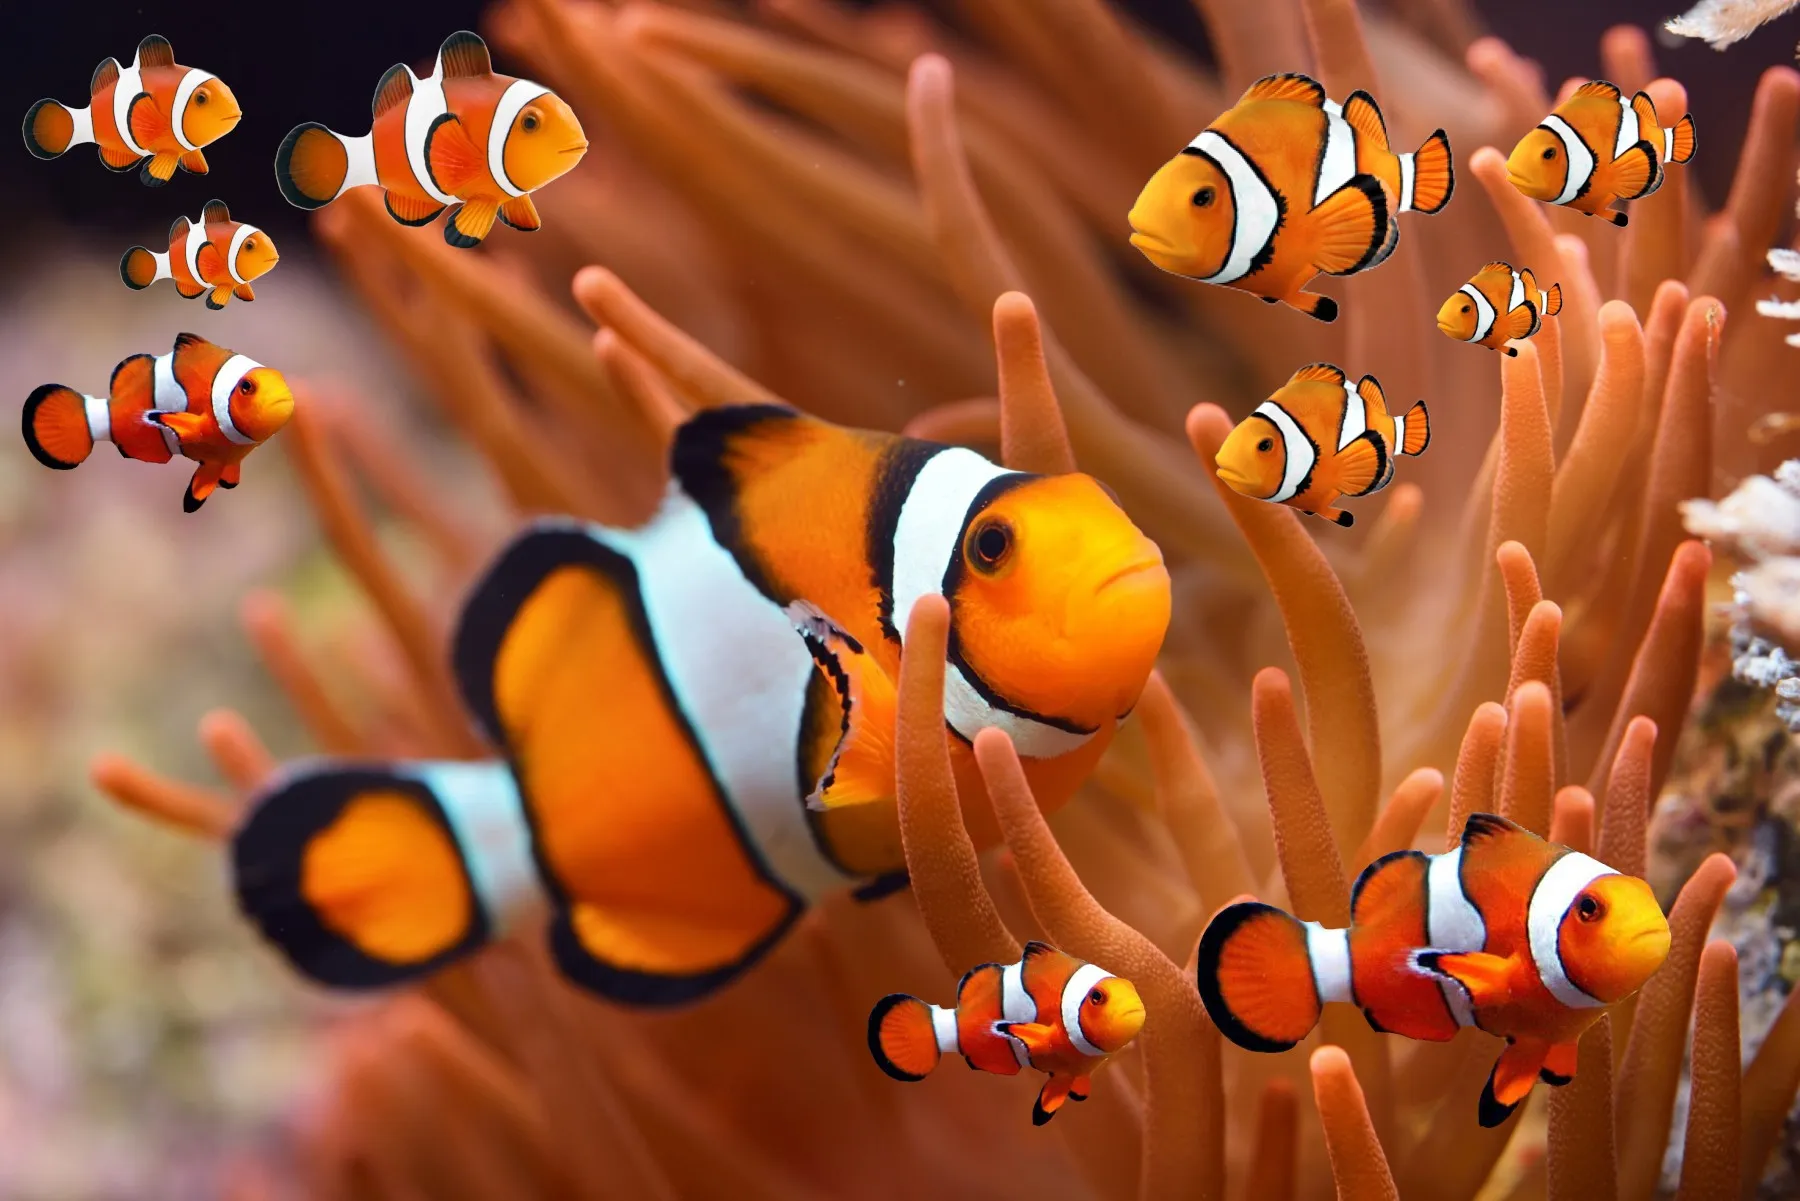
输入图像
差异图像 -> 突出显示差异部分
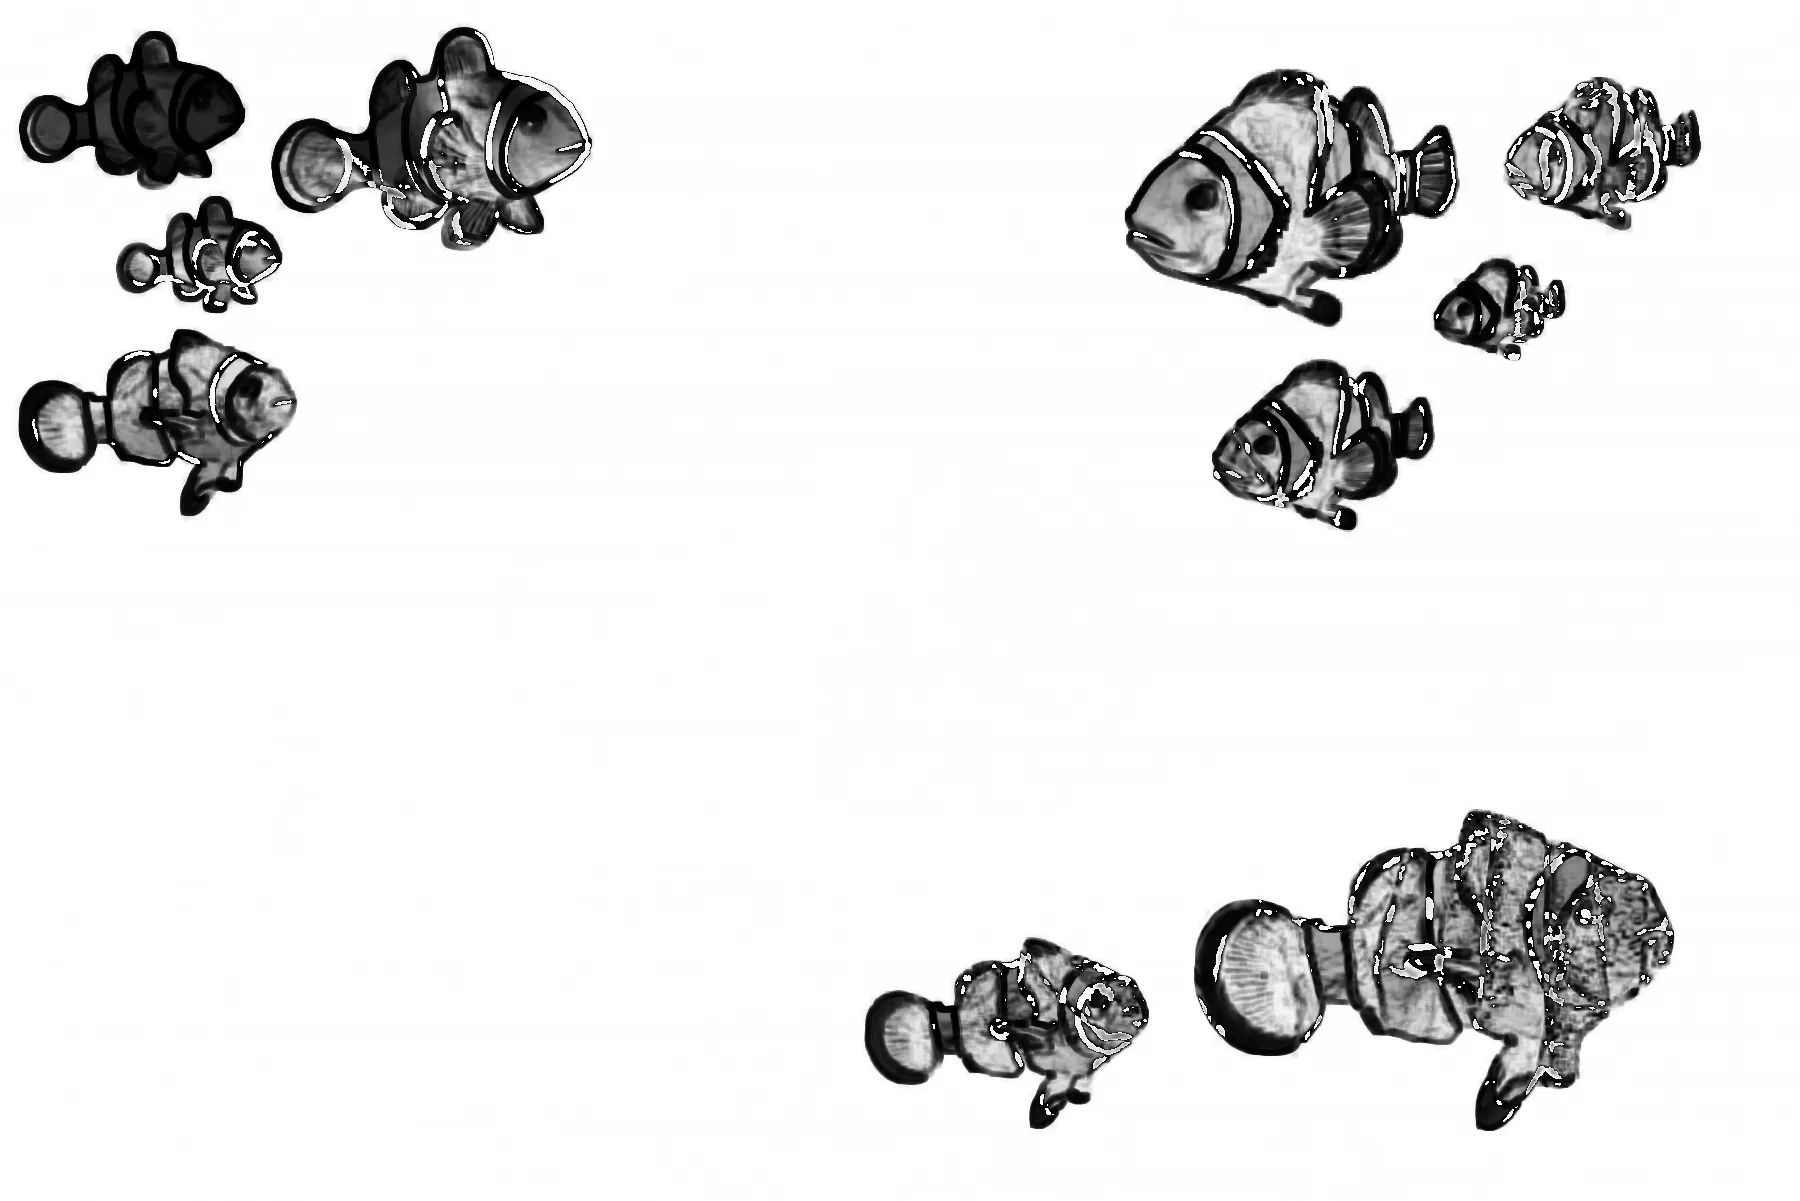
比较两个图像后的SSIM分数表明它们非常相似。
相似度分数:89.462%
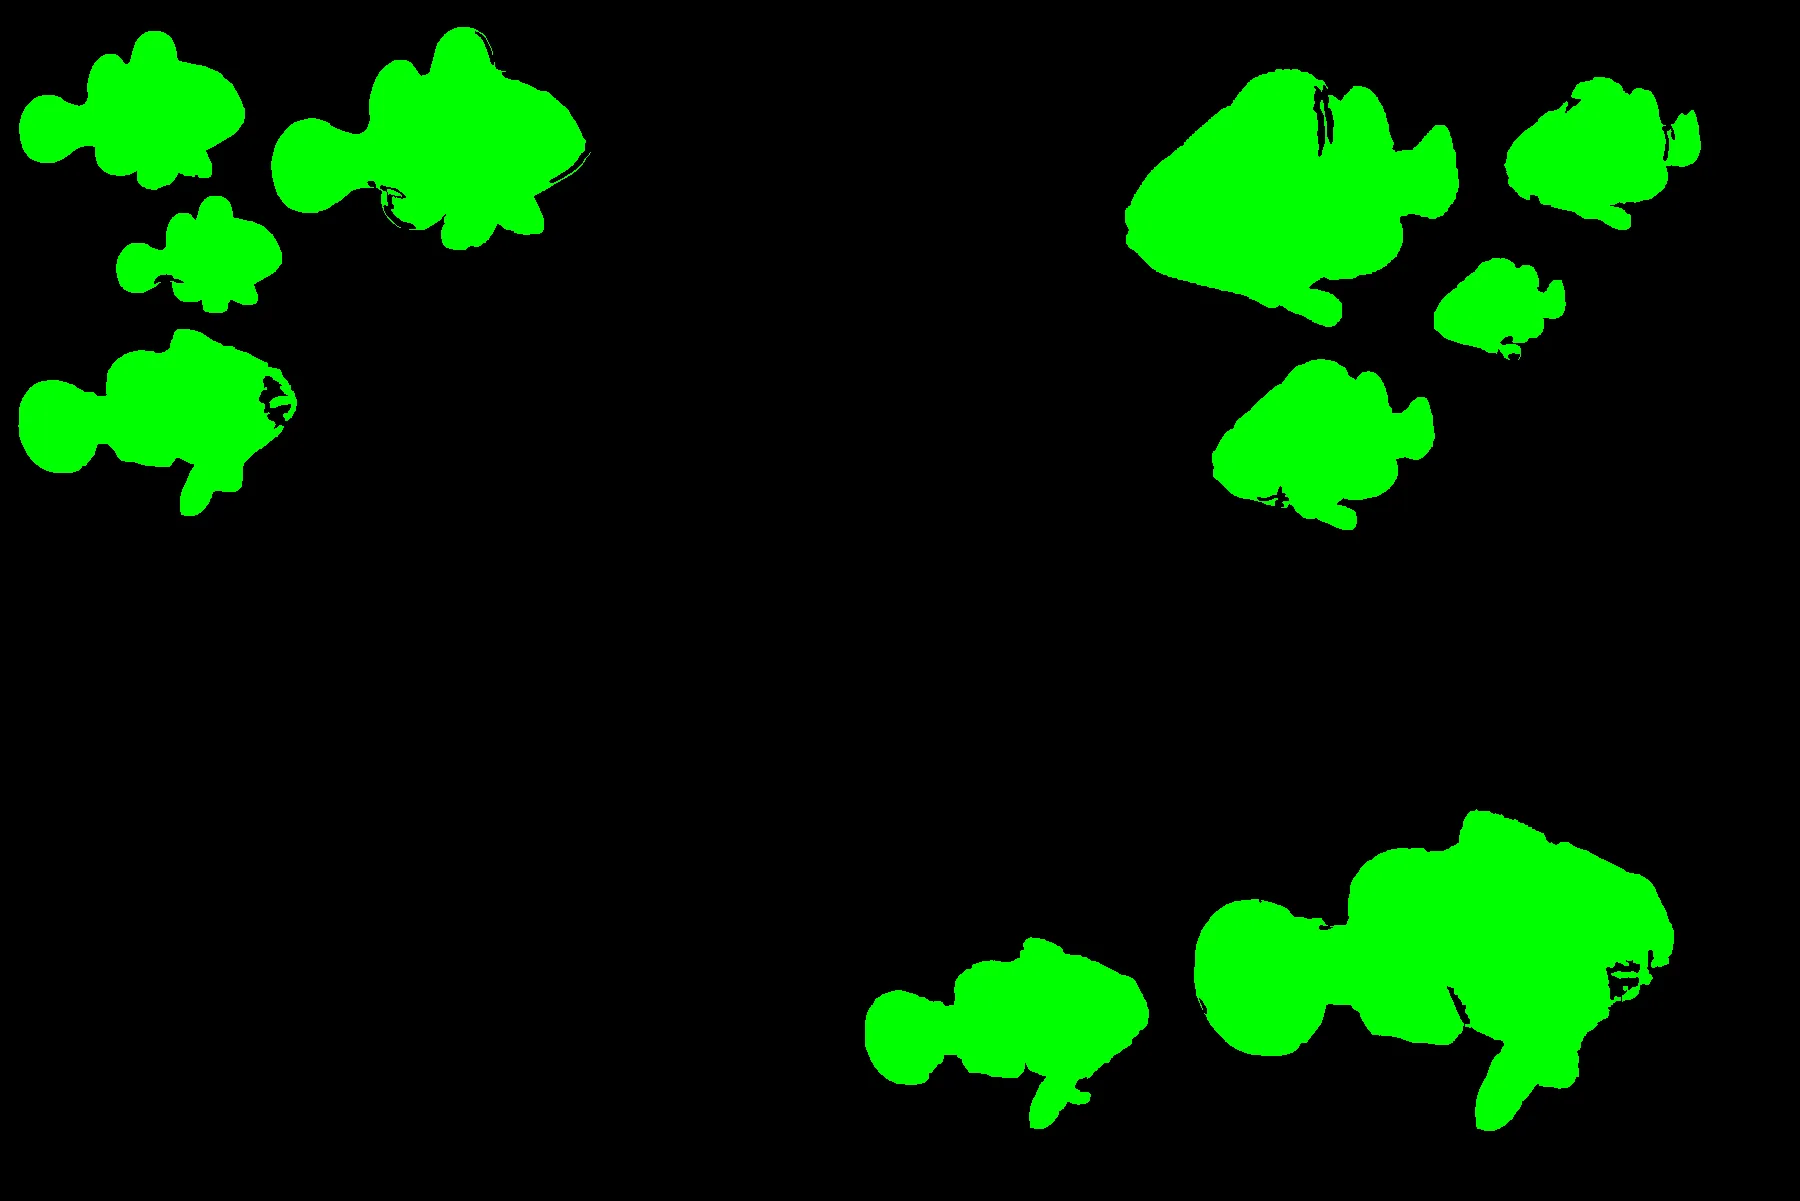
为了可视化两个图像之间的确切差异,我们可以遍历每个轮廓,使用最小阈值面积过滤掉噪声,然后用边界框突出显示差异部分。
局限性:尽管此方法非常有效,但仍存在一些重要的局限性。两张输入图像必须具有相同的尺寸/维度,并且也会受到缩放、平移、旋转和扭
from skimage.metrics import structural_similarity
import cv2
import numpy as np

first = cv2.imread('clownfish_1.jpeg')
second = cv2.imread('clownfish_2.jpeg')

# Convert images to grayscale
first_gray = cv2.cvtColor(first, cv2.COLOR_BGR2GRAY)
second_gray = cv2.cvtColor(second, cv2.COLOR_BGR2GRAY)

# Compute SSIM between two images
score, diff = structural_similarity(first_gray, second_gray, full=True)
print("Similarity Score: {:.3f}%".format(score * 100))

# The diff image contains the actual image differences between the two images
# and is represented as a floating point data type so we must convert the array
# to 8-bit unsigned integers in the range [0,255] before we can use it with OpenCV
diff = (diff * 255).astype("uint8")

# Threshold the difference image, followed by finding contours to
# obtain the regions that differ between the two images
thresh = cv2.threshold(diff, 0, 255, cv2.THRESH_BINARY_INV | cv2.THRESH_OTSU)[1]
contours = cv2.findContours(thresh, cv2.RETR_EXTERNAL, cv2.CHAIN_APPROX_SIMPLE)
contours = contours[0] if len(contours) == 2 else contours[1]

# Highlight differences
mask = np.zeros(first.shape, dtype='uint8')
filled = second.copy()

for c in contours:
    area = cv2.contourArea(c)
    if area > 100:
        x,y,w,h = cv2.boundingRect(c)
        cv2.rectangle(first, (x, y), (x + w, y + h), (36,255,12), 2)
        cv2.rectangle(second, (x, y), (x + w, y + h), (36,255,12), 2)
        cv2.drawContours(mask, [c], 0, (0,255,0), -1)
        cv2.drawContours(filled, [c], 0, (0,255,0), -1)

cv2.imshow('first', first)
cv2.imshow('second', second)
cv2.imshow('diff', diff)
cv2.imshow('mask', mask)
cv2.imshow('filled', filled)
cv2.waitKey()
第二种方法:密集向量表示
通常情况下,两张图片不会完全相同。它们可能具有略微不同的背景、尺寸、特征添加/减少或变换(缩放、旋转、倾斜)。换句话说,我们不能使用直接像素到像素的方法来解决问题,因为在出现变化时,问题由识别像素相似性转变为识别物体相似性。我们必须切换到深度学习特征模型,而不是比较单个像素值。
为了确定相同和近似相似的图像,我们可以使用sentence-transformers库,这个库提供了一种计算图像密集向量表示的简单方法,以及OpenAI对比语言-图像预训练(CLIP)模型,这是一个神经网络,已经训练了多种(图像、文本)对。其思想是将所有图像编码为向量空间,然后找到对应于图像相似的高密度区域。
当比较两个图像时,它们被赋予一个介于0到1.00之间的分数。我们可以使用一个阈值参数来确定两个图像是否相似或不同。较低的阈值将导致具有较少相似图像的簇。相反,较高的阈值将导致具有更多相似图像的簇。重复的图像将得到一个1.00的分数,表示这两个图像完全相同。要找到近似相似的图像,我们可以将阈值设置为任意值,比如0.9。例如,如果两个图像之间确定的分数大于0.9,则可以得出它们是近似相似的图像。
一个示例:
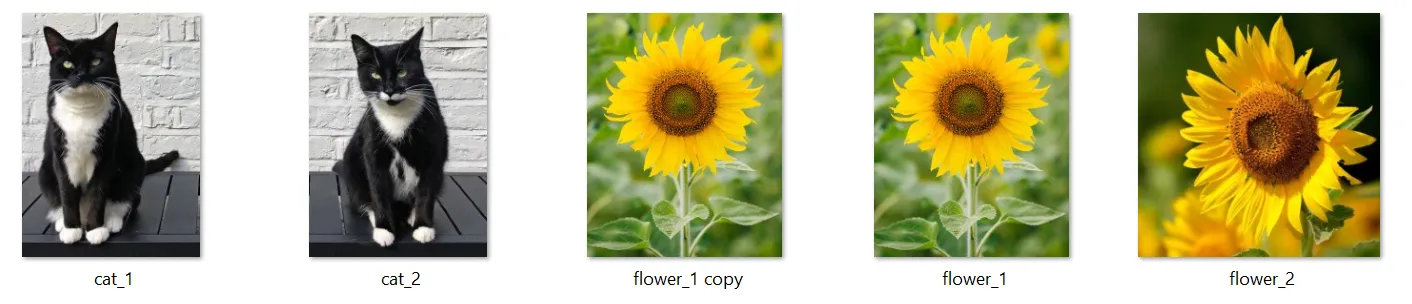
这个数据集有五张图片,注意到花#1有重复的,而其他的不同。
识别重复图片
Score: 100.000%
.\flower_1 copy.jpg
.\flower_1.jpg
花卉#1和它的复制品是相同的。
识别相似图片
Score: 97.141%
.\cat_1.jpg
.\cat_2.jpg

Score: 95.693%
.\flower_1.jpg
.\flower_2.jpg

Score: 57.658%
.\cat_1.jpg
.\flower_1 copy.jpg

Score: 57.658%
.\cat_1.jpg
.\flower_1.jpg

Score: 57.378%
.\cat_1.jpg
.\flower_2.jpg

Score: 56.768%
.\cat_2.jpg
.\flower_1 copy.jpg

Score: 56.768%
.\cat_2.jpg
.\flower_1.jpg

Score: 56.284%
.\cat_2.jpg
.\flower_2.jpg
我们在不同的图像之间得到了更有趣的结果。分数越高,相似度就越高;分数越低,相似度就越低。使用阈值为0.9或90%,我们可以过滤掉近似的图像。
仅比较两个图像
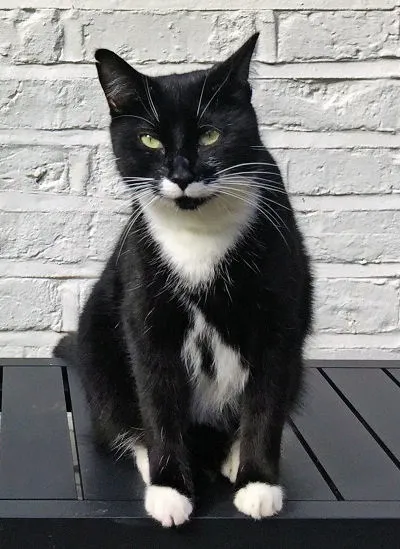
Score: 97.141%
.\cat_1.jpg
.\cat_2.jpg
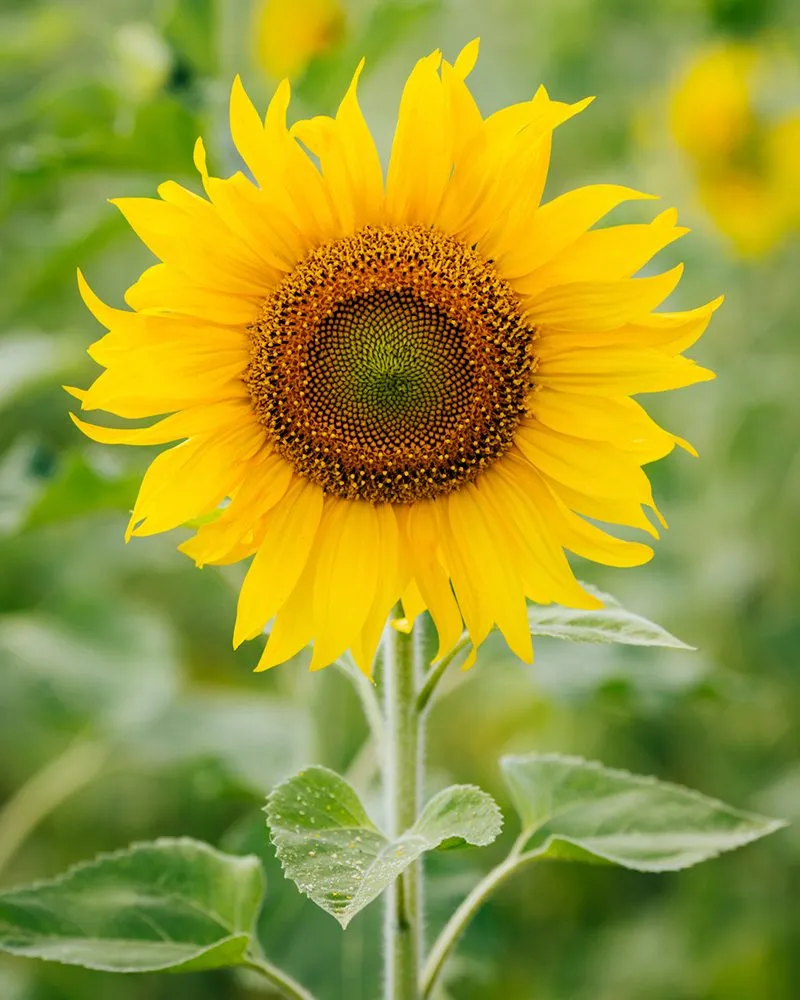
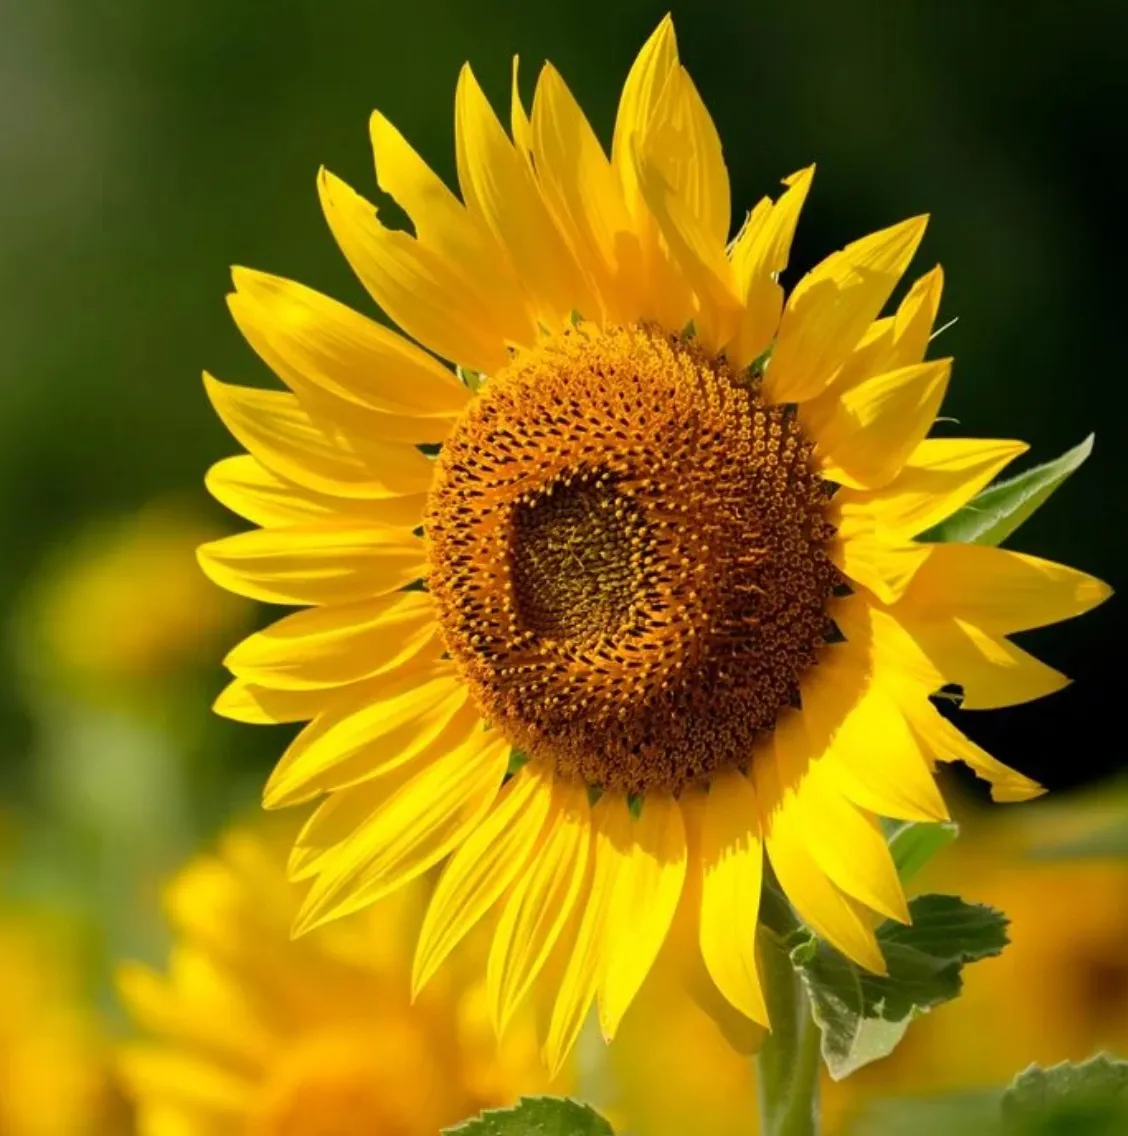
Score: 95.693%
.\flower_1.jpg
.\flower_2.jpg
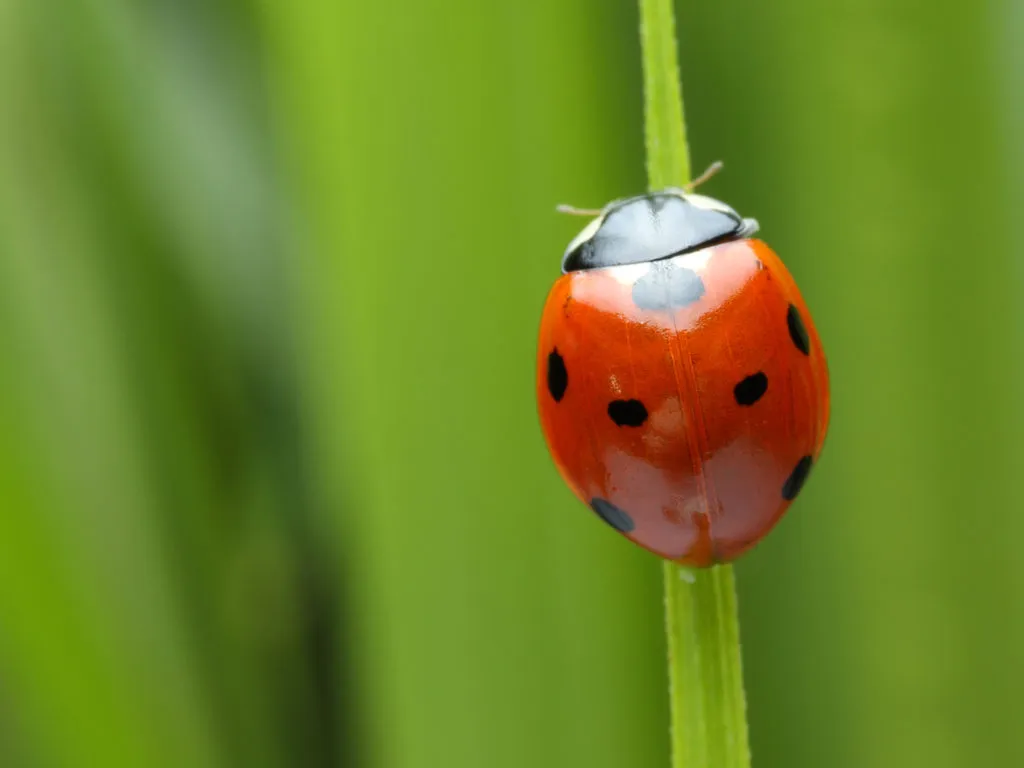
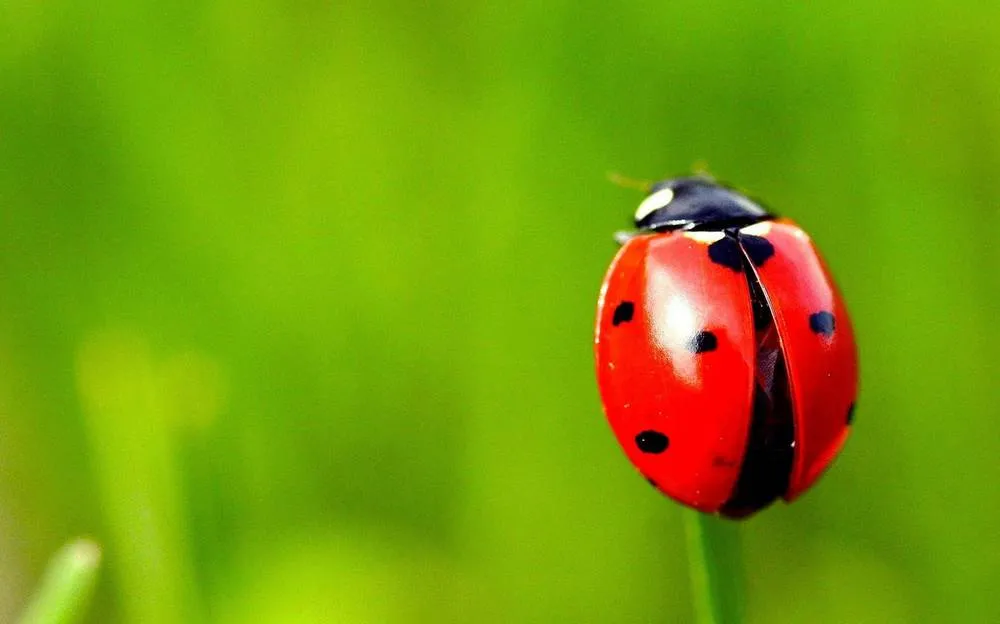
Score: 88.914%
.\ladybug_1.jpg
.\ladybug_2.jpg
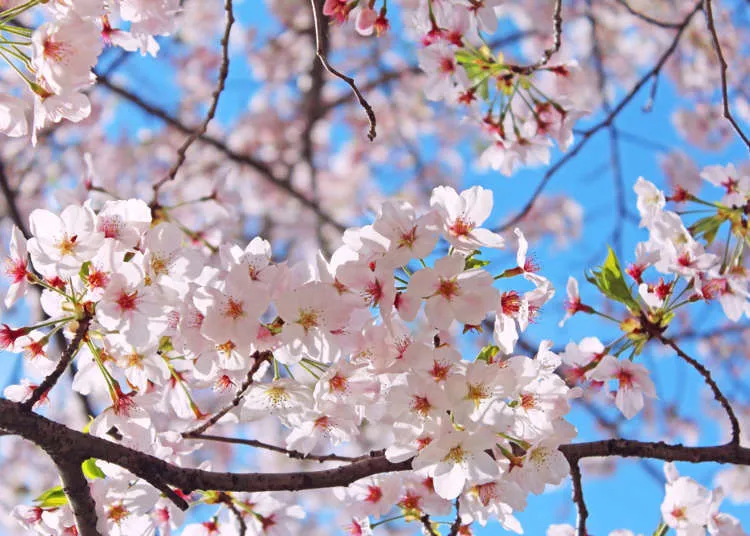
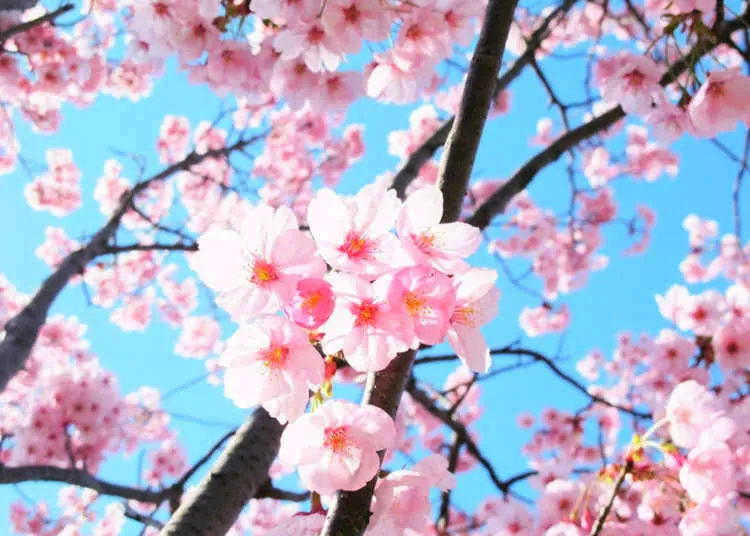
Score: 94.503%
.\cherry_1.jpg
.\cherry_2.jpg
代码:
from sentence_transformers import SentenceTransformer, util
from PIL import Image
import glob
import os

# Load the OpenAI CLIP Model
print('Loading CLIP Model...')
model = SentenceTransformer('clip-ViT-B-32')

# Next we compute the embeddings
# To encode an image, you can use the following code:
# from PIL import Image
# encoded_image = model.encode(Image.open(filepath))
image_names = list(glob.glob('./*.jpg'))
print("Images:", len(image_names))
encoded_image = model.encode([Image.open(filepath) for filepath in image_names], batch_size=128, convert_to_tensor=True, show_progress_bar=True)

# Now we run the clustering algorithm. This function compares images aganist
# all other images and returns a list with the pairs that have the highest
# cosine similarity score
processed_images = util.paraphrase_mining_embeddings(encoded_image)
NUM_SIMILAR_IMAGES = 10

# =================
# DUPLICATES
# =================
print('Finding duplicate images...')
# Filter list for duplicates. Results are triplets (score, image_id1, image_id2) and is scorted in decreasing order
# A duplicate image will have a score of 1.00
# It may be 0.9999 due to lossy image compression (.jpg)
duplicates = [image for image in processed_images if image[0] >= 0.999]

# Output the top X duplicate images
for score, image_id1, image_id2 in duplicates[0:NUM_SIMILAR_IMAGES]:
    print("\nScore: {:.3f}%".format(score * 100))
    print(image_names[image_id1])
    print(image_names[image_id2])

# =================
# NEAR DUPLICATES
# =================
print('Finding near duplicate images...')
# Use a threshold parameter to identify two images as similar. By setting the threshold lower,
# you will get larger clusters which have less similar images in it. Threshold 0 - 1.00
# A threshold of 1.00 means the two images are exactly the same. Since we are finding near
# duplicate images, we can set it at 0.99 or any number 0 < X < 1.00.
threshold = 0.99
near_duplicates = [image for image in processed_images if image[0] < threshold]

for score, image_id1, image_id2 in near_duplicates[0:NUM_SIMILAR_IMAGES]:
    print("\nScore: {:.3f}%".format(score * 100))
    print(image_names[image_id1])
    print(image_names[image_id2])
如果需要匹配相同的图片(大小/方向相同)
// Compare two images by getting the L2 error (square-root of sum of squared error).
double getSimilarity( const Mat A, const Mat B ) {
if ( A.rows > 0 && A.rows == B.rows && A.cols > 0 && A.cols == B.cols ) {
    // Calculate the L2 relative error between images.
    double errorL2 = norm( A, B, CV_L2 );
    // Convert to a reasonable scale, since L2 error is summed across all pixels of the image.
    double similarity = errorL2 / (double)( A.rows * A.cols );
    return similarity;
}
else {
    //Images have a different size
    return 100000000.0;  // Return a bad value
}
Sam的解决方案应该足够了。 我使用了直方图差异和模板匹配的组合,因为没有一种方法在所有情况下都能100%有效。虽然我对直方图方法给予了较少的重视。以下是我如何在简单的Python脚本中实现的。
import cv2

class CompareImage(object):

    def __init__(self, image_1_path, image_2_path):
        self.minimum_commutative_image_diff = 1
        self.image_1_path = image_1_path
        self.image_2_path = image_2_path

    def compare_image(self):
        image_1 = cv2.imread(self.image_1_path, 0)
        image_2 = cv2.imread(self.image_2_path, 0)
        commutative_image_diff = self.get_image_difference(image_1, image_2)

        if commutative_image_diff < self.minimum_commutative_image_diff:
            print "Matched"
            return commutative_image_diff
        return 10000 //random failure value

    @staticmethod
    def get_image_difference(image_1, image_2):
        first_image_hist = cv2.calcHist([image_1], [0], None, [256], [0, 256])
        second_image_hist = cv2.calcHist([image_2], [0], None, [256], [0, 256])

        img_hist_diff = cv2.compareHist(first_image_hist, second_image_hist, cv2.HISTCMP_BHATTACHARYYA)
        img_template_probability_match = cv2.matchTemplate(first_image_hist, second_image_hist, cv2.TM_CCOEFF_NORMED)[0][0]
        img_template_diff = 1 - img_template_probability_match

        # taking only 10% of histogram diff, since it's less accurate than template method
        commutative_image_diff = (img_hist_diff / 10) + img_template_diff
        return commutative_image_diff


    if __name__ == '__main__':
        compare_image = CompareImage('image1/path', 'image2/path')
        image_difference = compare_image.compare_image()
        print image_difference
有点偏题但很有用的是pythonic的numpy方法。它强大而快速,但只比较像素而不是图片所包含的对象或数据(并且需要相同大小和形状的图像):
一个非常简单和快速的方法,可以在不使用openCV和任何计算机视觉库的情况下对图片数组进行规范化:
import numpy as np
picture1 = np.random.rand(100,100)
picture2 = np.random.rand(100,100)
picture1_norm = picture1/np.sqrt(np.sum(picture1**2))
picture2_norm = picture2/np.sqrt(np.sum(picture2**2))
在定义了两张标准图片(或矩阵)之后,您可以对您想要比较的图片进行乘法运算并求和:
1)如果您比较相似的图片,则总和将返回1:
In[1]: np.sum(picture1_norm**2)
Out[1]: 1.0
2) 如果它们不相似,你会得到一个介于0和1之间的值(如果乘以100则为百分比):
In[2]: np.sum(picture2_norm*picture1_norm)
Out[2]: 0.75389941124629822
可以使用自编码器来完成这样的任务,使用预训练的ImageRes数据上的VGG16架构;然后计算查询图像与其他图像之间的距离,以找到最接近的匹配。