在Swift中设置按钮的背景渐变

46

我不知道如何在按钮上设置背景渐变(而不是将背景渐变设置为图像)。这与Android非常不同。

这是一个类,我必须定义一个可返回的渐变方案:

import UIKit

extension CAGradientLayer {

    func backgroundGradientColor() -> CAGradientLayer {
        let topColor = UIColor(red: (0/255.0), green: (153/255.0), blue:(51/255.0), alpha: 1)
        let bottomColor = UIColor(red: (0/255.0), green: (153/255.0), blue:(255/255.0), alpha: 1)

        let gradientColors: [CGColor] = [topColor.CGColor, bottomColor.CGColor]
        let gradientLocations: [Float] = [0.0, 1.0]

        let gradientLayer: CAGradientLayer = CAGradientLayer()
        gradientLayer.colors = gradientColors
        gradientLayer.locations = gradientLocations

        return gradientLayer

    }
}

我可以使用以下代码来设置整个视图的背景:

class ViewController: UIViewController {

    override func viewDidLoad() {
        super.viewDidLoad()

        let background = CAGradientLayer().backgroundGradientColor()
        background.frame = self.view.bounds
        self.view.layer.insertSublayer(background, atIndex: 0)
    }
    //...
}

但是我该如何访问按钮的视图并插入子层或类似的内容呢?


这里对OP的问题的简单回答是:你不能在视图控制器中完成这个操作 - 你只需要子类化视图。这只需要一两行代码。 - Fattie
15个回答

77

你的代码运行良好。你只需要记得每次设置渐变的框架。最好的方法是让渐变类别也为您设置视图的框架。

这样你就不会忘记,它也可以正常应用。

import UIKit

extension UIView {

    func applyGradient(colours: [UIColor]) -> CAGradientLayer {
        return self.applyGradient(colours: colours, locations: nil)
    }


    func applyGradient(colours: [UIColor], locations: [NSNumber]?) -> CAGradientLayer {
        let gradient: CAGradientLayer = CAGradientLayer()
        gradient.frame = self.bounds
        gradient.colors = colours.map { $0.cgColor }
        gradient.locations = locations
        self.layer.insertSublayer(gradient, at: 0)
        return gradient
    }
}

class ViewController: UIViewController {

    @IBOutlet weak var btn: UIButton!
    
    override func viewDidLoad() {
        super.viewDidLoad()
        
        self.btn.applyGradient(colours: [.yellow, .blue])
        self.view.applyGradient(colours: [.yellow, .blue, .red], locations: [0.0, 0.5, 1.0])
    }


}

按钮是视图。您可以像将渐变应用于任何其他视图一样应用它。

图片证明: enter image description here

视频证明: https://i.imgur.com/ssDTqPu.mp4


13
我不同意最后一句话。虽然按钮是视图,但按钮背景与视图背景不同。按钮背景可以根据按钮状态而改变。将渐变作为图层添加时,我们会失去该效果。理想的解决方案是将渐变图层捕捉到图像中,并将该图像设置为按钮背景图像。另一个问题是,当按钮框架发生更改时,即从layoutSubviews方法中,应始终更新图层边界。 - Sulthan
记录一下,我知道你在说什么,但这并不适用于这篇文章,因为它是基于故事板约束的(而不是代码运行时约束或帧)。由于我已经发布了代码工作的视频证明,并且满足了OP的需求,并且在3年前被接受,目前有48人同意,所以我将删除我的评论,清理这个线程,并忘记我所读到的内容。 - Brandon
为了简化讨论,在iOS中添加CALayer时,必须在layoutSubviews中设置框架(实际上这就是为什么layoutSubviews存在的原因)。{在示例中尝试更改视图的形状或大小,或者非常简单地旋转手机} - Fattie
@Fattie; 如果一个视图/层的框架没有设置,iOS不会崩溃,我发布的视频似乎展示了这一点,并且没有设置框架也可以正常工作。如果它崩溃了,那么你有一个不同的问题。这是我自己动画按钮位置的另一个视频:https://i.imgur.com/vQfsvtO.mp4,没有崩溃。更改图层或视图的位置不会使其约束或渐变无效。只有更改**大小**才需要`layoutSubviews`或者需要你按照我说的做:`每次都要记得设置渐变的框架`。 - Brandon
这是第三个视频,展示了不需要覆盖布局子视图来动画渐变的大小、位置和旋转。对于一些人来说,在子类中覆盖它可能很方便,但绝对不是必要的,特别是当你不能子类化视图时。没有人会为了创建一个渐变并在子类中覆盖layoutSubviews而子类化/继承一个按钮。说了这么多,我将保留我的答案,因为它仍然有效,并且至今仍然可用。 - Brandon

45

简单来说:

import UIKit
class ActualGradientButton: UIButton {

    override func layoutSubviews() {
        super.layoutSubviews()
        gradientLayer.frame = bounds
    }

    private lazy var gradientLayer: CAGradientLayer = {
        let l = CAGradientLayer()
        l.frame = self.bounds
        l.colors = [UIColor.systemYellow.cgColor, UIColor.systemPink.cgColor]
        l.startPoint = CGPoint(x: 0, y: 0.5)
        l.endPoint = CGPoint(x: 1, y: 0.5)
        l.cornerRadius = 16
        layer.insertSublayer(l, at: 0)
        return l
    }()
}


特别适用于使用AutoLayout的情况。 - black_pearl
3
毫无疑问,是的,它与AutoLayout完美配合。顺便说一句,这个答案被downvote和“删除请求”(???)完全是很奇怪的 :) - Fattie

21

以下是针对 Swift3(也适用于Swift4)的解决方案,稍有扩展(取向助手):

typealias GradientPoints = (startPoint: CGPoint, endPoint: CGPoint)

enum GradientOrientation {
    case topRightBottomLeft
    case topLeftBottomRight
    case horizontal
    case vertical

    var startPoint : CGPoint {
        return points.startPoint
    }

    var endPoint : CGPoint {
        return points.endPoint
    }

    var points : GradientPoints {
        switch self {
        case .topRightBottomLeft:
            return (CGPoint(x: 0.0,y: 1.0), CGPoint(x: 1.0,y: 0.0))
        case .topLeftBottomRight:
            return (CGPoint(x: 0.0,y: 0.0), CGPoint(x: 1,y: 1))
        case .horizontal:
            return (CGPoint(x: 0.0,y: 0.5), CGPoint(x: 1.0,y: 0.5))
        case .vertical:
            return (CGPoint(x: 0.0,y: 0.0), CGPoint(x: 0.0,y: 1.0))
        }
    }
}

extension UIView {

    func applyGradient(with colours: [UIColor], locations: [NSNumber]? = nil) {
        let gradient = CAGradientLayer()
        gradient.frame = self.bounds
        gradient.colors = colours.map { $0.cgColor }
        gradient.locations = locations
        self.layer.insertSublayer(gradient, at: 0)
    }

    func applyGradient(with colours: [UIColor], gradient orientation: GradientOrientation) {
        let gradient = CAGradientLayer()
        gradient.frame = self.bounds
        gradient.colors = colours.map { $0.cgColor }
        gradient.startPoint = orientation.startPoint
        gradient.endPoint = orientation.endPoint
        self.layer.insertSublayer(gradient, at: 0)
    }
}

1
很不幸,出于其他答案中详细解释的原因,这是完全错误的。在iOS中,您只能通过创建视图的子类来添加CALayer。(幸运的是,这非常简单 - 只需一两行代码即可。)上面的两个扩展程序根本不起作用,因为它们没有以任何方式调整图层大小。 - Fattie

12

@Zeb的回答很好,但是为了使其更加简洁明了并具有一定的Swift风格。计算只读属性应避免使用get,并且返回Void是多余的:

typealias GradientPoints = (startPoint: CGPoint, endPoint: CGPoint)

enum GradientOrientation {
  case topRightBottomLeft
  case topLeftBottomRight
  case horizontal
  case vertical

var startPoint: CGPoint {
    return points.startPoint
}

var endPoint: CGPoint {
    return points.endPoint
}

var points: GradientPoints {
    switch self {
    case .topRightBottomLeft:
        return (CGPoint(x: 0.0, y: 1.0), CGPoint(x: 1.0, y: 0.0))
    case .topLeftBottomRight:
        return (CGPoint(x: 0.0, y: 0.0), CGPoint(x: 1, y: 1))
    case .horizontal:
        return (CGPoint(x: 0.0, y: 0.5), CGPoint(x: 1.0, y: 0.5))
    case .vertical:
        return (CGPoint(x: 0.0, y: 0.0), CGPoint(x: 0.0, y: 1.0))
    }
  }
}

extension UIView {

func applyGradient(withColours colours: [UIColor], locations: [NSNumber]? = nil) {
    let gradient: CAGradientLayer = CAGradientLayer()
    gradient.frame = self.bounds
    gradient.colors = colours.map { $0.cgColor }
    gradient.locations = locations
    self.layer.insertSublayer(gradient, at: 0)
}

func applyGradient(withColours colours: [UIColor], gradientOrientation orientation: GradientOrientation) {
    let gradient: CAGradientLayer = CAGradientLayer()
    gradient.frame = self.bounds
    gradient.colors = colours.map { $0.cgColor }
    gradient.startPoint = orientation.startPoint
    gradient.endPoint = orientation.endPoint
    self.layer.insertSublayer(gradient, at: 0)
  }
}

1
这个没问题,我试图设置UIButton的cornerRadius,但是除非我移除渐变,否则它不会产生任何效果,有没有解决方法? - SimpuMind
你尝试过将 masksToBounds 设置为 false 吗? - brl214
4
将 clipsToBounds 设置为 true。 - Carien van Zyl
很不幸,这是完全错误的。在iOS工程中,当您添加一个图层时,必须在layoutSubviews中进行形状调整(实际上这就是为什么layoutSubviews存在的原因)。 - Fattie
是的。在插入子层之前,请添加以下行以删除现有的gradientLayer。 layer.name =“gradientLayer” self.layer.sublayers.filter {$ 0.name == layer.name} .first?.removeFromSuperLayer() - P C

7
如果您想在按钮上创建渐变背景,而不是将渐变作为子层添加并在 layoutSubviews 中更改其 frame,我建议您直接指定按钮的 layerClassCAGradientLayer,这样主层就渐变色:
@IBDesignable
public class GradientButton: UIButton {
    public override class var layerClass: AnyClass         { CAGradientLayer.self }
    private var gradientLayer: CAGradientLayer             { layer as! CAGradientLayer }

    @IBInspectable public var startColor: UIColor = .white { didSet { updateColors() } }
    @IBInspectable public var endColor: UIColor = .red     { didSet { updateColors() } }

    // expose startPoint and endPoint to IB

    @IBInspectable public var startPoint: CGPoint {
        get { gradientLayer.startPoint }
        set { gradientLayer.startPoint = newValue }
    }

    @IBInspectable public var endPoint: CGPoint {
        get { gradientLayer.endPoint }
        set { gradientLayer.endPoint = newValue }
    }

    // while we're at it, let's expose a few more layer properties so we can easily adjust them in IB

    @IBInspectable public var cornerRadius: CGFloat {
        get { layer.cornerRadius }
        set { layer.cornerRadius = newValue }
    }

    @IBInspectable public var borderWidth: CGFloat {
        get { layer.borderWidth }
        set { layer.borderWidth = newValue }
    }

    @IBInspectable public var borderColor: UIColor? {
        get { layer.borderColor.flatMap { UIColor(cgColor: $0) } }
        set { layer.borderColor = newValue?.cgColor }
    }

    // init methods

    public override init(frame: CGRect = .zero) {
        super.init(frame: frame)
        updateColors()
    }

    required init?(coder: NSCoder) {
        super.init(coder: coder)
        updateColors()
    }
}

private extension GradientButton {
    func updateColors() {
        gradientLayer.colors = [startColor.cgColor, endColor.cgColor]
    }
}

通过设置layerClass,它将使主层为渐变,自动适应按钮的bounds属性。这样做的好处是,如果您对按钮大小进行动画更改(例如旋转事件或其他事件),渐变也会正确地进行动画处理。

虽然没有必要,但将此类设置为 @ IBDesignable 可能会很方便,因为可以在IB中设置其属性,无需在视图控制器中添加任何其他代码即可在storyboard / NIB中正确渲染. 例如,在IB中可以自定义圆角,边框和渐变的颜色和方向:

enter image description here


这是完美的解决方案。它甚至可以在混合环境中与 obj-c 文件一起使用,只需将 @objc 添加到类中即可。 - BootMaker

5

尝试这个对我有效,

     let button = UIButton(frame: CGRect(x: 60, y: 150, width: 200, height: 60))
    button.setTitle("Email", for: .normal)
    button.backgroundColor = .red
    button.setTitleColor(UIColor.black, for: .normal)
    button.addTarget(self, action: #selector(self.buttonTapped), for: .touchUpInside)

    // Apply Gradient Color
    let gradientLayer:CAGradientLayer = CAGradientLayer()
    gradientLayer.frame.size = button.frame.size
    gradientLayer.colors =
        [UIColor.white.cgColor,UIColor.green.withAlphaComponent(1).cgColor]
    //Use diffrent colors
    button.layer.addSublayer(gradientLayer)
    self.view.addSubview(button)

enter image description here

您可以添加渐变色的起始点和结束点。
 gradientLayer.startPoint = CGPoint(x: 0.0, y: 1.0)
 gradientLayer.endPoint = CGPoint(x: 1.0, y: 1.0)

enter image description here

如需更多详细描述,请参考CAGradientLayer文档


很不幸,这是完全错误的。 这是 iOS 工程的绝对基础之一,当您添加一个层时,必须在 layoutSubviews 中进行形状设置(事实上,这就是为什么 layoutSubviews 存在的原因)。 - Fattie
是的。在插入子层之前,请添加以下行以删除现有的gradientLayer。 layer.name =“gradientLayer” self.layer.sublayers.filter {$ 0.name == layer.name} .first?.removeFromSuperLayer() - P C

2
我已经尝试了所有的方法,这是我在viewdidload中初始化按钮的代码。
let button = UIButton()
    button.setTitle("Alper", for: .normal)
    button.layer.borderColor = UIColor.white.cgColor
    button.layer.borderWidth = 1
    view.addSubview(button)
    button.anchor(top: nil, left: nil, bottom: logo.topAnchor, right: nil, paddingTop: 0, paddingLeft: 0, paddingBottom: 0, paddingRight: 0, height: 50, width: 100)
    let gradientx = CAGradientLayer()
    gradientx.colors = [UIColor.blue,UIColor.red]
    gradientx.startPoint = CGPoint(x: 0.0, y: 0.5)
    gradientx.endPoint = CGPoint(x: 1.0, y: 1.0)
    gradientx.frame = button.bounds
    button.layer.insertSublayer(gradientx, at: 0)

锚点是一种扩展,因此这与渐变无关。

1
很遗憾,这是完全错误的。iOS 工程的一个绝对基础就是,当你添加一个图层时,必须在 layoutSubviews 中进行形状调整(实际上这正是 layoutSubviews 存在的原因)。 - Fattie
1
是的。在插入子层之前,请添加以下行以删除现有的gradientLayer。 layer.name =“gradientLayer” self.layer.sublayers.filter {$ 0.name == layer.name} .first?.removeFromSuperLayer() - P C

1
对于Swift
extension UIViewController {
    func makeGradientColor(`for` object : AnyObject , startPoint : CGPoint , endPoint : CGPoint) -> CAGradientLayer {
        let gradient: CAGradientLayer = CAGradientLayer()
        
        gradient.colors = [(UIColor.red.cgColor), (UIColor.yellow.cgColor)]
        gradient.locations = [0.0 , 1.0]
        
        gradient.startPoint = startPoint
        gradient.endPoint = endPoint
        gradient.frame = CGRect(x: 0.0, y: 0.0, width: object.bounds.size.width, height: object.bounds.size.height)
        return gradient
    }
}

如何使用?
if let layers = btn.layer.sublayers{
            for layer in layers {
                if layer.isKind(of: CAGradientLayer.self) {
                    layer.removeFromSuperlayer()
                }
            }
        }

let start : CGPoint = CGPoint(x: 0.0, y: 0.0)
let end : CGPoint = CGPoint(x: 1.0, y: 1.0)

let gradient: CAGradientLayer = self.makeGradientColor(for: cell.bgView, startPoint: start, endPoint: end)
btn.layer.insertSublayer(gradient, at: 0)

很不幸,这是完全错误的。在iOS工程中,当您添加一个图层时,必须在layoutSubviews中进行形状调整(实际上这就是为什么layoutSubviews存在的原因)。 - Fattie
1
是的。在插入子层之前,请添加以下行以删除现有的gradientLayer。 layer.name =“gradientLayer” self.layer.sublayers.filter {$ 0.name == layer.name} .first?.removeFromSuperLayer() - P C

1

这里是带有圆角、起始点和结束点的渐变按钮代码...

extension UIView {

func applyGradient(colours: [UIColor], cornerRadius: CGFloat?, startPoint: CGPoint, endPoint: CGPoint)  {
    let gradient: CAGradientLayer = CAGradientLayer()
    gradient.frame = self.bounds
    if let cornerRadius = cornerRadius {
        gradient.cornerRadius = cornerRadius
    }
    gradient.startPoint = startPoint
    gradient.endPoint = endPoint
    gradient.colors = colours.map { $0.cgColor }
    self.layer.insertSublayer(gradient, at: 0)
  }  
}

用法:

self.yourButton.applyGradient(colours: [.red, .green], cornerRadius: 20, startPoint: CGPoint(x: 0, y: 0.5), endPoint: CGPoint(x: 1, y: 0.5))

Result:


1

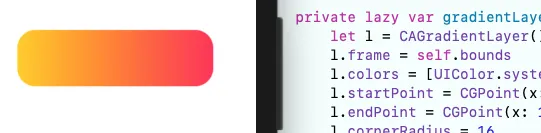
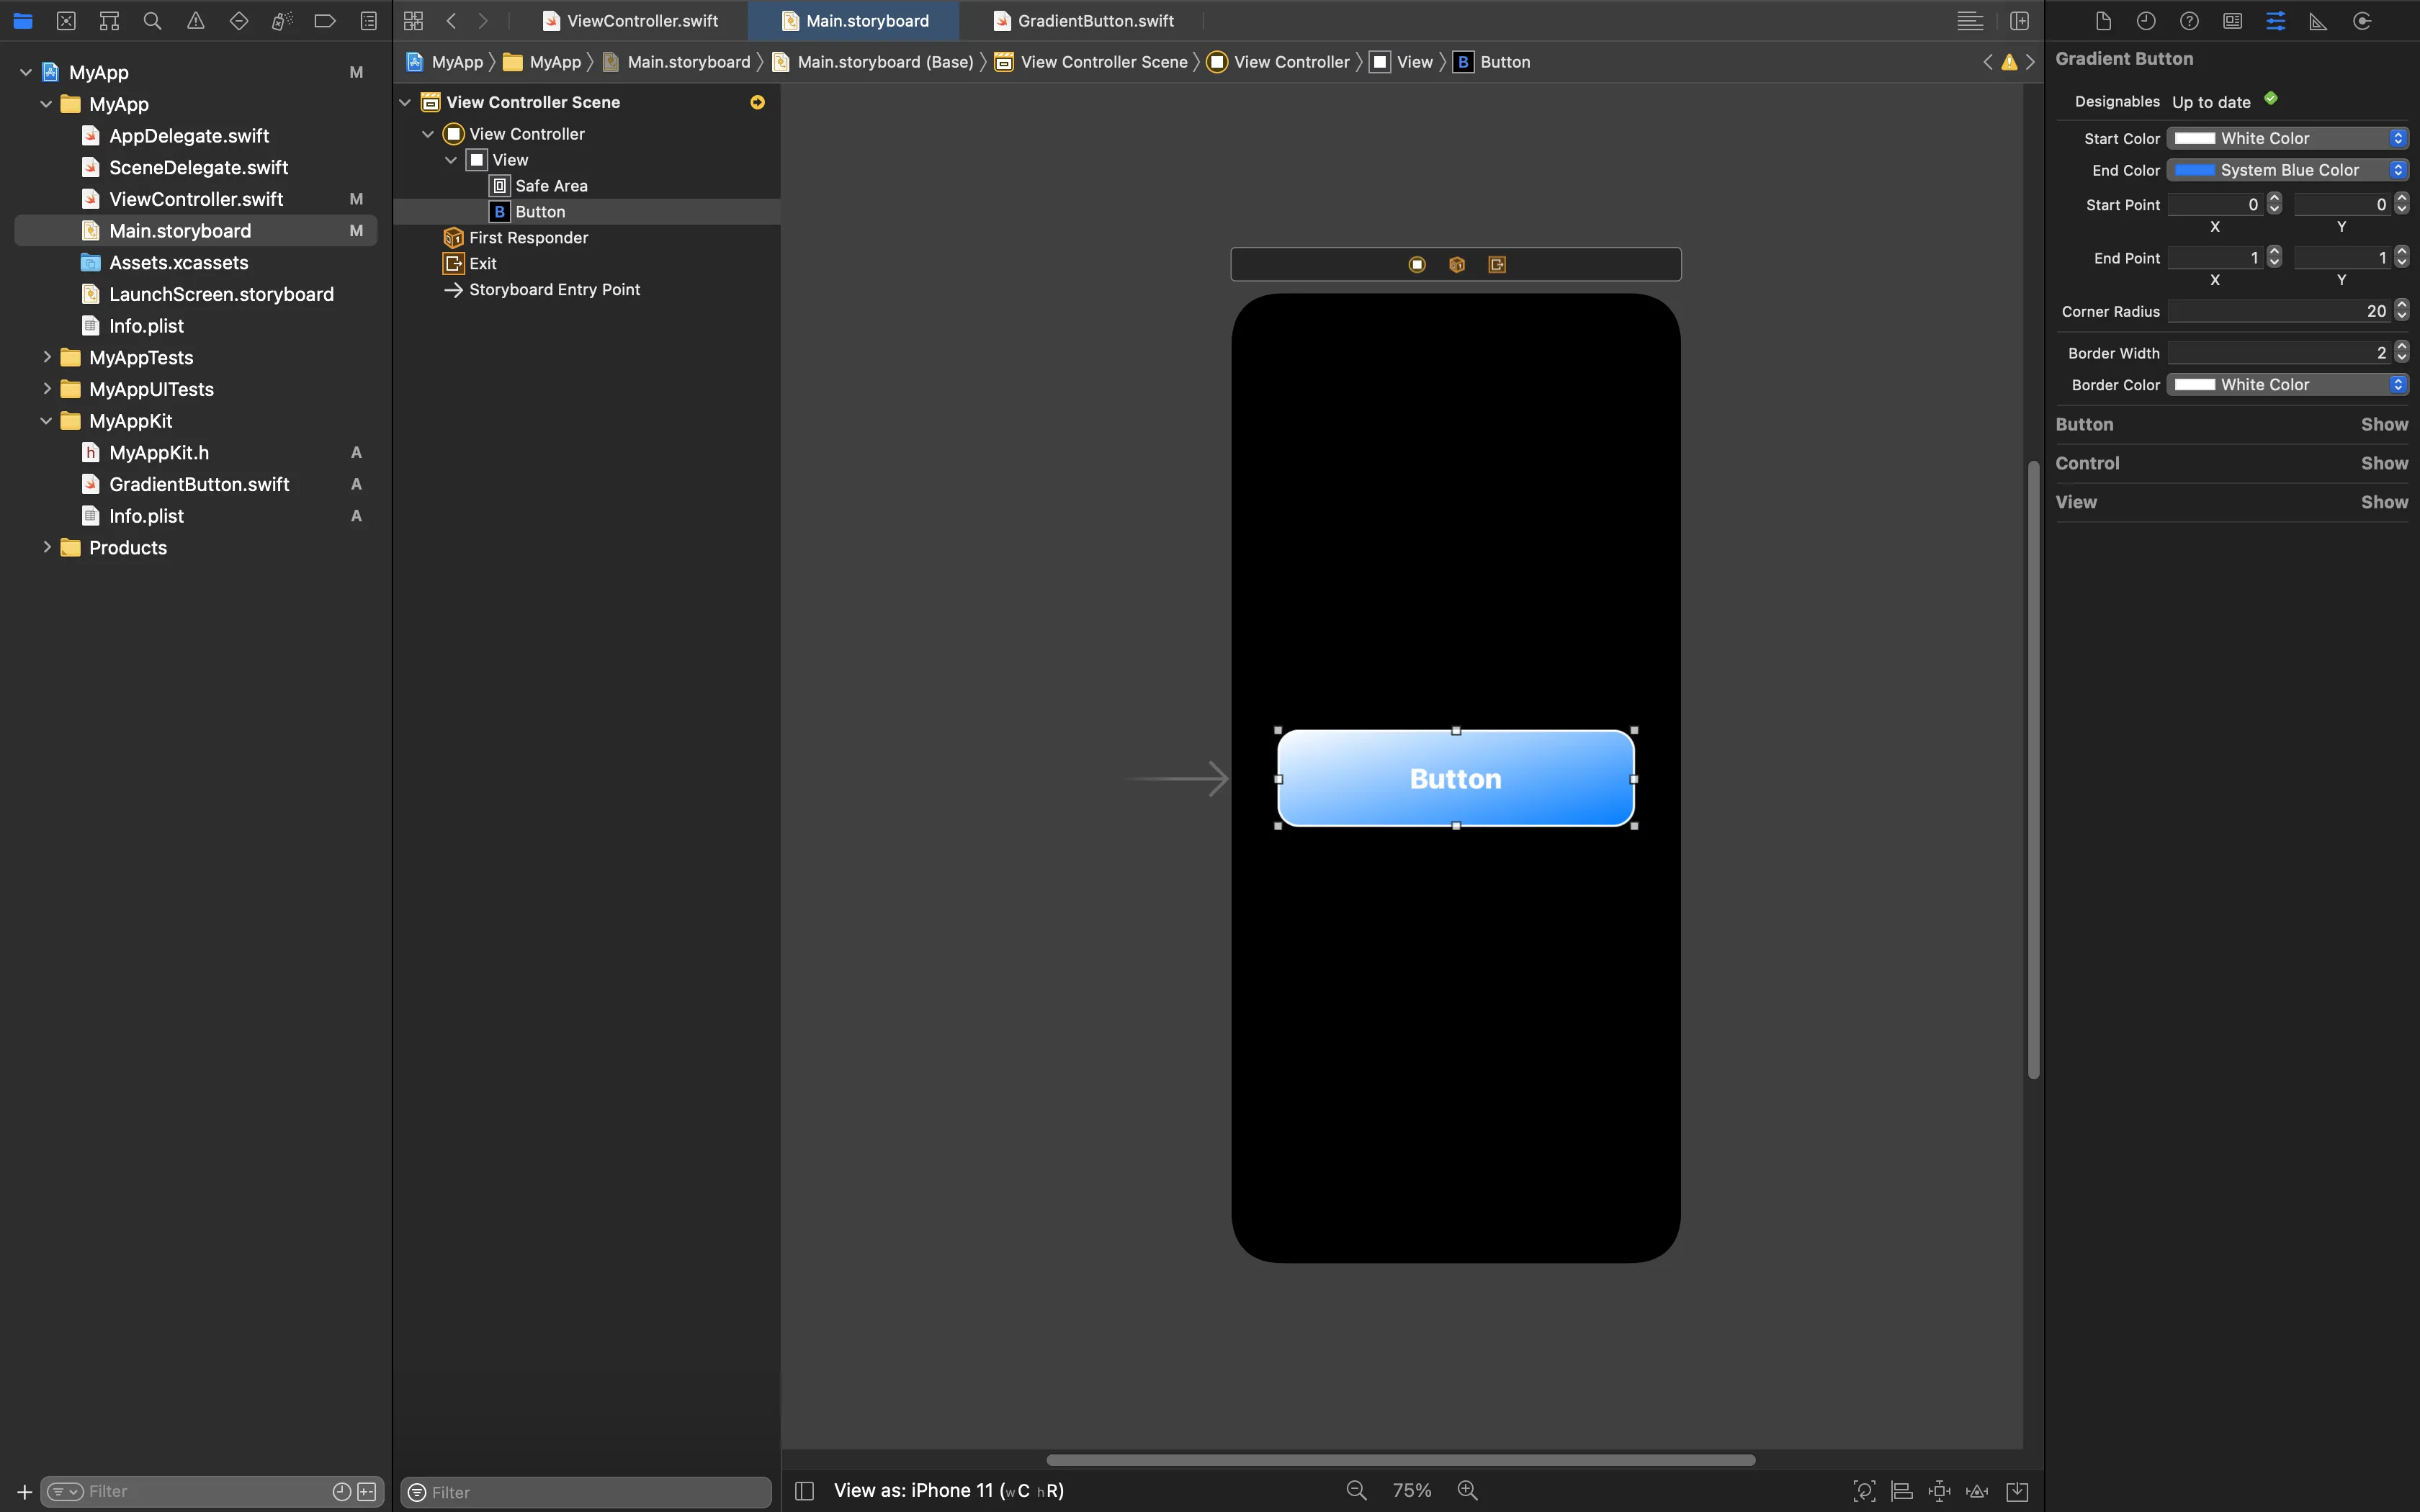
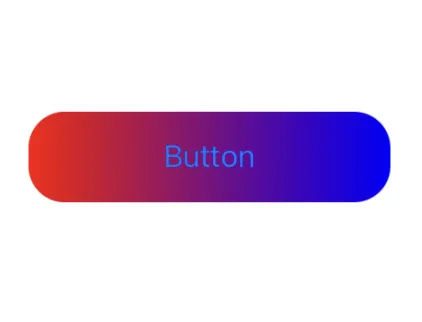
已经有很多答案了,我想补充一下我是如何实现的。我使用了这个自定义按钮GradientButton。

import Foundation
import UIKit

class GradientButton: UIButton {

    let gradientColors : [UIColor]
    let startPoint : CGPoint
    let endPoint : CGPoint

    required init(gradientColors: [UIColor] = [UIColor.red, UIColor.blue],
                  startPoint: CGPoint = CGPoint(x: 0, y: 0.5),
                  endPoint: CGPoint = CGPoint(x: 1, y: 0.5)) {
        self.gradientColors = gradientColors
        self.startPoint = startPoint
        self.endPoint = endPoint

        super.init(frame: .zero)
    }

    required init?(coder aDecoder: NSCoder) {
        fatalError("init(coder:) has not been implemented")
    }

    override func layoutSubviews() {
        super.layoutSubviews()

        let halfOfButtonHeight = layer.frame.height / 2
        contentEdgeInsets = UIEdgeInsets(top: 10, left: halfOfButtonHeight, bottom: 10, right: halfOfButtonHeight)

        layer.anchorPoint = CGPoint(x: 0.5, y: 0.5)

        backgroundColor = UIColor.clear

        // setup gradient

        let gradient = CAGradientLayer()
        gradient.frame = bounds
        gradient.colors = gradientColors.map { $0.cgColor }
        gradient.startPoint = startPoint
        gradient.endPoint = endPoint
        gradient.cornerRadius = 4

        // replace gradient as needed
        if let oldGradient = layer.sublayers?[0] as? CAGradientLayer {
            layer.replaceSublayer(oldGradient, with: gradient)
        } else {
            layer.insertSublayer(gradient, below: nil)
        }

        // setup shadow

        layer.shadowColor = UIColor.darkGray.cgColor
        layer.shadowPath = UIBezierPath(roundedRect: bounds, cornerRadius: halfOfButtonHeight).cgPath
        layer.shadowOffset = CGSize(width: 0.0, height: 1.0)
        layer.shadowOpacity = 0.85
        layer.shadowRadius = 4.0
    }

    override var isHighlighted: Bool {
        didSet {
            let newOpacity : Float = isHighlighted ? 0.6 : 0.85
            let newRadius : CGFloat = isHighlighted ? 6.0 : 4.0

            let shadowOpacityAnimation = CABasicAnimation()
            shadowOpacityAnimation.keyPath = "shadowOpacity"
            shadowOpacityAnimation.fromValue = layer.shadowOpacity
            shadowOpacityAnimation.toValue = newOpacity
            shadowOpacityAnimation.duration = 0.1

            let shadowRadiusAnimation = CABasicAnimation()
            shadowRadiusAnimation.keyPath = "shadowRadius"
            shadowRadiusAnimation.fromValue = layer.shadowRadius
            shadowRadiusAnimation.toValue = newRadius
            shadowRadiusAnimation.duration = 0.1

            layer.add(shadowOpacityAnimation, forKey: "shadowOpacity")
            layer.add(shadowRadiusAnimation, forKey: "shadowRadius")

            layer.shadowOpacity = newOpacity
            layer.shadowRadius = newRadius

            let xScale : CGFloat = isHighlighted ? 1.025 : 1.0
            let yScale : CGFloat = isHighlighted ? 1.05 : 1.0
            UIView.animate(withDuration: 0.1) {
                let transformation = CGAffineTransform(scaleX: xScale, y: yScale)
                self.transform = transformation
            }
        }
    }
}

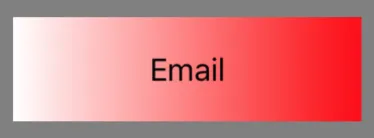
您可以像这样创建GradientButton实例。
let button = GradientButton.init(gradientColors:[UIColor.black, UIColor.white], startPoint: CGPoint(x: 0, y: 0), endPoint: CGPoint(x: 0, y: 1))

很不幸,这是完全错误的。你肯定不会每次布局应用程序时都创建一个图层。 - Fattie
是的。在插入子层之前,请添加以下行以删除现有的gradientLayer。 layer.name =“gradientLayer” self.layer.sublayers.filter {$ 0.name == layer.name} .first?.removeFromSuperLayer() - P C

网页内容由stack overflow 提供, 点击上面的
可以查看英文原文,
原文链接