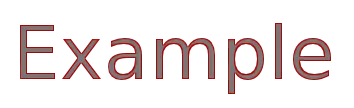
如何使用Python在图像上绘制具有不同描边和填充颜色的文本?
这里是一些具有红色描边和灰色填充的文本。
我尝试使用PIL来实现,但没有设置描边颜色的选项。
如何使用Python在图像上绘制具有不同描边和填充颜色的文本?
这里是一些具有红色描边和灰色填充的文本。
我尝试使用PIL来实现,但没有设置描边颜色的选项。
import cairo

def text_extent(font, font_size, text, *args, **kwargs):
    surface = cairo.ImageSurface(cairo.FORMAT_ARGB32, 0, 0)
    ctx = cairo.Context(surface)
    ctx.select_font_face(font, *args, **kwargs)
    ctx.set_font_size(font_size)
    return ctx.text_extents(text)

text='Example'
font="Sans"
font_size=55.0
font_args=[cairo.FONT_SLANT_NORMAL]
(x_bearing, y_bearing, text_width, text_height,
 x_advance, y_advance) = text_extent(font, font_size, text, *font_args)
surface = cairo.ImageSurface(cairo.FORMAT_ARGB32, int(text_width), int(text_height))
ctx = cairo.Context(surface)
ctx.select_font_face(font, *font_args)
ctx.set_font_size(font_size)
ctx.move_to(-x_bearing, -y_bearing)
ctx.text_path(text)
ctx.set_source_rgb(0.47, 0.47, 0.47)
ctx.fill_preserve()
ctx.set_source_rgb(1, 0, 0)
ctx.set_line_width(1.5)
ctx.stroke()

surface.write_to_png("/tmp/out.png")

PIL不支持这个功能,但你可以通过伪装来实现:使用一个像素的偏移量,使用外部颜色渲染文本四遍或八遍:
x+1,y
x-1,y
x  ,y+1
x  ,y-1
x+1,y+1
x  ,y+1
x-1,y+1

x+1,y
x-1,y

x+1,y-1
x  ,y-1
x-1,y-1
(八倍版本)
然后在 x,y 处填充颜色。
使用 imagemagick:
import subprocess

args = {
    'bgColor': 'transparent',
    'fgColor': 'light slate grey',
    'fgOutlineColor': 'red',
    'text': 'Example',
    'size': 72,
    'geometry': '350x100!',
    'output': '/tmp/out.png',
    'font': 'helvetica'
}

cmd = ['convert', 'xc:{bgColor}', '-resize', '{geometry}', '-gravity', 'Center',
       '-font', '{font}', '-pointsize', '{size}', '-fill', '{fgColor}',
       '-stroke', '{fgOutlineColor}', '-draw', "text 0,0 '{text}'", '-trim', '{output}']
cmd = [item.format(**args) for item in cmd]

proc = subprocess.Popen(cmd)
proc.communicate()

geometry -- 只要你使用感叹号,imagemagick 就会创建一个完全符合该几何形状的图像 -- 但是如果字体 size 太大,文本的一部分可能会被裁剪掉。 - unutbustroke_fill(轮廓颜色)和stroke_width(轮廓线宽度)。pip install -U pillow。该命令适用于Pillow 7.2版本。 - jdhaofrom PIL import Image, ImageDraw, ImageFont
def main():
text_color = (255, 0, 0)
outline_color = (0, 0, 255)
size = (512, 256)
img = Image.new(mode='RGB', size=size, color=(255, 255, 255))
font = ImageFont.truetype(font="C:/WINDOWS/Fonts/STKAITI.TTF", size=100)
drawer = ImageDraw.Draw(img)
x = 10
y = 10
bd_w = 1
drawer.text((x-bd_w, y), "测试文字", font=font, fill=outline_color)
drawer.text((x, y-bd_w), "测试文字", font=font, fill=outline_color)
drawer.text((x+bd_w, y), "测试文字", font=font, fill=outline_color)
drawer.text((x, y+bd_w), "测试文字", font=font, fill=outline_color)
drawer.text((x+bd_w, y-bd_w), "测试文字", font=font, fill=outline_color)
drawer.text((x-bd_w, y-bd_w), "测试文字", font=font, fill=outline_color)
drawer.text((x-bd_w, y+bd_w), "测试文字", font=font, fill=outline_color)
drawer.text((x+bd_w, y+bd_w), "测试文字", font=font, fill=outline_color)
drawer.text((x, y), "测试文字", font=font, fill=text_color)
img.show()
if __name__ == "__main__":
main()
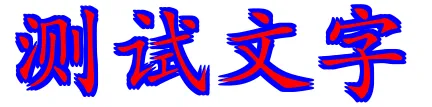
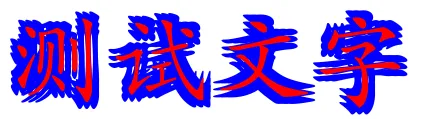
bd_w(边框宽度)设置得稍高一些,此方法会产生不令人满意的文本。请参见以下图像以了解bd_w的效果: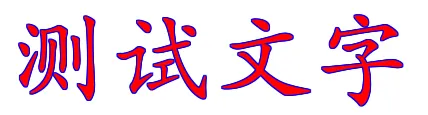
import subprocess
subprocess.call("inkscape in.svg --export-text-to-path --export-plain-svg out.svg", shell = True)
注意:您需要下载Inkscape才能使用它,因此不适合长期使用。