首先,你需要使用sklearn.model_selection库中的train_test_split类将数据集拆分为训练集和测试集。{{train_test_split}}
X_train, X_test, y_train, y_test = train_test_split(X, y, test_size = 0.08, random_state = 0)
此外,您需要使用StandardScaler类对值进行scale。
from sklearn.preprocessing import StandardScaler
sc = StandardScaler()
X_train = sc.fit_transform(X_train)
X_test = sc.transform(X_test)
接下来,您应该添加更多的{{图层}}以获得更好的结果。
注意
通常,为了找出所需的{{隐藏}} {{图层}}的总数,应使用以下公式。
Nh = Ns/(α∗ (Ni + No))
在这里:
- Ni = 输入神经元的数量。
- No = 输出神经元的数量。
- Ns = 训练数据集中的样本数。
- α = 一个任意的缩放因子,通常为2-10。
因此,我们的分类器变成了:
model = Sequential()
model.add(Dense(32, activation = 'relu', input_dim = 6))
model.add(Dense(units = 32, activation = 'relu'))
model.add(Dense(units = 32, activation = 'relu'))
model.add(Dense(units = 1))
你使用的度量标准
metrics=['accuracy'] 对应于一个分类问题。如果你想进行回归,请删除
metrics=['accuracy']。也就是说,只需使用{{}}。
model.compile(optimizer = 'adam',loss = 'mean_squared_error')
这里是一份适用于回归和分类的Keras指标列表。
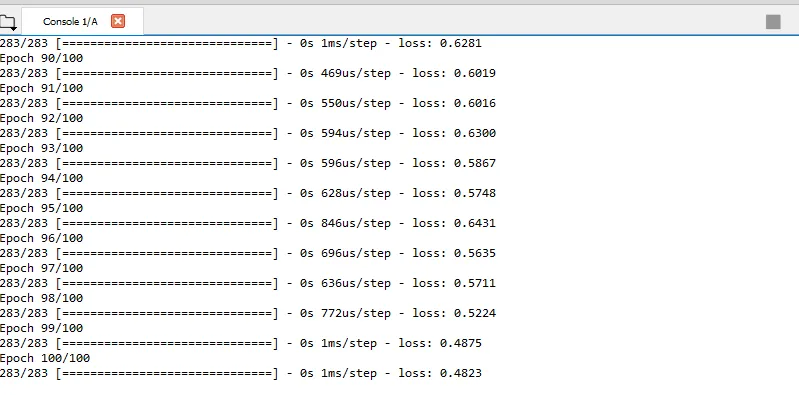
同时,你需要为fit方法定义batch_size和epochs的值。
model.fit(X_train, y_train, batch_size = 10, epochs = 100)
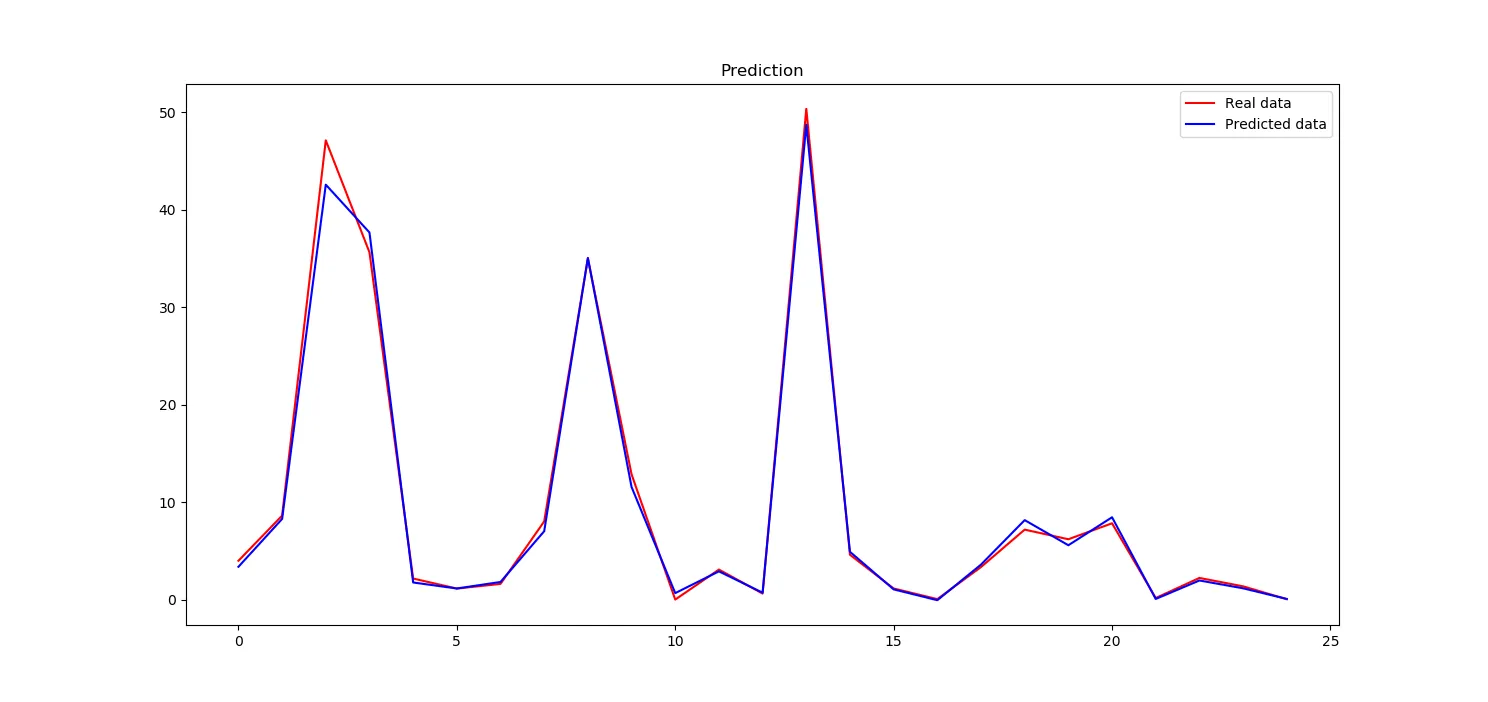
在训练完神经网络network后,您可以使用model.predict方法对X_test进行预测。
y_pred = model.predict(X_test)
现在,你可以比较从神经网络预测中获得的
y_pred和
真实数据
y_test。为此,您可以使用
matplotlib库创建一个
plot。请注意,保留{{和}}占位符。
plt.plot(y_test, color = 'red', label = 'Real data')
plt.plot(y_pred, color = 'blue', label = 'Predicted data')
plt.title('Prediction')
plt.legend()
plt.show()
我们的神经网络似乎学得非常好
这是plot的样子。
这是完整的代码
import numpy as np
from keras.layers import Dense, Activation
from keras.models import Sequential
from sklearn.model_selection import train_test_split
import matplotlib.pyplot as plt
dataset = np.genfromtxt("data.txt", delimiter='')
X = dataset[:, :-1]
y = dataset[:, -1]
X_train, X_test, y_train, y_test = train_test_split(X, y, test_size = 0.08, random_state = 0)
from sklearn.preprocessing import StandardScaler
sc = StandardScaler()
X_train = sc.fit_transform(X_train)
X_test = sc.transform(X_test)
model = Sequential()
model.add(Dense(32, activation = 'relu', input_dim = 6))
model.add(Dense(units = 32, activation = 'relu'))
model.add(Dense(units = 32, activation = 'relu'))
model.add(Dense(units = 1))
model.compile(optimizer = 'adam', loss = 'mean_squared_error')
model.fit(X_train, y_train, batch_size = 10, epochs = 100)
y_pred = model.predict(X_test)
plt.plot(y_test, color = 'red', label = 'Real data')
plt.plot(y_pred, color = 'blue', label = 'Predicted data')
plt.title('Prediction')
plt.legend()
plt.show()