如果你想使用Python的Matplotlib来标记你的图表数据点,你可以使用以下代码。
我知道
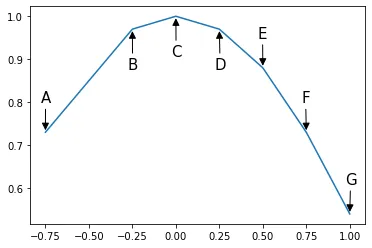
你需要同时绘制
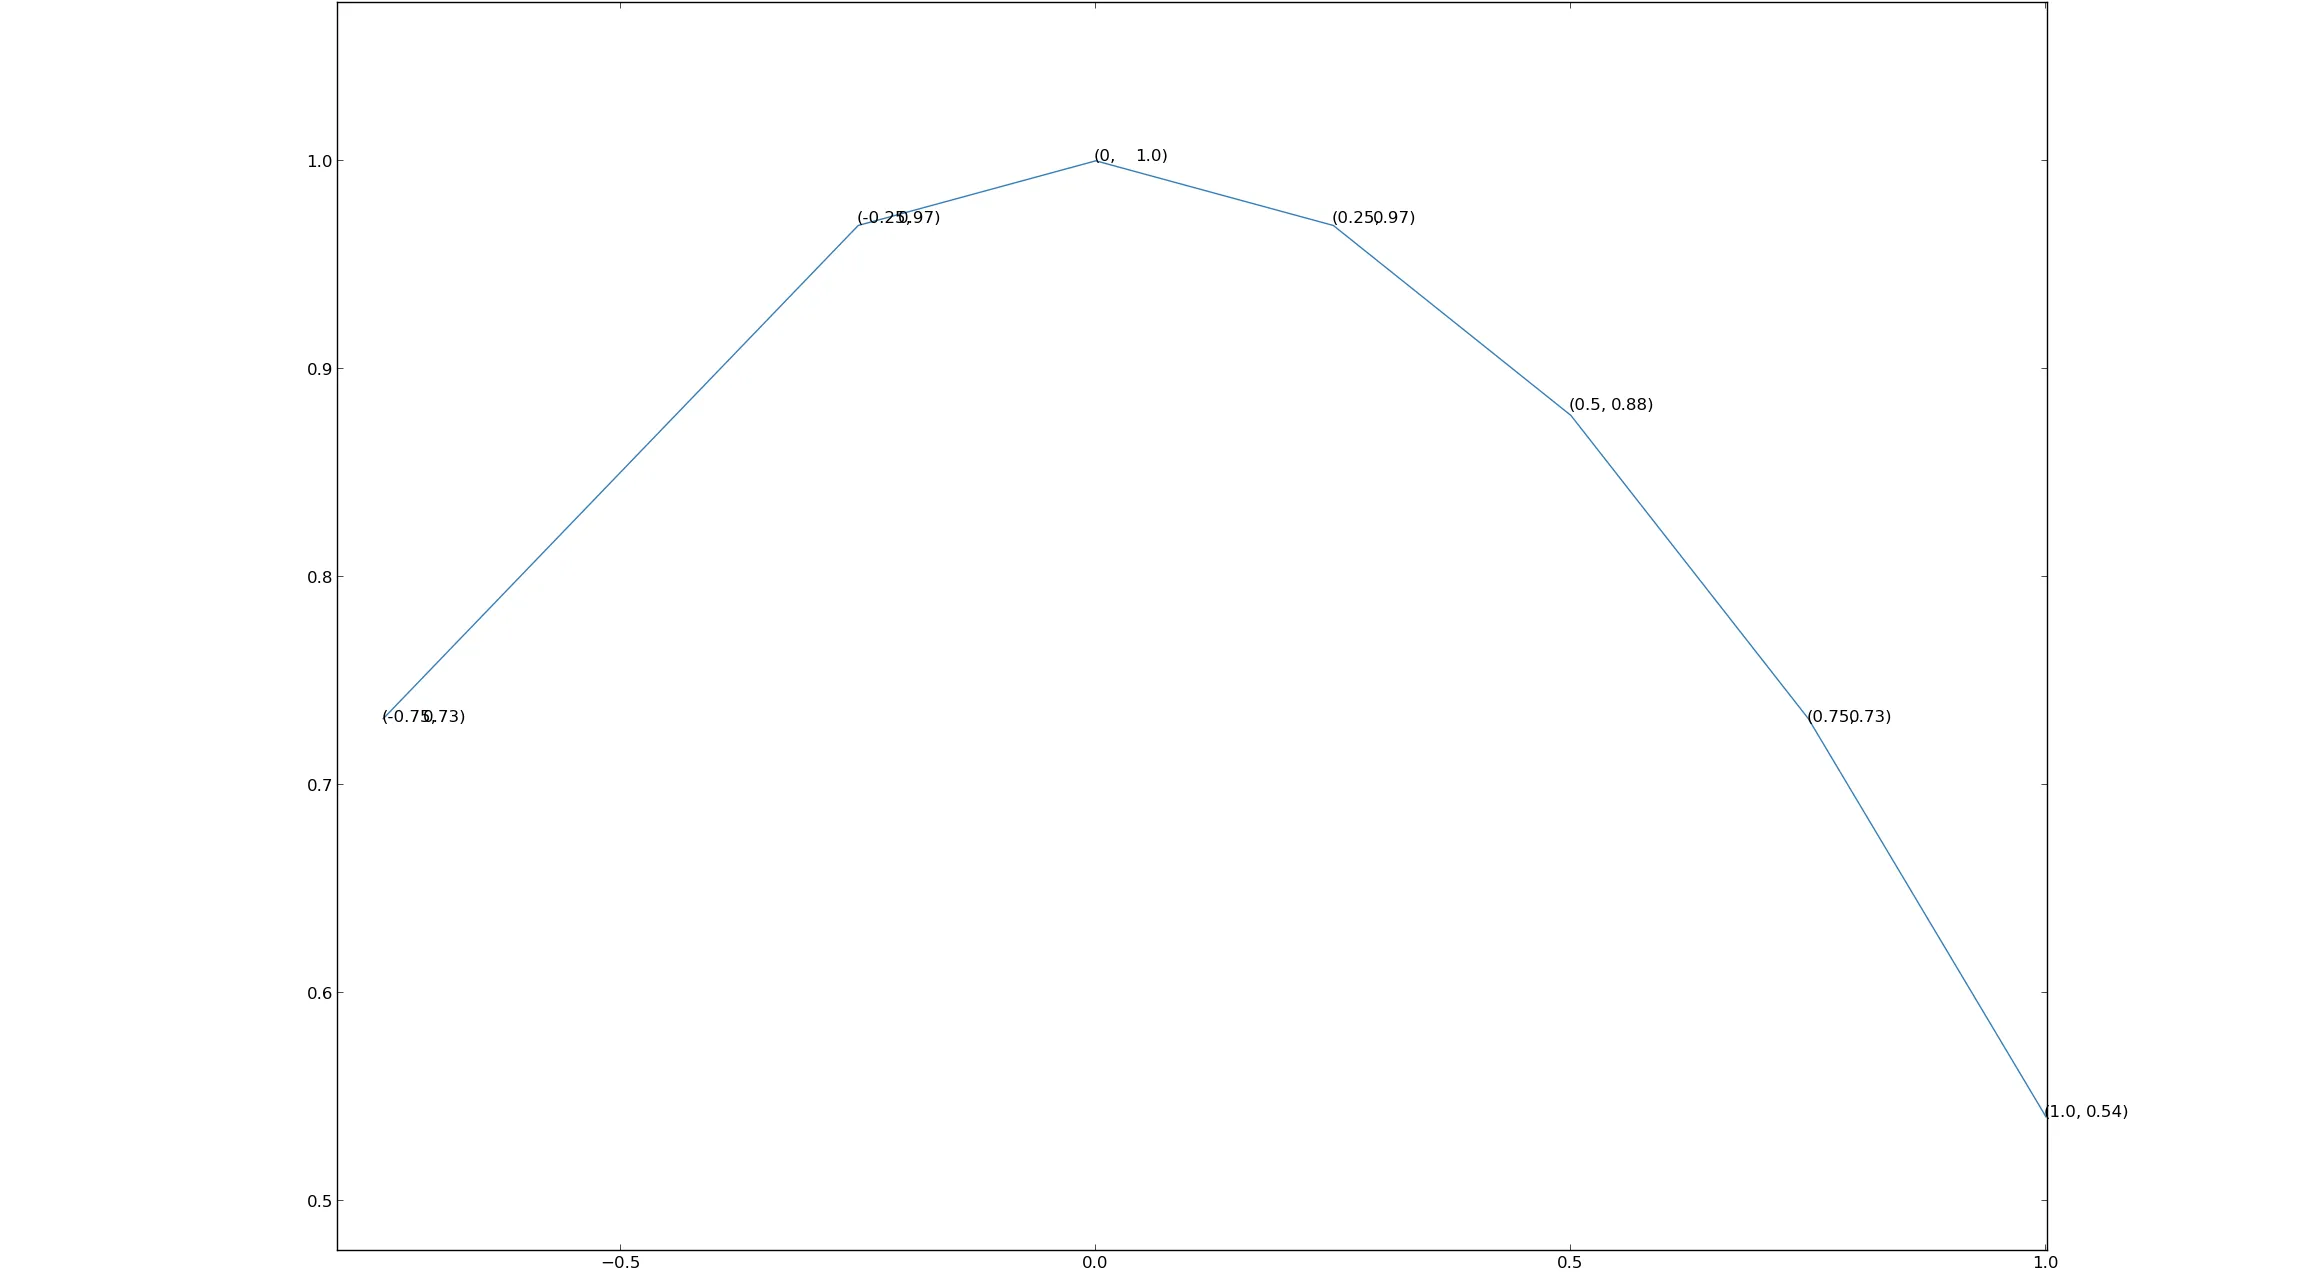
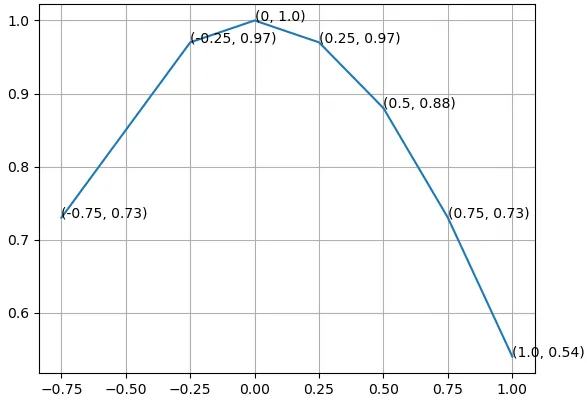
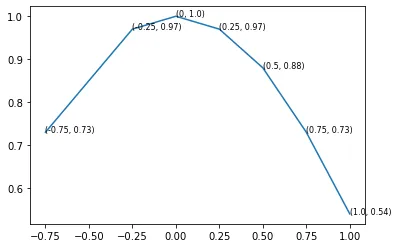
你会得到类似下面这样的结果(注意只有标签):
from matplotlib import pyplot as plt

fig = plt.figure()
ax = fig.add_subplot(111)

A = anyarray
B = anyotherarray

plt.plot(A,B)
for i,j in zip(A,B):
    ax.annotate('%s)' %j, xy=(i,j), xytext=(30,0), textcoords='offset points')
    ax.annotate('(%s,' %i, xy=(i,j))

plt.grid()
plt.show()
我知道
xytext=(30,0)与textcoords一起使用,你可以使用这些30,0的值来定位数据标签点,使其位于自己的小区域上的y=0和x=30。你需要同时绘制
i和j两条线,否则只会绘制x或y的数据标签。你会得到类似下面这样的结果(注意只有标签):
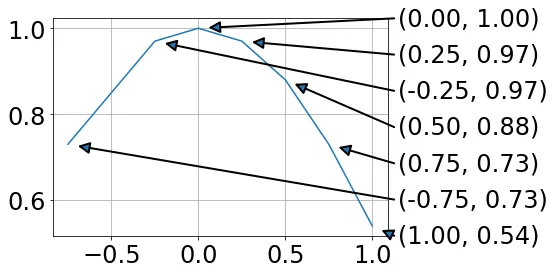
ax.annotate('(%s, %s)' % (i, j), ...)呢?(或者如果你正在使用新的字符串格式化方式,可以使用'({}, {})'.format(i, j)。) - Joe Kington