有没有可能将工具栏中的菜单图标居中对齐?我曾经使用另一种方法,如这里所示,但那时我是在我的工具栏布局中放置图像。现在我想尝试使用菜单图标:)。
这是我的代码。
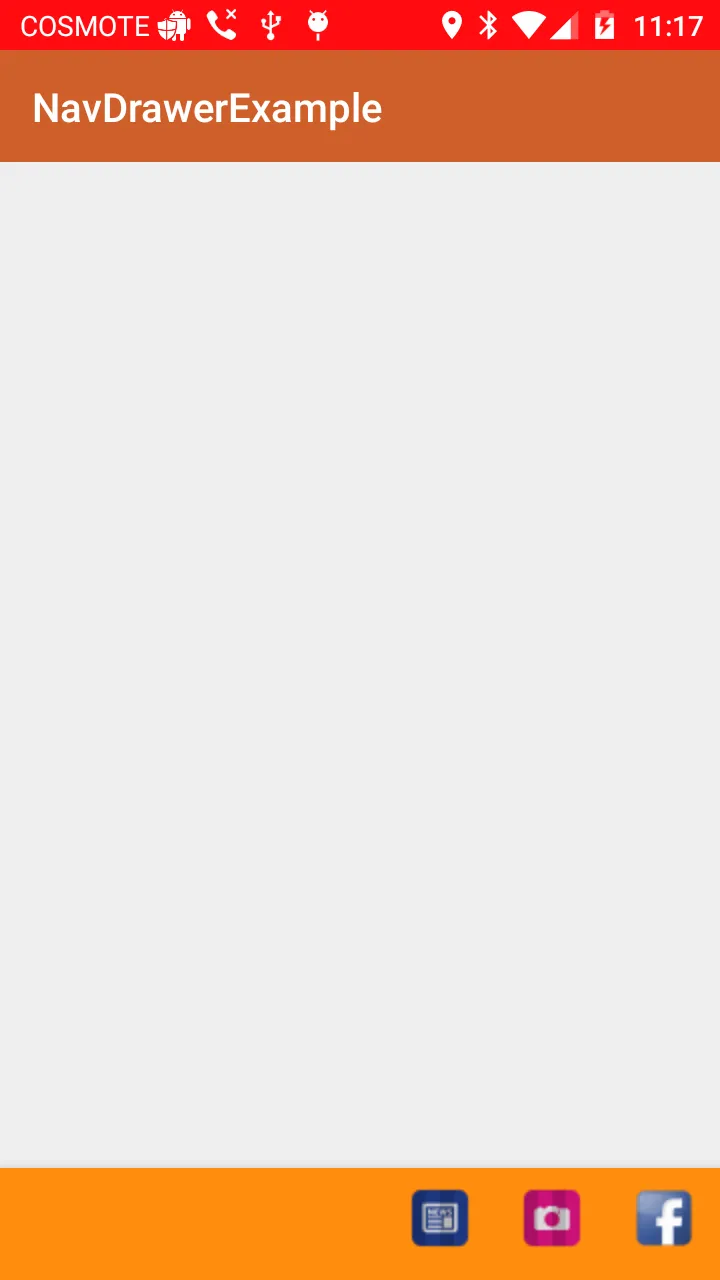
底部工具栏
<?xml version="1.0" encoding="utf-8"?>
<android.support.v7.widget.Toolbar
 xmlns:android="http://schemas.android.com/apk/res/android"
android:layout_width="match_parent"
android:layout_height="wrap_content"
xmlns:appo="http://schemas.android.com/apk/res-auto"
android:minHeight="50dp"
android:background="@color/colorPrimary"
appo:theme="@style/ToolbarTheme"
appo:popupTheme="@style/Theme.AppCompat.Light">
menu.xml
<?xml version="1.0" encoding="utf-8"?>
<menu xmlns:android="http://schemas.android.com/apk/res/android"
xmlns:app="http://schemas.android.com/apk/res-auto">
<item
    android:id="@+id/news"
    app:showAsAction="always"
    android:orderInCategory="100"
    android:icon="@drawable/new_icon"
    android:title="News">

</item>

<item
    app:showAsAction="always"
    android:id="@+id/camera"
    android:icon="@drawable/camera_icon"
    android:orderInCategory="100"
    android:title="Camera"
   ></item>
<item
    app:showAsAction="always"
    android:id="@+id/facebook"
    android:icon="@drawable/facebooc_image"
    android:orderInCategory="100"
    android:title="Camera"
    >
</item>