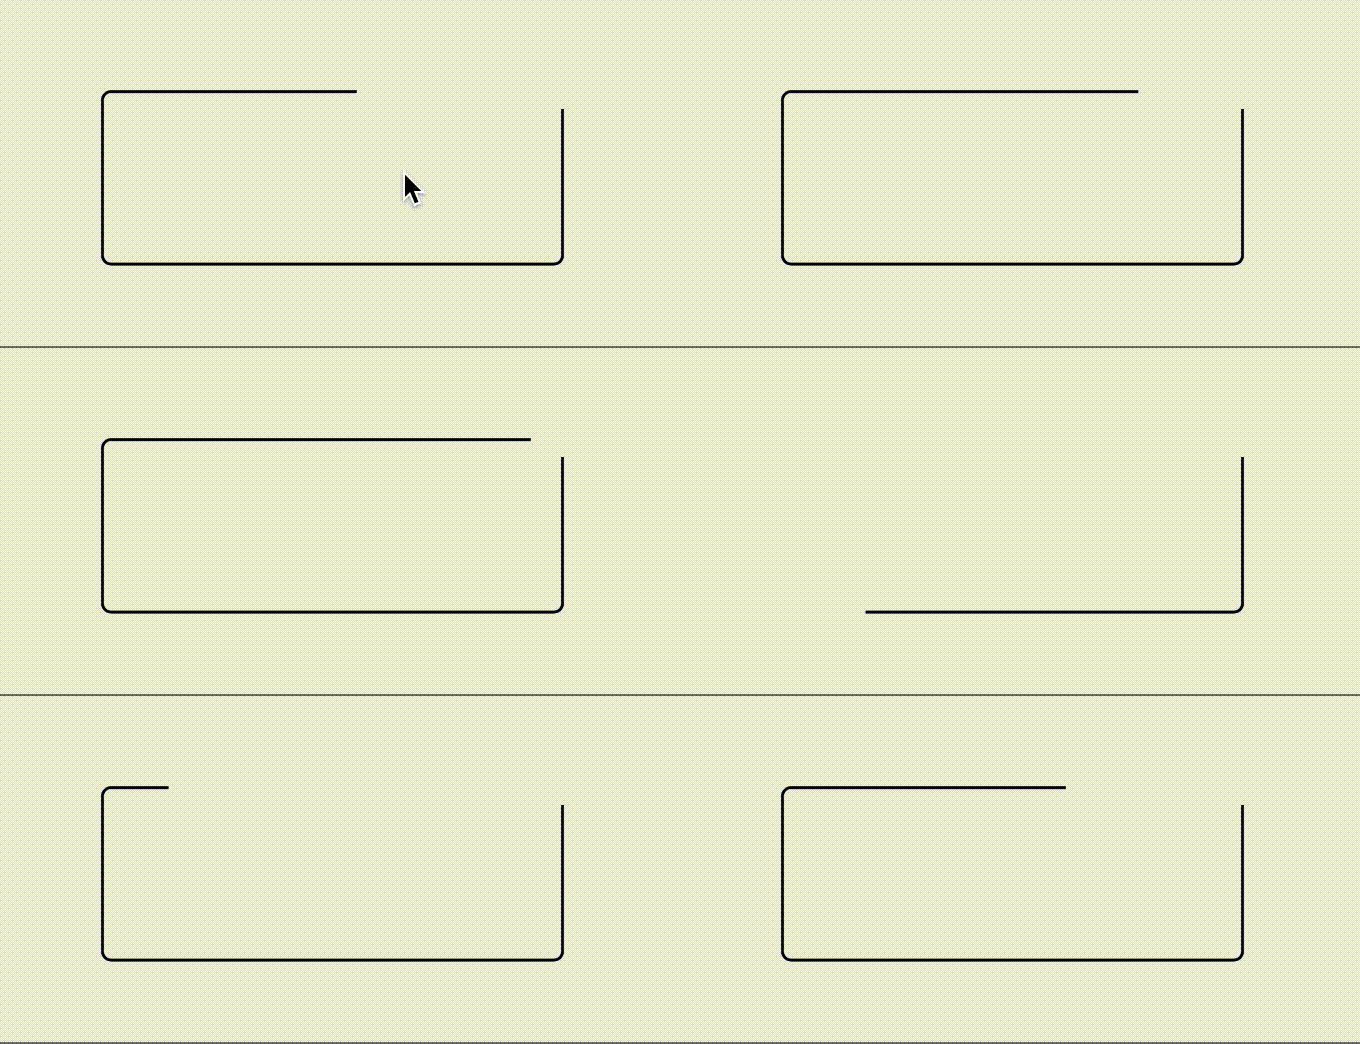
在Android中使用Path和RectF绘制左上角、右上角、左下角和右下角的圆角。

9
通过制作一个自定义的ImageView并覆盖onDraw方法,使用以下代码将使ImageView拥有圆角。 参考资料
@Override
protected void onDraw(Canvas canvas) {
    float radius = getContext().getResources().getDimension(R.dimen.round_corner_radius);
    Path path = new Path();
    RectF rect = new RectF(0, 0, this.getWidth(), this.getHeight());
    path.addRoundRect(rect, radius, radius, Path.Direction.CW);
    canvas.clipPath(path);
    super.onDraw(canvas);
}

如何选择性地使圆角,而不是使所有四个角都变成圆角。例如,只使左上角和右上角变成圆角,保留底部角落不变。这里有一个解决方案,使用位图进行操作。我正在寻找在此onDraw方法中使用Path和RectF来实现。

2个回答

33

有一个Path#addRoundRect()的重载版本,它接受一个由八个float值组成的数组,我们可以在其中为每个角指定x和y半径。这些值是以[x,y]对的形式给出的,从左上角开始,顺时针绕过其余的角。对于我们想要圆角的那些角,我们将一对值都设置为半径,对于我们不想要的角,则将它们保留为零。

作为一个说明性的例子,下面是一个简单的方法,它将返回一个Path,可以在您的代码片段中使用:

private Path getPath(float radius, boolean topLeft, boolean topRight,
                     boolean bottomRight, boolean bottomLeft) {

    final Path path = new Path();
    final float[] radii = new float[8];

    if (topLeft) {
        radii[0] = radius;
        radii[1] = radius;
    }

    if (topRight) {
        radii[2] = radius;
        radii[3] = radius;
    }

    if (bottomRight) {
        radii[4] = radius;
        radii[5] = radius;
    }

    if (bottomLeft) {
        radii[6] = radius;
        radii[7] = radius;
    }

    path.addRoundRect(new RectF(0, 0, getWidth(), getHeight()),
                      radii, Path.Direction.CW);

    return path;
}

根据您提供的示例描述,需要将左上角和右上角进行四舍五入:

@Override
protected void onDraw(Canvas canvas) {
    float radius = getContext().getResources().getDimension(R.dimen.round_corner_radius);
    Path path = getPath(radius, true, true, false, false);
    canvas.clipPath(path);
    super.onDraw(canvas);
}

通常,我建议尽可能保持onDraw()方法的精简,将任何不必要的内容移到其他地方。例如,半径的资源值可以在构造函数中检索并保存在字段中。此外,Path只有在必要时才需要构建;即当View的大小改变或半径或选择的角落发生变化时。

由于我编写了一个简单的自定义ImageView来测试这个功能,因此我将在此处包含它,因为它演示了上述要点。此自定义View还提供了XML属性,允许在布局中设置角落半径和圆角。

public class RoundishImageView extends ImageView {

    public static final int CORNER_NONE = 0;
    public static final int CORNER_TOP_LEFT = 1;
    public static final int CORNER_TOP_RIGHT = 2;
    public static final int CORNER_BOTTOM_RIGHT = 4;
    public static final int CORNER_BOTTOM_LEFT = 8;
    public static final int CORNER_ALL = 15;

    private static final int[] CORNERS = {CORNER_TOP_LEFT,
                                          CORNER_TOP_RIGHT,
                                          CORNER_BOTTOM_RIGHT,
                                          CORNER_BOTTOM_LEFT};

    private final Path path = new Path();
    private int cornerRadius;
    private int roundedCorners;

    public RoundishImageView(Context context) {
        this(context, null);
    }

    public RoundishImageView(Context context, AttributeSet attrs) {
        this(context, attrs, 0);
    }

    public RoundishImageView(Context context, AttributeSet attrs, int defStyleAttr) {
        super(context, attrs, defStyleAttr);

        TypedArray a = context.obtainStyledAttributes(attrs, R.styleable.RoundishImageView);
        cornerRadius = a.getDimensionPixelSize(R.styleable.RoundishImageView_cornerRadius, 0);
        roundedCorners = a.getInt(R.styleable.RoundishImageView_roundedCorners, CORNER_NONE);
        a.recycle();
    }

    public void setCornerRadius(int radius) {
        if (cornerRadius != radius) {
            cornerRadius = radius;
            setPath();
            invalidate();
        }
    }

    public int getCornerRadius() {
        return cornerRadius;
    }

    public void setRoundedCorners(int corners) {
        if (roundedCorners != corners) {
            roundedCorners = corners;
            setPath();
            invalidate();
        }
    }

    public boolean isCornerRounded(int corner) {
        return (roundedCorners & corner) == corner;
    }

    @Override
    protected void onDraw(Canvas canvas) {
        if (!path.isEmpty()) {
            canvas.clipPath(path);
        }

        super.onDraw(canvas);
    }

    @Override
    protected void onSizeChanged(int w, int h, int oldw, int oldh) {
        super.onSizeChanged(w, h, oldw, oldh);
        setPath();
    }

    private void setPath() {
        path.rewind();

        if (cornerRadius >= 1f && roundedCorners != CORNER_NONE) {
            final float[] radii = new float[8];

            for (int i = 0; i < 4; i++) {
                if (isCornerRounded(CORNERS[i])) {
                    radii[2 * i] = cornerRadius;
                    radii[2 * i + 1] = cornerRadius;
                }
            }

            path.addRoundRect(new RectF(0, 0, getWidth(), getHeight()),
                              radii, Path.Direction.CW);
        }
    }
}
为使XML属性起作用,需要在您的<resources>中添加以下内容。您可以通过将此文件放入项目的res/values/文件夹中或将其添加到可能已经存在的文件中来实现这一点。 attrs.xml
<resources>
    <declare-styleable name="RoundishImageView">
        <attr name="cornerRadius" format="dimension" />
        <attr name="roundedCorners">
            <flag name="topLeft" value="1" />
            <flag name="topRight" value="2" />
            <flag name="bottomRight" value="4" />
            <flag name="bottomLeft" value="8" />
            <flag name="all" value="15" />
        </attr>
    </declare-styleable>
</resources>

cornerRadius是一个尺寸属性,应该指定为dppx值。 roundedCorners是一个标志属性,可以使用竖线字符|选择多个角落。例如:

<com.mycompany.myapp.RoundishImageView
    xmlns:app="http://schemas.android.com/apk/res-auto"
    android:id="@+id/riv"
    android:layout_width="wrap_content"
    android:layout_height="wrap_content"
    android:adjustViewBounds="true"
    android:scaleType="fitXY"
    android:src="@drawable/magritte"
    app:cornerRadius="@dimen/round_corner_radius"
    app:roundedCorners="topLeft|topRight" />

screenshot


1
谢谢,我已经尝试了两个星期来实现图片的圆角化,你的代码完美无缺!! - M.Baraka
@Mike 我按照这个解决方案操作了,它可以将作为背景图片的 ImageView 进行圆角处理,效果很好。但对于那些没有背景图片,只有背景颜色的 ImageView,却不起作用。你知道可能是为什么吗? - user2991413
1
@user2991413 我不确定你的意思。这个解决方案没有对 ImageView 的背景进行任何操作。 - Mike M.
@Mike 你说得对。我在谈论我的用例,其中我不必为ImageView设置任何图像。相反,我必须将颜色设置为它。在这种情况下,如果我使用RoundishImageView.setBackgroundColor(),则会出现指定颜色的矩形。我认为这是因为imageView的背景是矩形,而这个解决方案不会改变它的形状。您有任何处理该情况的建议吗? - user2991413
1
@user2991413 当然可以。您可以将ColorDrawable设置为图像,而不是设置背景。例如:imageView.setImageDrawable(new ColorDrawable(Color.BLUE)) - Mike M.
完美解决方案! - Krupa Kakkad

0

我也花了半天时间解决这个问题;关键在于如何使用mPath.arcTo来制作一个角。基本知识是E方向为0度,第二个参数表示从哪个角度开始;第三个参数表示要显示多少度。

import android.animation.ValueAnimator;
import android.content.Context;
import android.graphics.Canvas;
import android.graphics.Paint;
import android.graphics.Path;
import android.graphics.PathMeasure;
import android.graphics.RectF;
import android.util.AttributeSet;
import android.view.View;
import android.view.animation.DecelerateInterpolator;

public class RectangleConerView extends View {

private Path mPath;
private Paint mPaint;
private PathMeasure mPathMeasure;
private float mAnimatorValue;
private Path mDst;
private float mLength;

private float left = 300;
private float top = 200;

private float width = 800;
private float height = 300;
private float checkWidth = 100;
private float checkHeight = 60;
private float cornerRadius = 30;

public RectangleConerView(Context context) {
    super(context);
}

public RectangleConerView(Context context, AttributeSet attrs, int defStyleAttr) {
    super(context, attrs, defStyleAttr);
}

public RectangleConerView(Context context, AttributeSet attrs) 
{
    super(context, attrs);
    mPathMeasure = new PathMeasure();
    mPaint = new Paint(Paint.ANTI_ALIAS_FLAG);
    mPaint.setStyle(Paint.Style.STROKE);
    mPaint.setStrokeWidth(5);
    mPath = new Path();

    mPath.moveTo(left + width, top + checkHeight/2);

    //bottom-right
    mPath.lineTo(left + width, top + height - cornerRadius);
    mPath.arcTo(new RectF(left + width-cornerRadius, top + height - cornerRadius, left + width, top + height), 0, 90); //start degree is E direct, then CW 90 degree, which is the bottom-right corner.

    //bottom-left
    mPath.lineTo(left + cornerRadius, top + height);
    mPath.arcTo(new RectF(left, top + height - cornerRadius, left + cornerRadius, top + height), 90, 90);//start degree is the S, then CW 90 degree, which is the bottom-left corner.

    //top-left
    mPath.lineTo(left, top + cornerRadius);
    mPath.arcTo(new RectF(left, top, left + cornerRadius, top + cornerRadius), 180, 90);//start degree W

    //top-right
    mPath.lineTo(left + width - checkWidth/2, top);


    mPathMeasure.setPath(mPath, false);
    mLength = mPathMeasure.getLength();
    mDst = new Path();

    final ValueAnimator valueAnimator = ValueAnimator.ofFloat(0, 1);
    valueAnimator.addUpdateListener(new ValueAnimator.AnimatorUpdateListener() {
        @Override
        public void onAnimationUpdate(ValueAnimator valueAnimator) {
            mAnimatorValue = (float) valueAnimator.getAnimatedValue();
            invalidate();
        }
    });
    valueAnimator.setDuration(1000);
    valueAnimator.setRepeatCount(ValueAnimator.INFINITE);
    valueAnimator.setInterpolator(new DecelerateInterpolator());

    valueAnimator.start();
}

@Override
protected void onDraw(Canvas canvas) {
    super.onDraw(canvas);
    mDst.reset();
    // 硬件加速的BUG
    mDst.lineTo(0,0);
    float stop = mLength * mAnimatorValue;
    mPathMeasure.getSegment(0, stop, mDst, true);
    canvas.drawPath(mDst, mPaint);
}
}

enter image description here


网页内容由stack overflow 提供, 点击上面的
可以查看英文原文,
原文链接