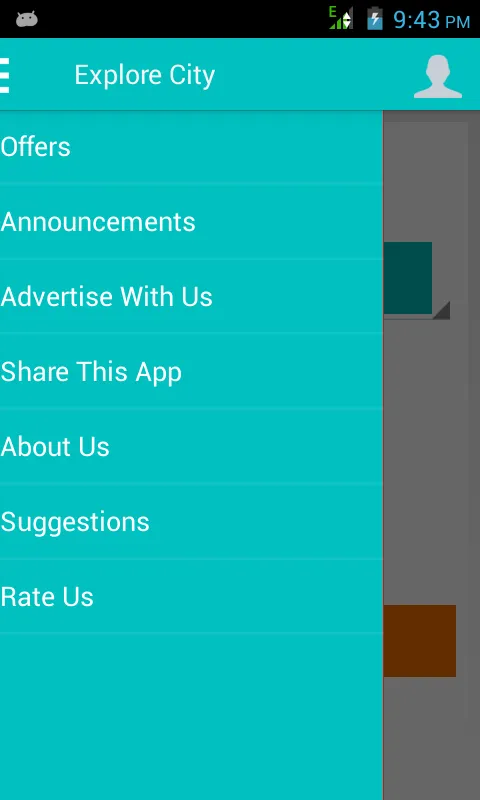
我想让我的 NavigationDrawer 看起来像这个应用程序中的一样:
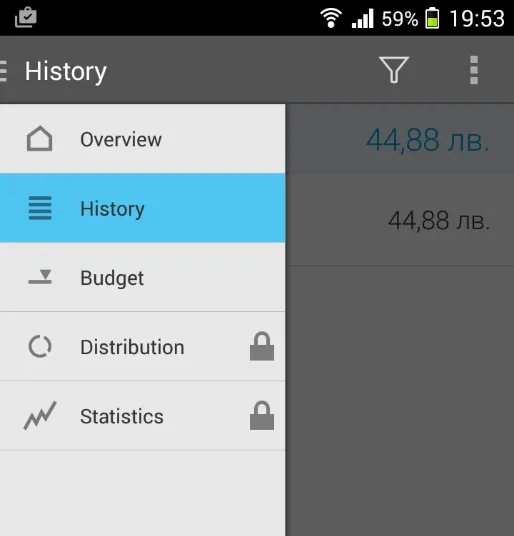
更具体地说,我想在右侧添加那个小的 1 像素边框:
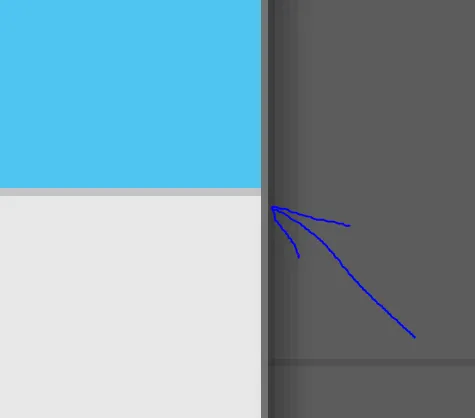
但是这是我得到的抽屉效果图:
这是抽屉片段的 XML 代码:
<ListView xmlns:android="http://schemas.android.com/apk/res/android"
xmlns:tools="http://schemas.android.com/tools"
android:layout_width="match_parent"
android:layout_height="match_parent"
android:background="#E7E7E7"
android:choiceMode="singleChoice"
android:dividerHeight="0.5dp" />
我需要做什么?
 我
我 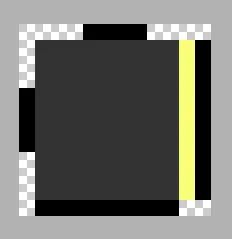
view。 - Apurva