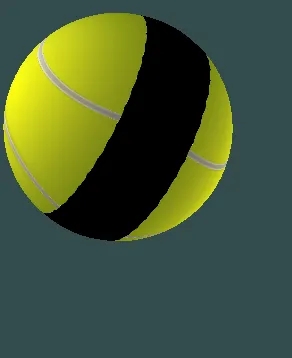
我正在使用这段代码来生成球体的顶点和纹理,但是从图片中可以看到,当我旋转它时,可以看到一个黑色带状区域。
 for (int i = 0; i <= stacks; ++i)
    {
        float s = (float)i / (float) stacks;
        float theta = s * 2 * glm::pi<float>();

        for (int j = 0; j <= slices; ++j)
        {
            float sl = (float)j / (float) slices;
            float phi = sl * (glm::pi<float>());

            const float x = cos(theta) * sin(phi);
            const float y = sin(theta) * sin(phi);
            const float z = cos(phi);

            sphere_vertices.push_back(radius * glm::vec3(x, y, z));
            sphere_texcoords.push_back((glm::vec2((x + 1.0) / 2.0, (y + 1.0) / 2.0)));
        }
    }

    // get the indices

    for (int i = 0; i < stacks * slices + slices; ++i)
    {
        sphere_indices.push_back(i);
        sphere_indices.push_back(i + slices + 1);
        sphere_indices.push_back(i + slices);

        sphere_indices.push_back(i + slices + 1);
        sphere_indices.push_back(i);
        sphere_indices.push_back(i + 1);
    }
无论我使用什么纹理坐标,我都无法找到使它正确的方法。
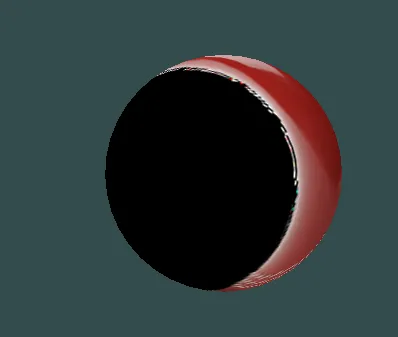
嗯...如果我使用另一张图片,那么映射就会不同(而且更糟糕!)
顶点着色器:
#version 330 core

layout (location = 0) in vec3 aPos;
layout (location = 1) in vec3 aTexCoord;

out vec4 vertexColor;
out vec2 TexCoord;

uniform mat4 model;
uniform mat4 view;
uniform mat4 projection;

void main()
{
    gl_Position = projection * view * model * vec4(aPos.x, aPos.y, aPos.z, 1.0);
    vertexColor = vec4(0.5, 0.2, 0.5, 1.0);
    TexCoord = vec2(aTexCoord.x, aTexCoord.y);
}
片元着色器:
#version 330 core
out vec4 FragColor;

in vec4 vertexColor;
in vec2 TexCoord;

uniform sampler2D sphere_texture;

void main()
{

    FragColor = texture(sphere_texture, TexCoord);
}
我没有使用任何光线条件。
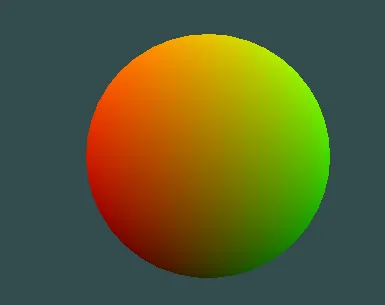
如果我在片元着色器中使用 FragColor = vec4(TexCoord.x, TexCoord.y, 0.0f, 1.0f); (用于调试目的),我会得到一个漂亮的球体。
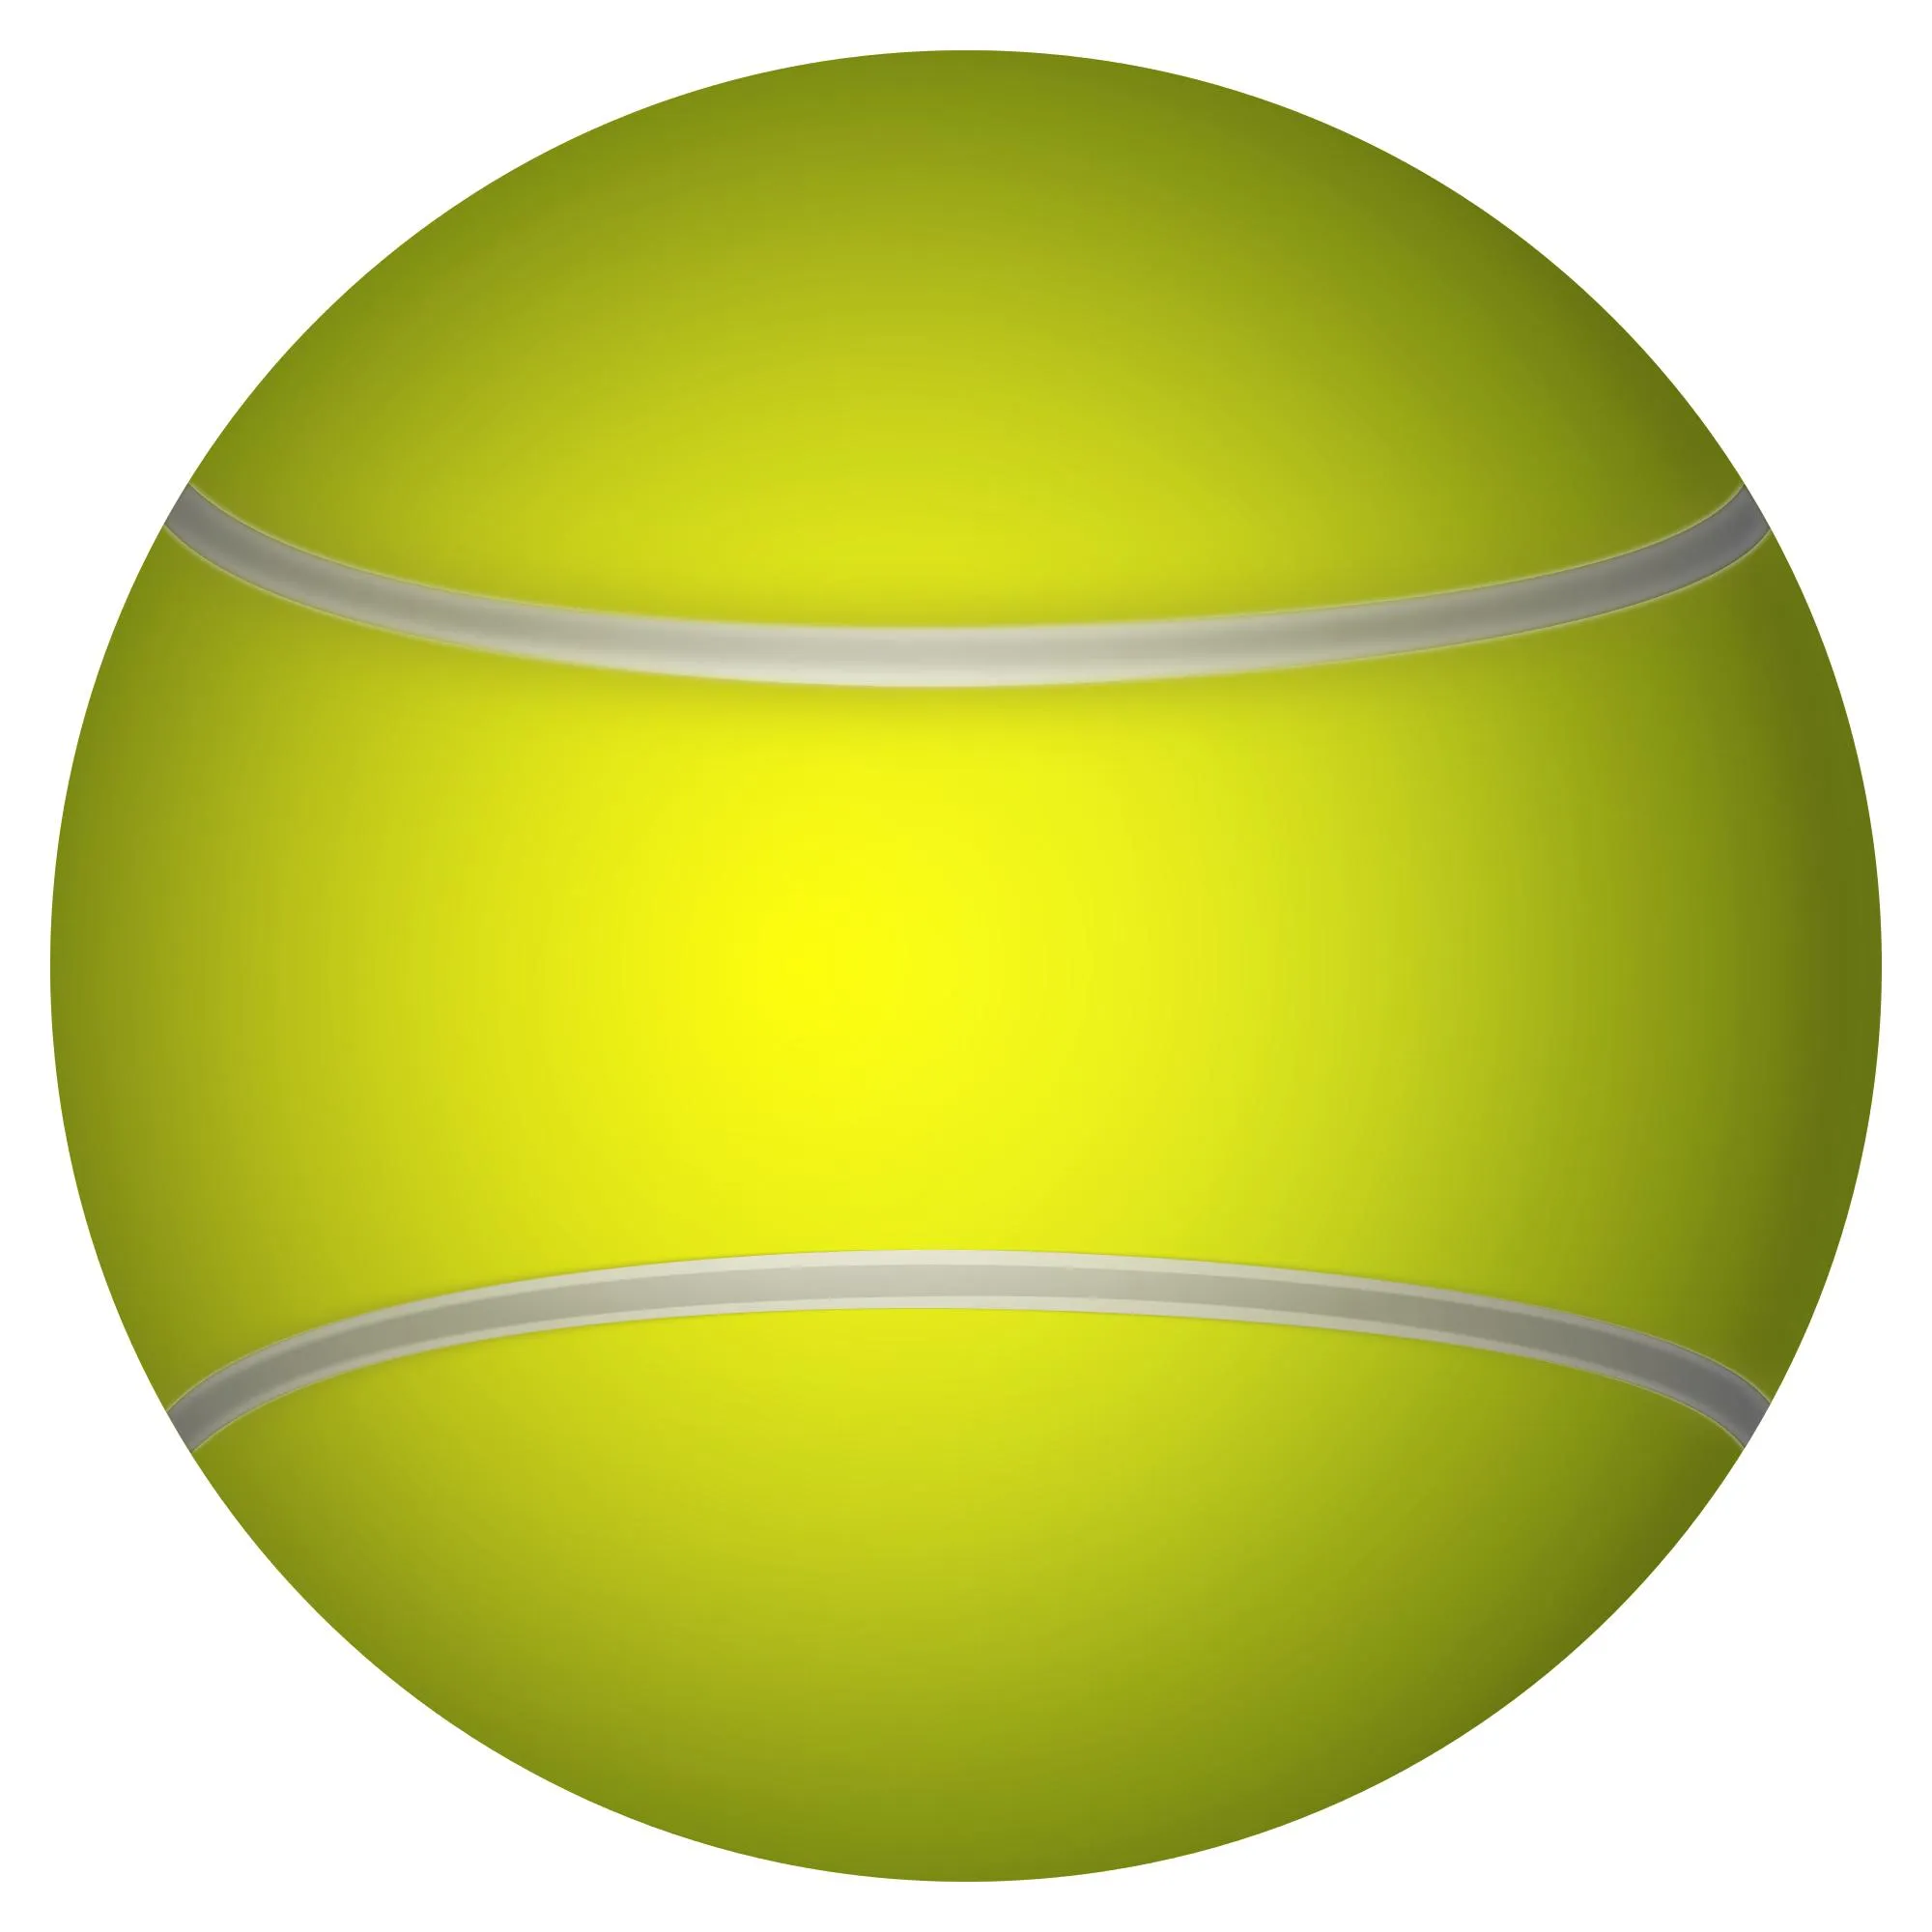
我正在使用这个作为纹理:


sphere_vertices.push_back(radius * glm::vec3(0, 0, 1));?(因为当i = 0和j = 0时,x、y、z分别为0、0、1)。并且将循环改为for (int i = 0; i < stacks; ++i),for (int j = 0; j < slices; ++j),而不是<=stacks?我尝试了一下,但仍然出现了黑色条纹,尽管它在图像纹理中有一个良好的间隙。 - George