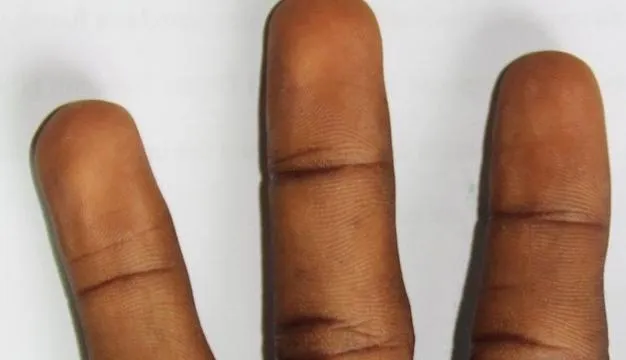
如何在不影响脊线和谷线轮廓的情况下去除指纹图像边缘的外部轮廓线
处理前
处理前
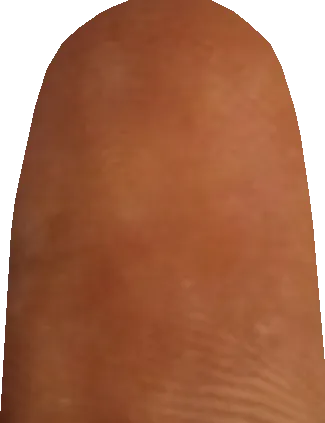
分割和感兴趣区域(ROI)之后
[ ]
(https://istack.dev59.com/TIMu6.webp)
]
(https://istack.dev59.com/TIMu6.webp)
import cv2

image = cv2.imread('fingerprint.jpg')
original = image.copy()
gray = cv2.cvtColor(image, cv2.COLOR_BGR2GRAY)
blur = cv2.GaussianBlur(gray, (9,9), 0)
thresh = cv2.threshold(gray,0,255,cv2.THRESH_OTSU + cv2.THRESH_BINARY)[1]

kernel = cv2.getStructuringElement(cv2.MORPH_RECT, (2,2))
opening = cv2.morphologyEx(thresh, cv2.MORPH_OPEN, kernel)
dilate_kernel = cv2.getStructuringElement(cv2.MORPH_RECT, (9,9))
dilate = cv2.dilate(opening, dilate_kernel, iterations=5)

cnts = cv2.findContours(dilate, cv2.RETR_EXTERNAL, cv2.CHAIN_APPROX_SIMPLE)
cnts = cnts[0] if len(cnts) == 2 else cnts[1]
cnts = sorted(cnts, key=cv2.contourArea, reverse=True)

for c in cnts:
    x,y,w,h = cv2.boundingRect(c)
    cv2.rectangle(image, (x, y), (x + w, y + h), (36,255,12), 2)
    ROI = original[y:y+h, x:x+w]
    break

cv2.imshow('ROI', ROI)
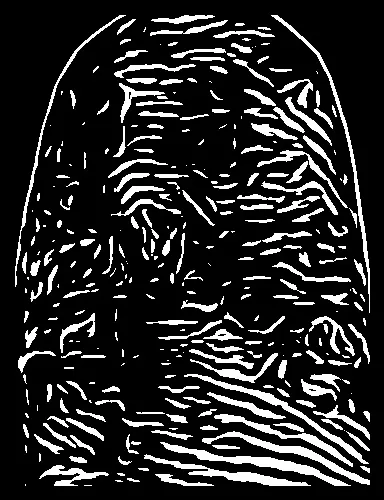
但是我没有得到期望的结果。
 我将每个部分存储在
 如果你想用黑色填充边框,只需将