我正在尝试使用下面的代码通过Kmeans分割肺部CT图像:
def process_mask(mask):
    convex_mask = np.copy(mask)
    for i_layer in range(convex_mask.shape[0]):
        mask1  = np.ascontiguousarray(mask[i_layer])
        if np.sum(mask1)>0:
            mask2 = convex_hull_image(mask1)
            if np.sum(mask2)>2*np.sum(mask1):
                mask2 = mask1
        else:
            mask2 = mask1
        convex_mask[i_layer] = mask2
    struct = generate_binary_structure(3,1)
    dilatedMask = binary_dilation(convex_mask,structure=struct,iterations=10)

    return dilatedMask

def lumTrans(img):
    lungwin = np.array([-1200.,600.])
    newimg = (img-lungwin[0])/(lungwin[1]-lungwin[0])
    newimg[newimg<0]=0
    newimg[newimg>1]=1
    newimg = (newimg*255).astype('uint8')
    return newimg


def lungSeg(imgs_to_process,output,name):

    if os.path.exists(output+'/'+name+'_clean.npy') : return
    imgs_to_process = Image.open(imgs_to_process)

    img_to_save = imgs_to_process.copy()
    img_to_save = np.asarray(img_to_save).astype('uint8')

    imgs_to_process = lumTrans(imgs_to_process)
    imgs_to_process = np.expand_dims(imgs_to_process, axis=0)
    x,y,z = imgs_to_process.shape

    img_array = imgs_to_process.copy()
    A1 = int(y/(512./100))
    A2 = int(y/(512./400))

    A3 = int(y/(512./475))
    A4 = int(y/(512./40))
    A5 = int(y/(512./470))
    for i in range(len(imgs_to_process)):
        img = imgs_to_process[i]
        print(img.shape)
        x,y = img.shape
        #Standardize the pixel values
        allmean = np.mean(img)
        allstd = np.std(img)
        img = img-allmean
        img = img/allstd
        # Find the average pixel value near the lungs
        # to renormalize washed out images
        middle = img[A1:A2,A1:A2]
        mean = np.mean(middle)
        max = np.max(img)
        min = np.min(img)

        kmeans = KMeans(n_clusters=2).fit(np.reshape(middle,[np.prod(middle.shape),1]))
        centers = sorted(kmeans.cluster_centers_.flatten())
        threshold = np.mean(centers)
        thresh_img = np.where(img<threshold,1.0,0.0)  # threshold the image

        eroded = morphology.erosion(thresh_img,np.ones([4,4]))
        dilation = morphology.dilation(eroded,np.ones([10,10]))

        labels = measure.label(dilation)
        label_vals = np.unique(labels)
        regions = measure.regionprops(labels)
        good_labels = []
        for prop in regions:
            B = prop.bbox
            if B[2]-B[0]<A3 and B[3]-B[1]<A3 and B[0]>A4 and B[2]<A5:
                good_labels.append(prop.label)
        mask = np.ndarray([x,y],dtype=np.int8)
        mask[:] = 0

        for N in good_labels:
            mask = mask + np.where(labels==N,1,0)
        mask = morphology.dilation(mask,np.ones([10,10])) # one last dilation
        imgs_to_process[i] = mask

    m1 = imgs_to_process

    convex_mask = m1
    dm1 = process_mask(m1)
    dilatedMask = dm1
    Mask = m1
    extramask = dilatedMask ^ Mask
    bone_thresh = 180
    pad_value = 0

    img_array[np.isnan(img_array)]=-2000
    sliceim = img_array
    sliceim = sliceim*dilatedMask+pad_value*(1-dilatedMask).astype('uint8')
    bones = sliceim*extramask>bone_thresh
    sliceim[bones] = pad_value


    x,y,z = sliceim.shape
    if not os.path.exists(output):
        os.makedirs(output)

    img_to_save[sliceim.squeeze()==0] = 0

    im = Image.fromarray(img_to_save)

    im.save(output + name + '.png', 'PNG')
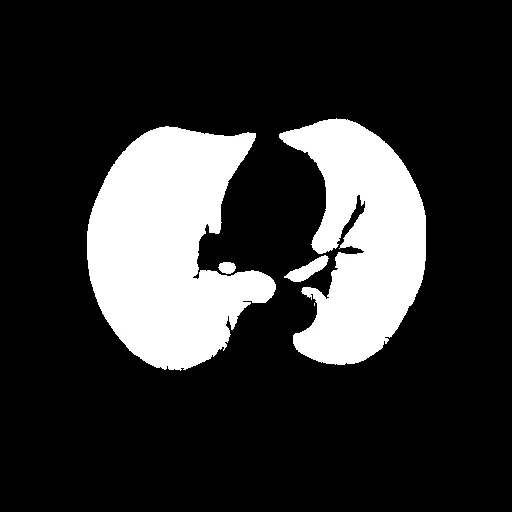
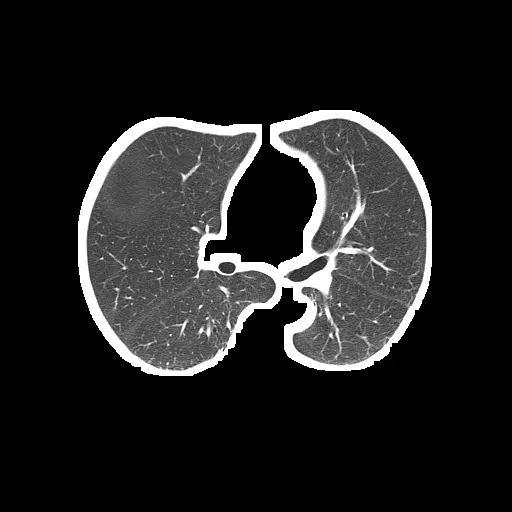
问题是分割后的肺部仍然包含像这样的白色边框:
分割后的肺部(输出):
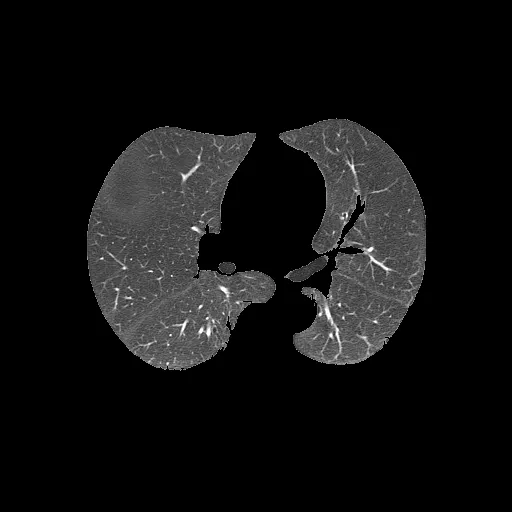
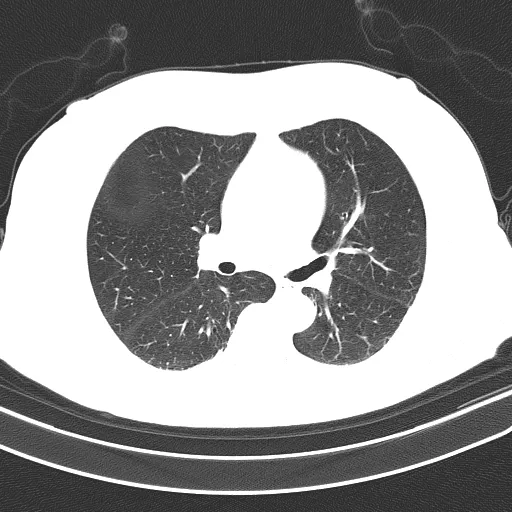
未分割的肺部(输入):
完整代码可以在Google Colab笔记本中找到。code。
数据集的示例在这里。

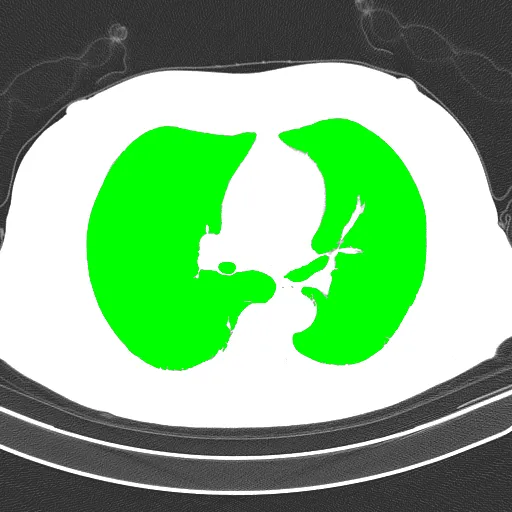
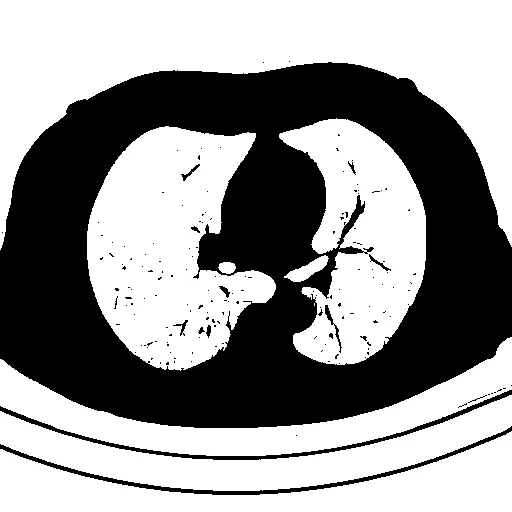 检测到需要提取的对象会用绿色标出