我只是在查看设计指南,并想知道无边框按钮的情况。 我通过谷歌搜索并尝试在源代码中找到答案,但是自己无法解决。 这是普通的按钮小部件,但您添加了自定义(Android默认)样式吗? 如何制作这些无边框按钮(当然您可以将背景设置为空,但是那样我就没有分隔线了)?
以下链接是设计指南:
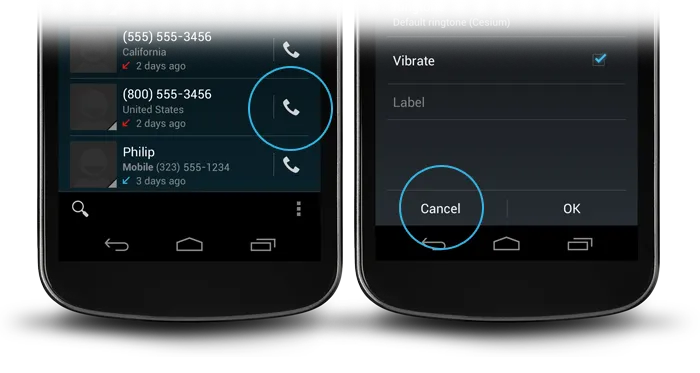
- http://developer.android.com/design/building-blocks/buttons.html
- http://developer.android.com/guide/topics/ui/controls/button.html#Borderless