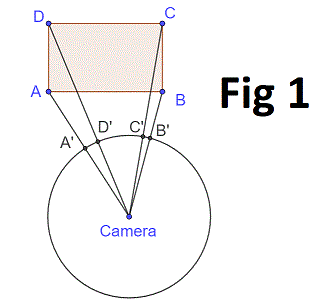
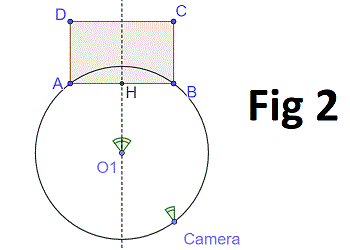
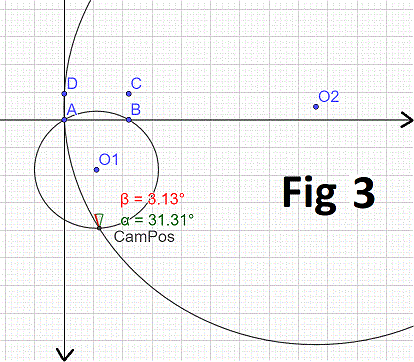
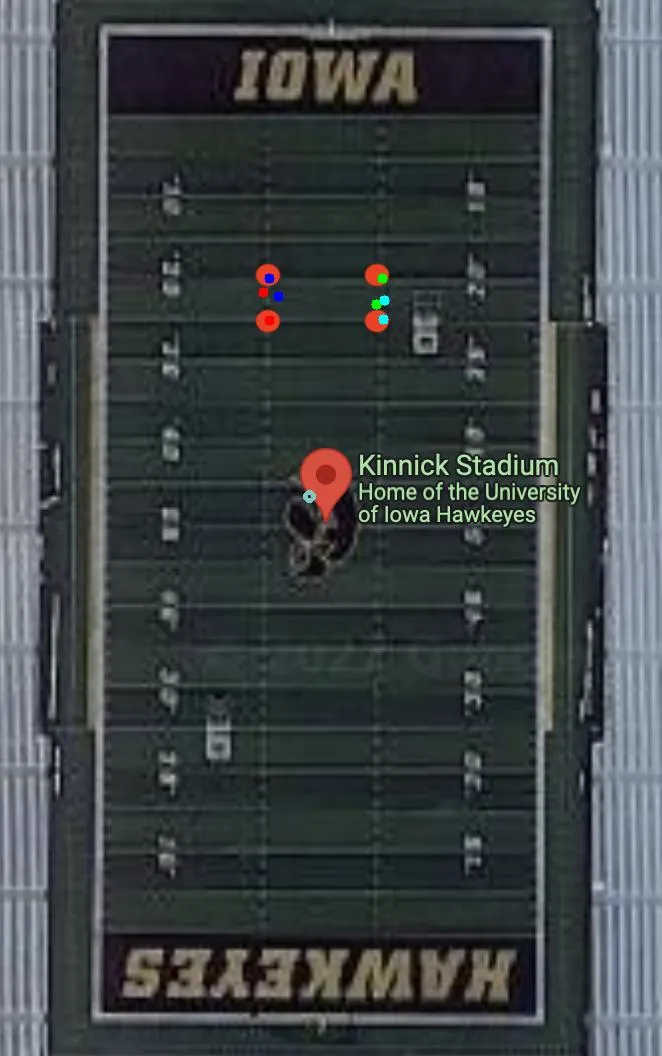
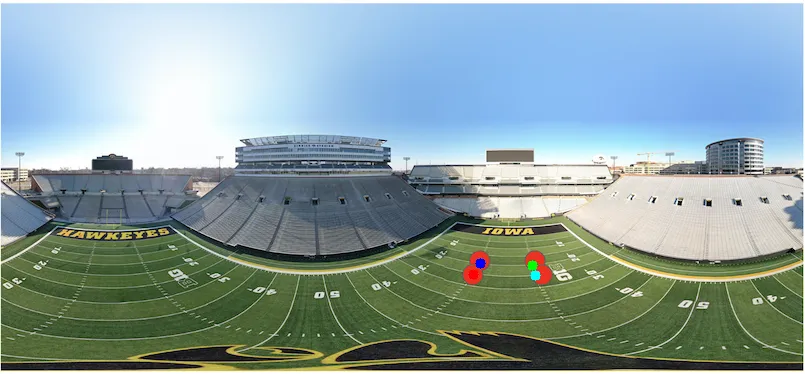
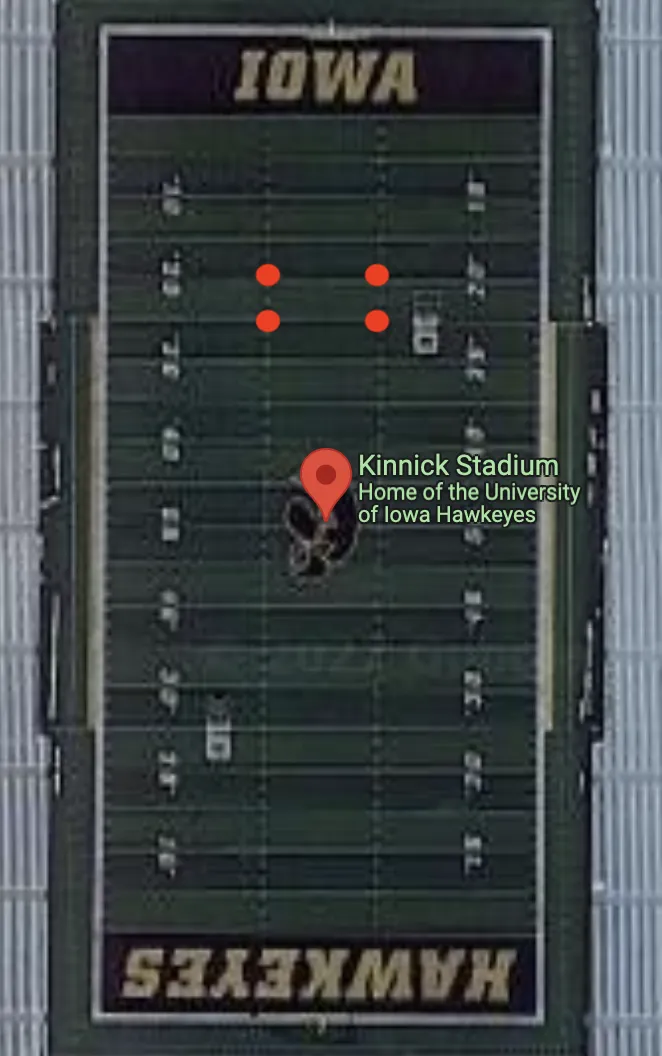
我在一个等距圆柱投影图像上标记了4个点。[红色点]

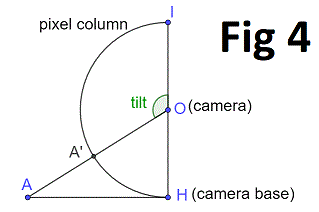
目前我发现有4条射线(R1、R2、R3、R4)从未知相机中心C = (Cx, Cy, Cz)经过等距投影图像上的点并以顶视图像的像素坐标P1、P2、P3、P4结束。因此,需要四个形式为向量方程的公式:
[Cx, Cy, Cz] + [Rx, Ry, Rz]*t = [x, y, 0]
对于每个对应关系。因此。
C + R1*t1 = P1 = [x1, y1, 0]
C + R2*t2 = P2 = [x2, y2, 0]
C + R3*t3 = P3 = [x3, y3, 0]
C + R4*t4 = P4 = [x4, y4, 0]
所以有7个未知数和12个方程?这是我的尝试,但似乎没有给出合理的答案:
import numpy as np
def equi2sphere(x, y):
width = 2000
height = 1000
theta = 2 * np.pi * x / width - np.pi
phi = np.pi * y / height
return theta, phi
HEIGHT = 1000
MAP_HEIGHT = 788
#
# HEIGHT = 0
# MAP_HEIGHT = 0
# Point in equirectangular image, bottom left = (0, 0)
xs = [1190, 1325, 1178, 1333]
ys = [HEIGHT - 730, HEIGHT - 730, HEIGHT - 756, HEIGHT - 760]
# import cv2
# img = cv2.imread('equirectangular.jpg')
# for x, y in zip(xs, ys):
# img = cv2.circle(img, (x, y), 15, (255, 0, 0), -1)
# cv2.imwrite("debug_equirectangular.png", img)
# Corresponding points in overhead map, bottom left = (0, 0)
px = [269, 382, 269, 383]
py = [778, 778, 736, 737]
# import cv2
# img = cv2.imread('map.png')
# for x, y in zip(px, py):
# img = cv2.circle(img, (x, y), 15, (255, 0, 0), -1)
# cv2.imwrite("debug_map.png", img)
As = []
bs = []
for i in range(4):
x, y = xs[i], ys[i]
theta, phi = equi2sphere(x, y)
# convert to spherical
p = 1
sx = p * np.sin(phi) * np.cos(theta)
sy = p * np.sin(phi) * np.sin(theta)
sz = p * np.cos(phi)
print(x, y, '->', np.degrees(theta), np.degrees(phi), '->', round(sx, 2), round(sy, 2), round(sz, 2))
block = np.array([
[1, 0, 0, sx],
[0, 1, 0, sy],
[1, 0, 1, sz],
])
y = np.array([px[i], py[i], 0])
As.append(block)
bs.append(y)
A = np.vstack(As)
b = np.hstack(bs).T
solution = np.linalg.lstsq(A, b)
Cx, Cy, Cz, t = solution[0]
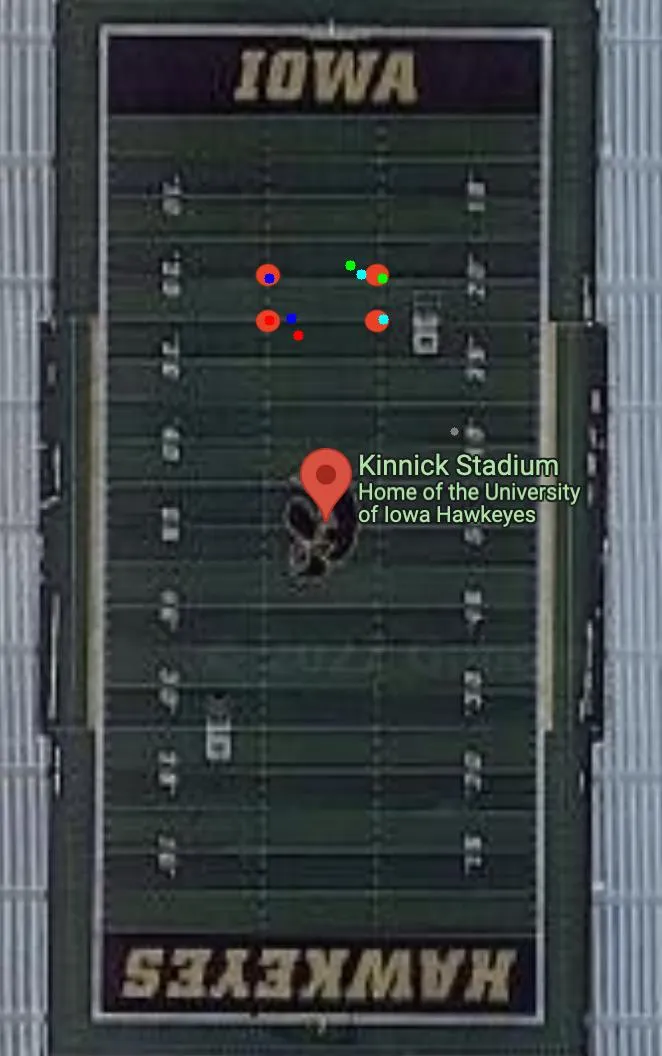
import cv2
img = cv2.imread('map_overhead.png')
for i in range(4):
x, y = xs[i], ys[i]
theta, phi = equi2sphere(x, y)
# convert to spherical
p = 1
sx = p * np.sin(phi) * np.cos(theta)
sy = p * np.sin(phi) * np.sin(theta)
sz = p * np.cos(phi)
pixel_x = Cx + sx * t
pixel_y = Cy + sy * t
pixel_z = Cz + sz * t
print(pixel_x, pixel_y, pixel_z)
img = cv2.circle(img, (int(pixel_x), img.shape[0] - int(pixel_y)), 15, (255,255, 0), -1)
img = cv2.circle(img, (int(Cx), img.shape[0] - int(Cy)), 15, (0,255, 0), -1)
cv2.imwrite("solution.png", img)
# print(A.dot(solution[0]))
# print(b)
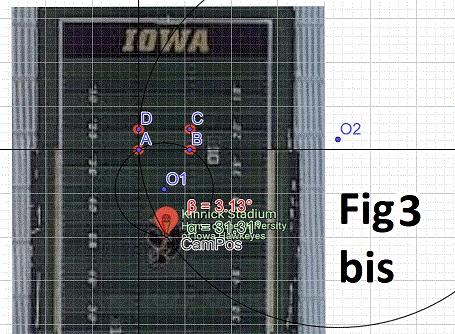
最终相机位置(绿色)和投影点(青绿色)
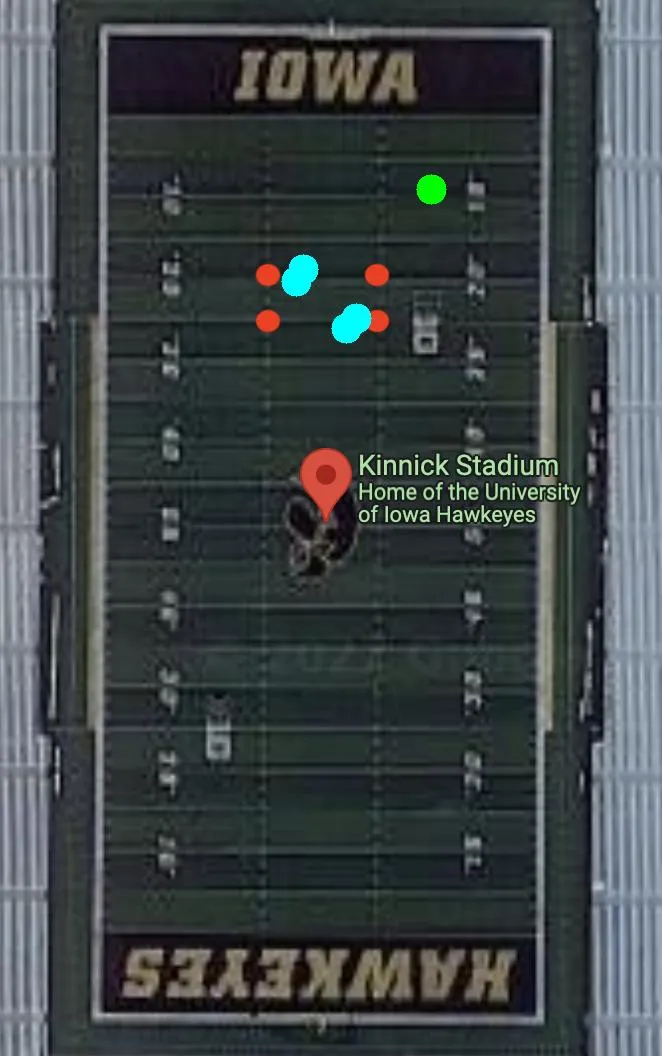
编辑:修复了一个错误,即在 PI/4 中的等距投影图像中的经度偏移,这解决了旋转问题,但比例仍然有些不准确。