更新的答案
我已经以稍微不同但更清晰的风格重新撰写了下面的答案。
import re
import cv2
import numpy as np
from PIL import Image
def readPF(filename):
"""Read named PF file into Numpy array"""
with open(filename, 'rb') as f:
data = f.read()
if not re.match(b'Typ=Pic98::TPlane<float>', data):
return None
L = re.search(b'Lines=(\d+)', data)
C = re.search(b'Columns=(\d+)', data)
if not (L and C):
return None
height = int(L.groups()[0])
width = int(C.groups()[0])
print(f'DEBUG: Height={height}, width={width}')
na = np.frombuffer(data[-4*height*width:], dtype=np.dtype('<f4')).reshape((height,width))
min, max, mean = na.min(), na.max(), na.mean()
print(f'DEBUG: min={min}, max={max}, mean={mean}')
return na
na = readPF('PF file.PF')
u16 = (65535*(na - np.min(na))/np.ptp(na)).astype(np.uint16)
cv2.imwrite('OpenCV.png', u16)
pi = Image.fromarray(na, mode='F')
pi.save('PIL.tif')
原始回答
不太确定我应该期望什么样的图像,但是这里有一个大概的想法:
import re
import cv2
import numpy as np
from PIL import Image
file = open("PF file.PF", 'rb')
header = file.readline().rstrip().decode('utf-8')
if header == 'PF':
raise Exception('Only ONE channel image is supported.')
elif header == 'Typ=Pic98::TPlane<float>':
color = False
else:
raise Exception('Not a PFM file.')
while True:
line = file.readline().decode('ascii')
match = re.match('(\w+)=(\d+)', line)
n, v = match.groups()
if n == 'Lines':
height = int(v)
print(f'Height: {height}')
if n == 'Columns':
width = int(v)
print(f'Width: {width}')
break
file.seek(-height*width*4,2)
na = np.fromfile(file, dtype=np.float32).reshape((height,width))
min, max, mean = na.min(), na.max(), na.mean()
print(f'DEBUG: min={min}, max={max}, mean={mean}')
u16 = (65535*(na - np.min(na))/np.ptp(na)).astype(np.uint16)
cv2.imwrite('OpenCV.png', u16)
pi = Image.fromarray(na, mode='F')
pi.save('PIL.tif')
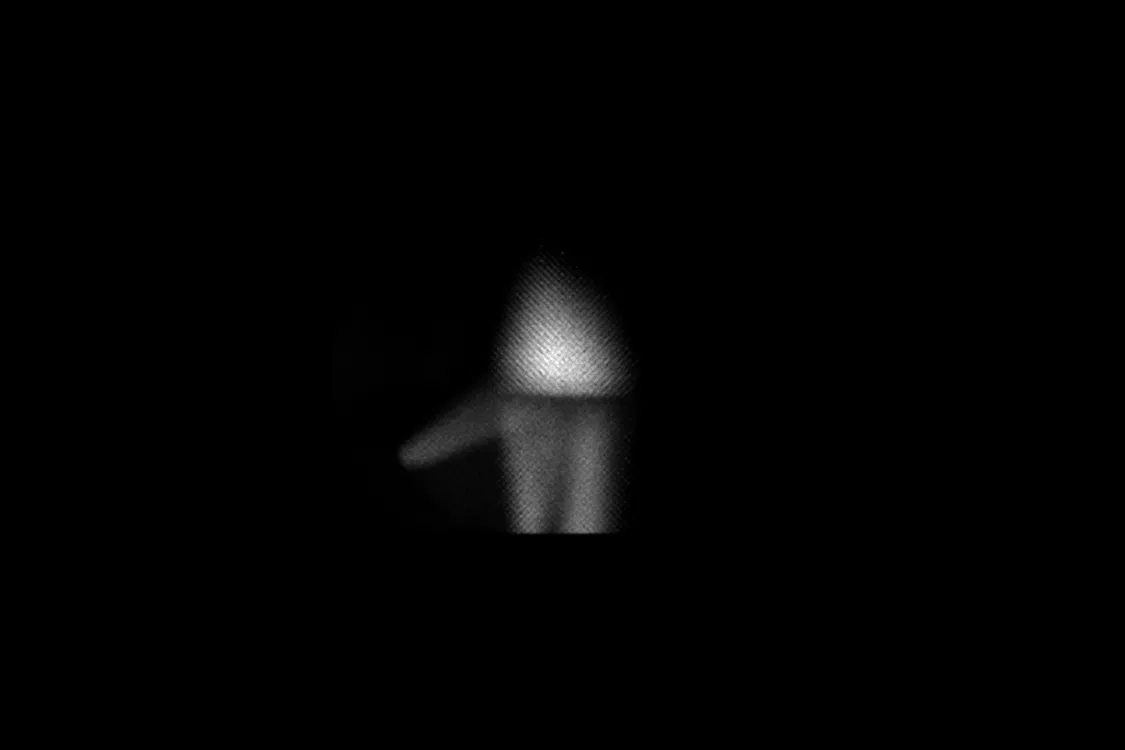
输出结果如下:
Height: 750
Width: 1125
DEBUG: min=0.0, max=127881704.0, mean=1618343.625
另一种可能性是使用
ImageMagick将其转换为PNG格式,我得到了以下结果,
ImageMagick默认为小端序,因此如果这是正确的话,您的图像就是小端序的。
magick -define quantum:format=floating-point -depth 32 -size 1125x750+80 gray:"PF file.pf" -auto-level image.png

关键词: Python, ImageMagick, 图像处理, 浮点数, float32, Numpy, PFM