我有一张带有边界框的图像,想要调整图像大小。
img = cv2.imread("img.jpg",3)
x_ = img.shape[0]
y_ = img.shape[1]
img = cv2.resize(img,(416,416));
现在我想计算比例因子:
x_scale = ( 416 / x_)
y_scale = ( 416 / y_ )
绘制图像,这是原始边界框的代码:
( 128, 25, 447, 375 ) = ( xmin,ymin,xmax,ymax)
x = int(np.round(128*x_scale))
y = int(np.round(25*y_scale))
xmax= int(np.round  (447*(x_scale)))
ymax= int(np.round(375*y_scale))
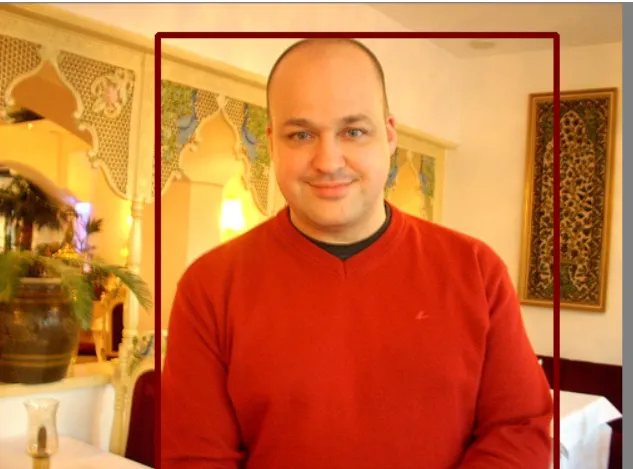
然而,使用这个方法我得到了:
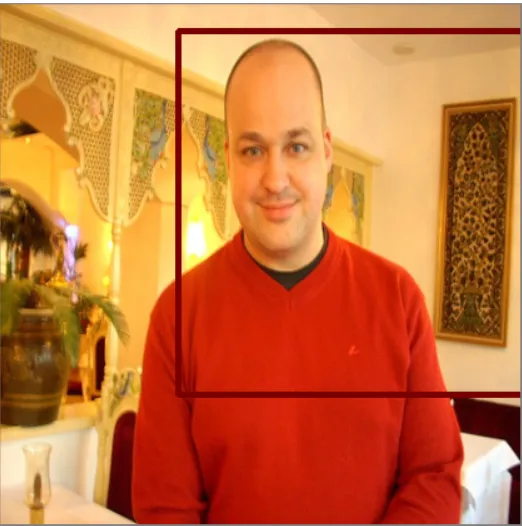
而原始的是:
我没有看到这个逻辑中有任何标志,出了什么问题?
整个代码:
imageToPredict = cv2.imread("img.jpg",3)
print(imageToPredict.shape)

x_ = imageToPredict.shape[0]
y_ = imageToPredict.shape[1]

x_scale = 416/x_
y_scale = 416/y_
print(x_scale,y_scale)
img = cv2.resize(imageToPredict,(416,416));
img = np.array(img);


x = int(np.round(128*x_scale))
y = int(np.round(25*y_scale))
xmax= int(np.round  (447*(x_scale)))
ymax= int(np.round(375*y_scale))
Box.drawBox([[1,0, x,y,xmax,ymax]],img)
并且绘制框
def drawBox(boxes, image):
    for i in range (0, len(boxes)):
        cv2.rectangle(image,(boxes[i][2],boxes[i][3]),(boxes[i][4],boxes[i][5]),(0,0,120),3)
    cv2.imshow("img",image)
    cv2.waitKey(0)
    cv2.destroyAllWindows()
图像和边界框的数据是分别加载的。 我在图像内部绘制边界框。 图像本身不包含边界框。
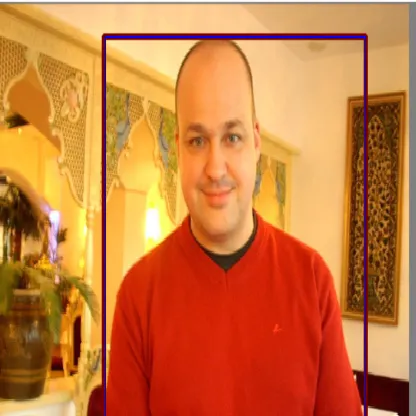
drawBox调用肯定是相关的 :) 。正如我所说,请给我一个 MCVE,我会看一下。现在,恐怕从代码片段中它并没有跳出来。谢谢! - cxw(128,25)-(447,375)。实际左上角大约是(160,35)。 - SergGr