有很多关于根据标题文本对齐按钮图像的讨论,但我找不到任何关于将图像仅对齐到按钮右侧的内容。
这没有任何效果:
button.imageEdgeInsets = UIEdgeInsetsMake(0, 0, 0, 50);
如何使按钮中的图像右对齐?可以在Storyboard中完成吗?
有很多关于根据标题文本对齐按钮图像的讨论,但我找不到任何关于将图像仅对齐到按钮右侧的内容。
这没有任何效果:
button.imageEdgeInsets = UIEdgeInsetsMake(0, 0, 0, 50);
如何使按钮中的图像右对齐?可以在Storyboard中完成吗?
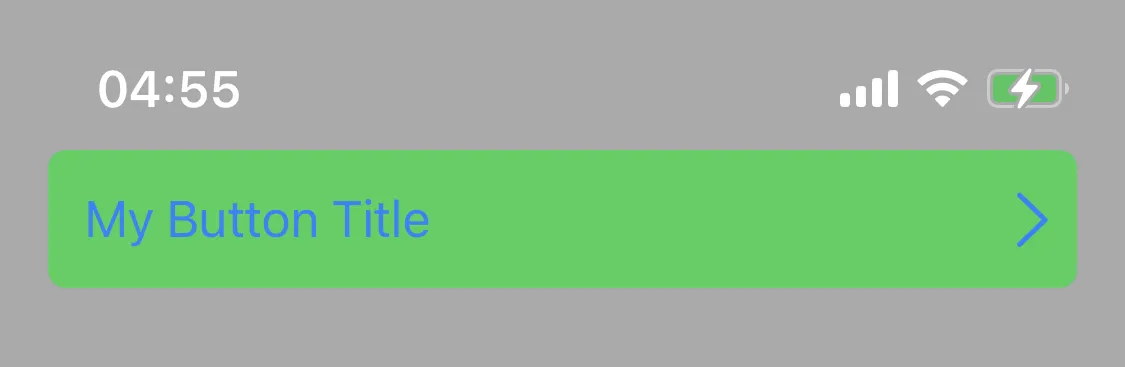
self.myButton.setTitle("My Button Title", for: .normal)
self.myButton.setImage(UIImage(systemName: "chevron.right"), for: .normal)
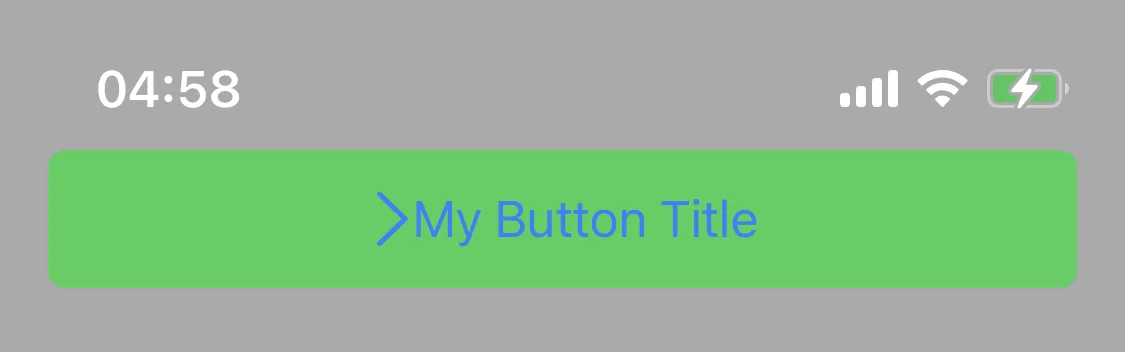
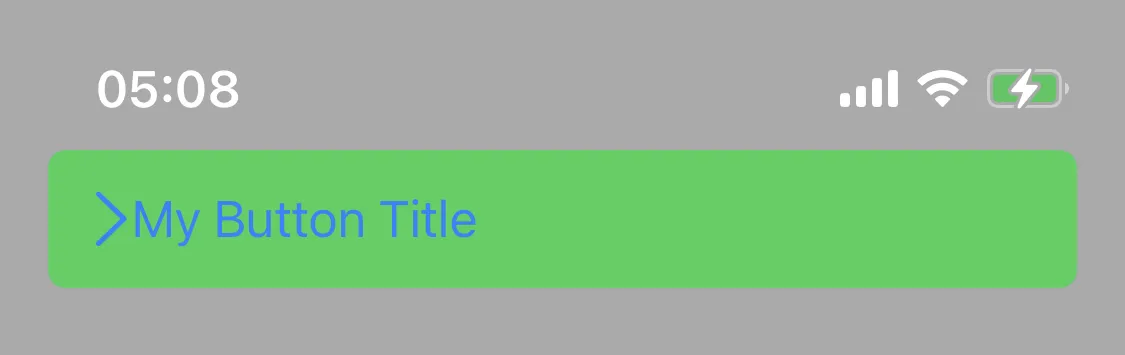
2 - 将水平内容对齐设置为左侧:
self.myButton.contentHorizontalAlignment = .left
3 - 从右到左设置语义内容属性:这意味着前导将成为按钮的右侧,而尾随将成为按钮的左侧。因此,图像(即按钮的第一个视图)将位于按钮的右侧。
self.myButton.semanticContentAttribute = .forceRightToLeft
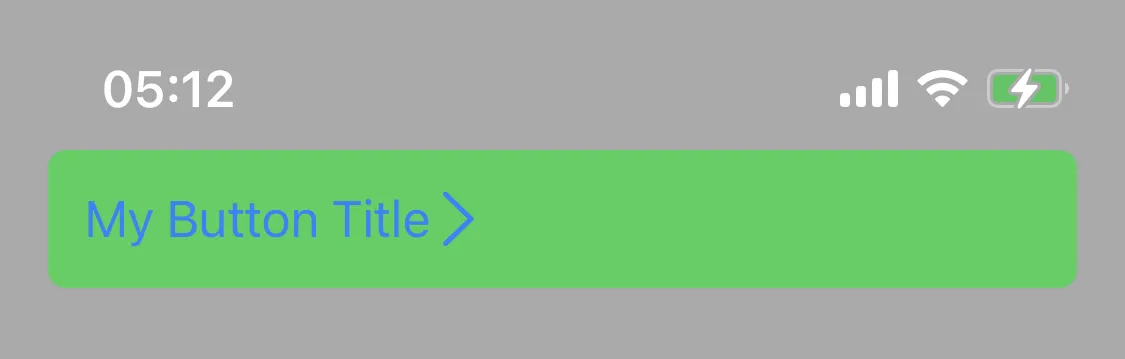
4 - 添加按钮图像的约束条件,以便将其重新定位到右侧(在这种情况下靠近前导边缘,记住当将语义内容属性从右到左设置时,我们会切换边缘):
self.myButton.imageView?.translatesAutoresizingMaskIntoConstraints = false
self.myButton.imageView?.centerYAnchor.constraint(equalTo: self.myButton.centerYAnchor, constant: 0).isActive = true
self.myButton.imageView?.trailingAnchor.constraint(equalTo: self.myButton.leadingAnchor, constant: 24).isActive = true
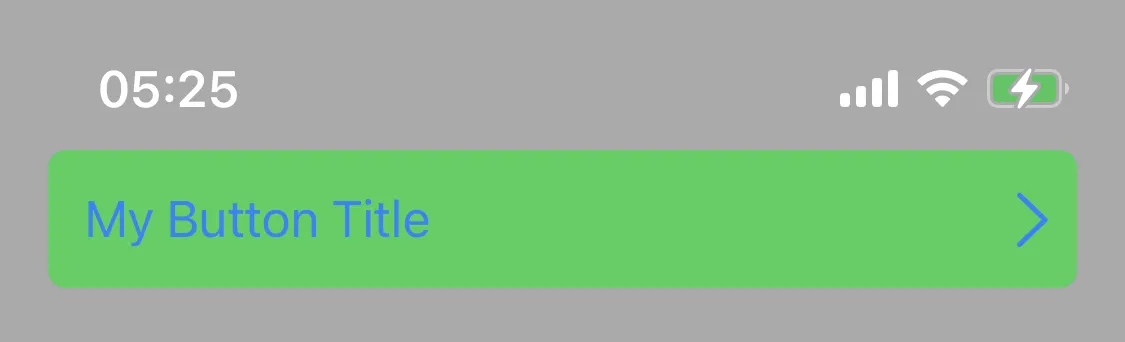
就这些了,伙计们!
使用UIButton扩展将图像放在右侧
extension UIButton {
    func imageToRight() {
        transform = CGAffineTransform(scaleX: -1.0, y: 1.0)
        titleLabel?.transform = CGAffineTransform(scaleX: -1.0, y: 1.0)
        imageView?.transform = CGAffineTransform(scaleX: -1.0, y: 1.0)
    }
}
如何使用
yourButton.imageToRight()
Just like this:
btn.imageView?.translatesAutoresizingMaskIntoConstraints = false
btn.imageView?.centerYAnchor.constraint(equalTo: btn.centerYAnchor, constant: 0.0).isActive = true
btn.imageView?.trailingAnchor.constraint(equalTo: btn.trailingAnchor, constant: 0.0).isActive = true
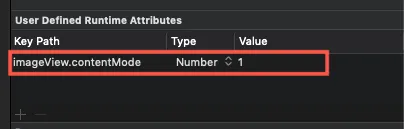
btn.imageView?.contentMode = .right
extension UIButton {
    func adjust() {
        guard let imageView = self.imageView else { return }
        imageView.translatesAutoresizingMaskIntoConstraints = false
        imageView.centerYAnchor.constraint(equalTo: self.centerYAnchor, constant: 0.0).isActive = true
        imageView.trailingAnchor.constraint(equalTo: self.trailingAnchor, constant: 0).isActive = true

        guard let titleLabel = self.titleLabel else { return }
        titleLabel.translatesAutoresizingMaskIntoConstraints = false
        titleLabel.leadingAnchor.constraint(equalTo: self.leadingAnchor, constant: 0).isActive = true
        titleLabel.centerYAnchor.constraint(equalTo: self.centerYAnchor, constant: 0.0).isActive = true
    }
}
我通过设置以下内容使其正常工作:
button.contentHorizontalAlignment = UIControlContentHorizontalAlignmentRight;
然后对于内部图像,我将右插入设置为0。
button.imageEdgeInsets = UIEdgeInsetsMake(10.0, 10.0, 10.0, 0);
通过新的UIButton.Configuration,您可以使用自定义背景视图
extension UIButton {
  class BackgroundImageView: UIView {
    private let imageView = UIImageView()
    private let imagePlacement: NSDirectionalRectEdge

    init(icon: UIImage? = nil, imagePlacement iconPlacement: NSDirectionalRectEdge = .leading) {
      imagePlacement = iconPlacement
      super.init(frame: .zero)
      imageView.image = icon
      addSubview(imageView)
      layout()
    }

    required init?(coder: NSCoder) {
      fatalError("init(coder:) has not been implemented")
    }

    private func layout() {
      imageView.snp.remakeConstraints { make in
        make.size.equalTo(24)
        make.centerY.equalToSuperview()
        if imagePlacement == .trailing {
          make.trailing.equalToSuperview().offset(-CGFloat.spacing6)
        } else {
          make.leading.equalToSuperview().offset(CGFloat.spacing6)
        }
      }
    }
  }
}
SnapKit,但你也可以选择常规的自动布局约束。
extension UIButton.Configuration {
  static func config(
    title: String? = nil,
    icon: UIImage? = nil,
    baseBackgroundColor: UIColor,
    baseForegroundColor: UIColor,
    pinIconToEdge: Bool = true
  ) -> Self {
    var config = UIButton.Configuration.filled()
    config.title = title
    if pinIconToEdge {
      config.background.customView = UIButton.BackgroundImageView(
        icon: icon?.withRenderingMode(.alwaysTemplate)
      )
    } else {
      config.image = icon
      config.imagePlacement = .trailing
      config.imagePadding = .spacing8
    }

    config.background.customView?.tintColor = .red
    config.cornerStyle = .capsule
    config.baseForegroundColor = baseForegroundColor

    return config
  }
}
SWIFT 5
button.imageEdgeInsets = UIEdgeInsets(top: 0, left: (bounds.width - 16), bottom: 0, right: 0)