有一个 ConstraintLayout 布局:
<android.support.constraint.ConstraintLayout
    xmlns:android="http://schemas.android.com/apk/res/android"
    xmlns:app="http://schemas.android.com/apk/res-auto"
    android:layout_width="match_parent"
    android:layout_height="match_parent">

    <Button
        android:id="@+id/button10"
        android:layout_width="wrap_content"
        android:layout_height="wrap_content"
        android:ellipsize="end"
        android:singleLine="true"
        android:text="small text"
        app:layout_constraintLeft_toLeftOf="parent"/>

    <Button
        android:ellipsize="end"
        android:singleLine="true"
        android:id="@+id/button11"
        android:layout_width="wrap_content"
        android:layout_height="wrap_content"
        android:text="small text"
        app:layout_constraintRight_toRightOf="parent"/>

</android.support.constraint.ConstraintLayout>
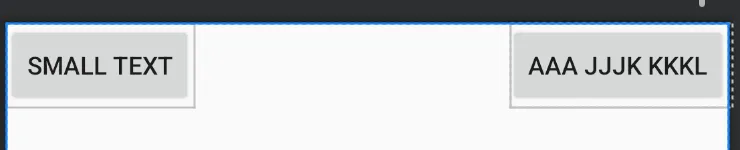
如下所示:
 现在还好,但如果我将
android:text="small text"更改为android:text="big teeeeeeeeeeeeeeeeeeeeeeeeeeeeeeeeeeeeeeeeext",则视图将重叠。
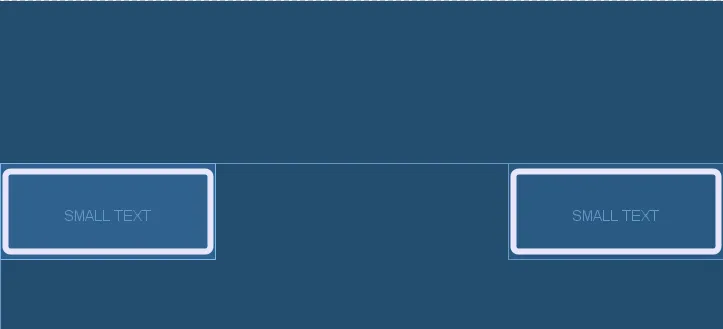
我需要确保小文本使用“包装内容”,就像上面的屏幕截图一样,但是对于较大的文本,文本视图必须水平占据父级的约40%。同时也要防止文本被转移-我使用android: ellipsize =" end " 和 android: singleLine =" true。
这是应该是这样的(在Photoshop中进行了编辑以演示):
 用ConstraintLayout或其他布局如何实现?