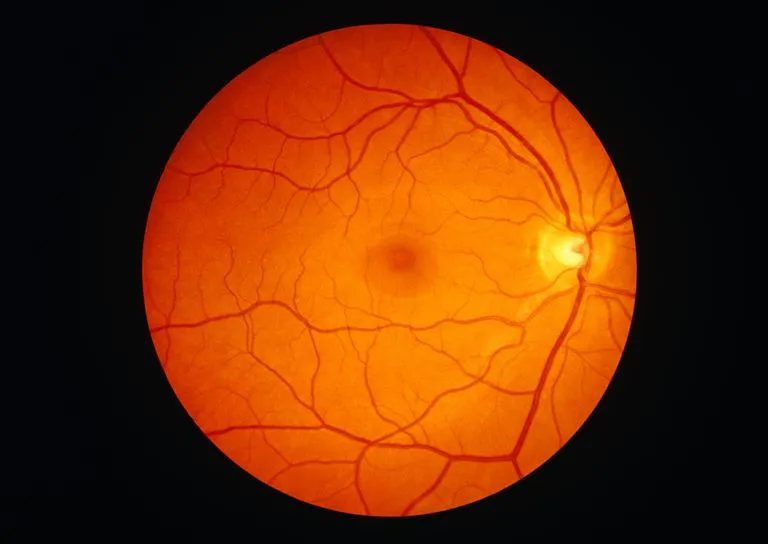
我正在处理视网膜底图像,该图像包括黑色背景上的圆形视网膜。使用OpenCV,我已经成功获取了环绕整个圆形视网膜的轮廓。我需要的是从黑色背景中裁剪出圆形视网膜。
如何裁剪轮廓的内部区域?
31
- Gaurav Patil
2
4“Cropping” 是指裁剪图片,因为图片通常是矩形的,所以您可以创建一个掩码,在掩码像素上执行后续操作(处理/渲染)。或者您可以将图像裁剪成视网膜的边界框表示,这可能比原始图像小得多,但仍将具有一些黑色部分(因为视网膜不是矩形的)。或者,您可以裁剪到视网膜内最大的矩形区域,这将不会留下任何黑色背景像素,但也会切掉一些视网膜的部分。您希望采用哪种方式? - Micka
2如果这是最后的情况,请尝试访问https://dev59.com/02Ei5IYBdhLWcg3wUKyC#21479072。 - Micka
3个回答
61
根据您的问题,不清楚您是想裁剪轮廓内定义的信息还是掩蔽轮廓外不相关的信息。我将探讨这两种情况下该如何处理。
掩蔽信息
假设您在图像上运行了cv2.findContours,您将收到一个结构,其中列出了图像中所有可用的轮廓。我还假设您知道所选轮廓的索引。假设这存储在idx中,请首先使用cv2.drawContours在空白图像上绘制此轮廓的填充版本,然后使用该图像对您的图像进行索引以提取对象。这个逻辑掩盖了任何不相关的信息,并仅保留重要的内容——即在所选轮廓内定义的内容。执行此操作的代码类似于以下示例,假设您的图像是存储在img中的灰度图像:
import numpy as np
import cv2
img = cv2.imread('...', 0) # Read in your image
# contours, _ = cv2.findContours(...) # Your call to find the contours using OpenCV 2.4.x
_, contours, _ = cv2.findContours(...) # Your call to find the contours
idx = ... # The index of the contour that surrounds your object
mask = np.zeros_like(img) # Create mask where white is what we want, black otherwise
cv2.drawContours(mask, contours, idx, 255, -1) # Draw filled contour in mask
out = np.zeros_like(img) # Extract out the object and place into output image
out[mask == 255] = img[mask == 255]

# Show the output image
cv2.imshow('Output', out)
cv2.waitKey(0)
cv2.destroyAllWindows()
如果你真的想截取图像...
如果你想要截取图像,你需要定义由轮廓定义的区域的最小跨度边界框。你可以找到边界框的左上角和右下角,然后使用索引来截取你需要的部分。代码与之前相同,但会有额外的截取步骤:
import numpy as np
import cv2
img = cv2.imread('...', 0) # Read in your image
# contours, _ = cv2.findContours(...) # Your call to find the contours using OpenCV 2.4.x
_, contours, _ = cv2.findContours(...) # Your call to find the contours
idx = ... # The index of the contour that surrounds your object
mask = np.zeros_like(img) # Create mask where white is what we want, black otherwise
cv2.drawContours(mask, contours, idx, 255, -1) # Draw filled contour in mask
out = np.zeros_like(img) # Extract out the object and place into output image
out[mask == 255] = img[mask == 255]

# Now crop
(y, x) = np.where(mask == 255)
(topy, topx) = (np.min(y), np.min(x))
(bottomy, bottomx) = (np.max(y), np.max(x))
out = out[topy:bottomy+1, topx:bottomx+1]

# Show the output image
cv2.imshow('Output', out)
cv2.waitKey(0)
cv2.destroyAllWindows()
裁剪代码的工作原理是,当我们定义一个掩膜来提取由轮廓定义的区域时,我们还会找到定义轮廓左上角的最小水平和垂直坐标。同样,我们还会找到定义轮廓右下角的最大水平和垂直坐标。然后我们使用这些坐标进行索引以裁剪我们实际需要的内容。请注意,这将在掩膜图像上执行裁剪——即除了包含在最大轮廓中的信息之外,删除所有内容的图像。
OpenCV 3.x 注意事项
需要注意的是,上述代码假定您正在使用 OpenCV 2.4.x。请注意,在 OpenCV 3.x 中,cv2.findContours 的定义已更改。具体而言,输出是一个三元组输出,其中第一张图片是源图像,而其他两个参数与 OpenCV 2.4.x 中相同。因此,只需将上述代码中的 cv2.findContours 语句更改为忽略第一个输出即可:
_, contours, _ = cv2.findContours(...) # Your call to find contours
- rayryeng
7
@RedetGetachew - 不,坐标没有交换。
np.where的输出提供了在x中的行位置和在y中的列位置,它们都是非零的。因此,对数组进行索引是正确的。在建议编辑之前,请实际测试您的更改。 - rayryeng在OpenCV中,情况正好相反,
x代表列位置,y代表行位置,这就是它们看起来可能会被交换的原因。 - João Cartucho@JoãoCartucho 不用担心,只要使用
np.where 就可以了。在这种情况下,第一种方法是可行的,但第二种方法不行。 - rayryeng@rayryeng-ReinstateMonica 我的意思是在不将图像转换为灰度的情况下对BGR图像应用此裁剪,我尝试过了,但它只复制了图像中的B值。 - David Ibrahim
1@DavidIbrahim 仍需在灰度转换图像上进行操作,但您需要复制遮罩以使其具有三个通道,每个通道都具有相同的遮罩内容,然后进行索引。我可以稍后修改我的帖子以解决在彩色图像中执行此操作,但几乎是相同的过程。 - rayryeng
显示剩余2条评论
15
这里提供另一种裁剪矩形区域的方法。主要思路是使用Canny边缘检测找到视网膜的边缘,找到轮廓,然后使用NumPy切片提取ROI。假设您有一个像这样的输入图像:
 提取的ROI如下所示:
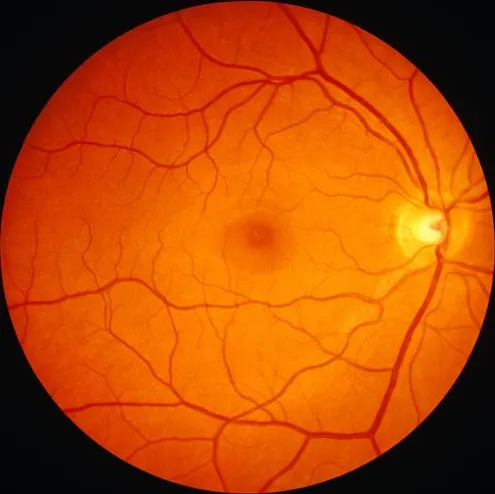
提取的ROI如下所示:
import cv2

# Load image, convert to grayscale, and find edges
image = cv2.imread('1.jpg')
gray = cv2.cvtColor(image, cv2.COLOR_BGR2GRAY)
thresh = cv2.threshold(gray, 0, 255, cv2.THRESH_OTSU + cv2.THRESH_BINARY)[1]

# Find contour and sort by contour area
cnts = cv2.findContours(thresh, cv2.RETR_EXTERNAL, cv2.CHAIN_APPROX_SIMPLE)
cnts = cnts[0] if len(cnts) == 2 else cnts[1]
cnts = sorted(cnts, key=cv2.contourArea, reverse=True)

# Find bounding box and extract ROI
for c in cnts:
    x,y,w,h = cv2.boundingRect(c)
    ROI = image[y:y+h, x:x+w]
    break

cv2.imshow('ROI',ROI)
cv2.imwrite('ROI.png',ROI)
cv2.waitKey()
- nathancy
9
这是一种非常简单的方法。使用透明度来掩盖图片。
(说明:这是一个关于输出的标题,以及一张图片)
- 读取图片
- 制作灰度版本。
- Otsu阈值处理
- 将形态学开运算和闭运算应用于阈值化图像,作为蒙版
- 将蒙版放入输入的alpha通道中
- 保存输出
输入

代码
import cv2
import numpy as np


# load image as grayscale
img = cv2.imread('retina.jpeg')

gray = cv2.cvtColor(img, cv2.COLOR_BGR2GRAY)

# threshold input image using otsu thresholding as mask and refine with morphology
ret, mask = cv2.threshold(gray, 0, 255, cv2.THRESH_BINARY+cv2.THRESH_OTSU)
kernel = np.ones((9,9), np.uint8)
mask = cv2.morphologyEx(mask, cv2.MORPH_CLOSE, kernel)
mask = cv2.morphologyEx(mask, cv2.MORPH_OPEN, kernel)

# put mask into alpha channel of result
result = img.copy()
result = cv2.cvtColor(result, cv2.COLOR_BGR2BGRA)
result[:, :, 3] = mask

# save resulting masked image
cv2.imwrite('retina_masked.png', result)
输出
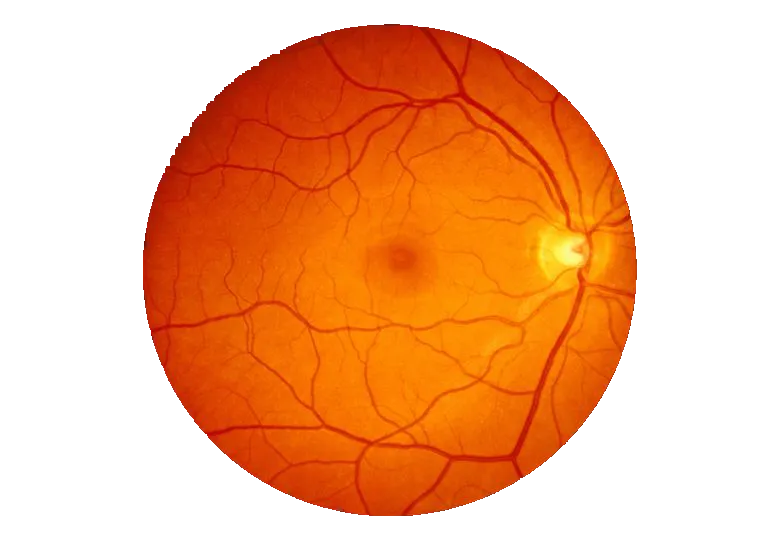
(说明:这是一个关于输出的标题,以及一张图片)
- fmw42
2
2这只是去除背景 - 这不会像原始问题一样裁剪。 - rayryeng
1是的,你说得对。我当时一定看错了问题。 - fmw42
网页内容由stack overflow 提供, 点击上面的可以查看英文原文,
原文链接
原文链接