如何将Android TabLayout设置在屏幕底部?

32

我的问题是如何将新的Android材料设计TabLayout设置为底部,类似于Instagram的底部工具栏。

如果您从未见过Instagram的用户界面,请查看此处的屏幕截图:

如果您从未见过Instagram的用户界面,请查看此处的屏幕截图
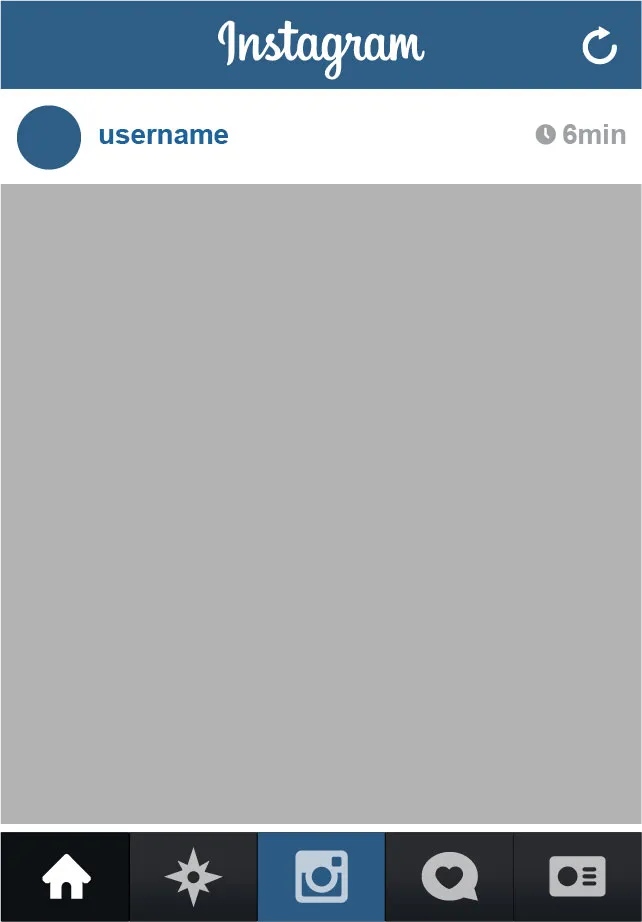
。 如果有更好的方法,请随时在此处发布(如果可能,请附带代码示例),我将非常感激。

这是我的代码:activity_main.xml

<android.support.design.widget.AppBarLayout
    android:layout_width="match_parent"
    android:layout_height="wrap_content"
    android:theme="@style/ThemeOverlay.AppCompat.Dark.ActionBar">

    <android.support.v7.widget.Toolbar
        android:id="@+id/toolbar"
        android:layout_width="match_parent"
        android:layout_height="?attr/actionBarSize"
        android:background="?attr/colorPrimary"
        app:layout_scrollFlags="scroll|enterAlways"
        app:popupTheme="@style/ThemeOverlay.AppCompat.Light" />

    <android.support.design.widget.TabLayout
        android:id="@+id/tabs"
        android:layout_width="match_parent"
        android:layout_height="wrap_content"
        app:tabMode="fixed"
        app:tabGravity="fill"/>
</android.support.design.widget.AppBarLayout>

<android.support.v4.view.ViewPager
    android:id="@+id/viewpager"
    android:layout_width="match_parent"
    android:layout_height="match_parent"
    app:layout_behavior="@string/appbar_scrolling_view_behavior"  />

我尝试了Stack Overflow社区提出的许多方法和解决方案,但似乎没有一种方法适用于这个新的Android选项卡实现方式。我知道这个UI设计不遵循Android设计准则,所以请不要对此发表评论。这个UI设计对我的应用程序的用户体验非常重要,我希望能得到一个答案。谢谢!


完整解决方案在这里:https://dev59.com/FI_ea4cB1Zd3GeqPTtdQ#32985326 - Daniel Nugent
请检查我的解决方案。如果我解决了您的问题,请确保将其标记为答案。 - ChallengeAccepted
1
非常感谢你们。你们俩救了我的命。你们不知道我有多感激你们的帮助和宝贵的答案。最好的祝福! - JorgeC
@user562 非常欢迎你。祝你编程愉快! - ChallengeAccepted
@user562 如果可能的话,请尽量避免在底部使用选项卡。Instagram从一开始就遵循iOS样式的选项卡。Android和Material Design并不推荐这样做。 - Sharjeel
这将有助于:http://stackoverflow.com/a/36594004/4850591 - Aditya Vyas-Lakhan
7个回答

80

我相信我有最好的简单解决方案。使用LinearLayout,并将viewpager的高度设置为0dp,同时设置layout_weight="1"。确保LinearLayout的方向为垂直,并且viewpager位于TabLayout之前。这是我的实现:

<LinearLayout xmlns:android="http://schemas.android.com/apk/res/android"
    xmlns:tools="http://schemas.android.com/tools"
    android:layout_width="match_parent"
    android:layout_height="match_parent"
    tools:context=".MainActivity"
    android:orientation="vertical">

    <include layout="@layout/toolbar" android:id="@+id/main_toolbar"/>

    <android.support.v4.view.ViewPager
        android:id="@+id/viewpager"
        android:layout_width="match_parent"
        android:layout_height="0dp"
        android:layout_weight="1"
        android:background="@color/white"/>

    <android.support.design.widget.TabLayout
        android:id="@+id/sliding_tabs"
        android:layout_width="match_parent"
        android:layout_height="wrap_content"
        android:background="@color/blue"
        />

</LinearLayout>

另外作为奖励,你应该把你的工具栏仅创建一次作为"toolbar.xml"。这样你所需要做的就是使用include标签即可。让你的布局更加清晰。享受吧!

toolbar.xml

<?xml version="1.0" encoding="utf-8"?>
<android.support.v7.widget.Toolbar xmlns:android="http://schemas.android.com/apk/res/android"
    xmlns:app="http://schemas.android.com/apk/res-auto"
    android:layout_width="match_parent"
    android:layout_height="wrap_content"
    android:background="?attr/colorPrimary"
    android:minHeight="?attr/actionBarSize"
    app:popupTheme="@style/ThemeOverlay.AppCompat.Light"
    app:theme="@style/ThemeOverlay.AppCompat.Dark.ActionBar" />

更新时间 11.2.2016:对于不知道如何展开工具栏的人,这是如何操作的。确保您的 Activity 继承 AppCompatActivity,这样您就可以调用 setSupportActionBar() 和 getSupportActionBar()。

Toolbar mToolbar = (Toolbar) findViewById(R.id.main_toolbar);
setSupportActionBar(mToolbar);
getSupportActionBar().setDisplayHomeAsUpEnabled(true);

如何在 Xamarin 中实现? - Abdullah Tahan
很好,它对我有用。我可以在底部导航栏中放更多的图标。 - Franklin CI
非常好的答案,谢谢!我还使用以下代码将选项卡指示器移动到了顶部:在TabLayout上添加app:tabIndicatorGravity="top"。 - SammyT

6

我建议使用androidx库,因为android support库可能很快就会被弃用。

事实上,我们可以将选项卡布局添加到viewpager中。以下是我在项目中使用的代码片段:

<androidx.viewpager.widget.ViewPager
    android:id="@+id/viewPager"
    android:layout_width="match_parent"
    android:layout_height="match_parent">

    <com.google.android.material.tabs.TabLayout
        android:id="@+id/tabLayout"
        android:layout_width="match_parent"
        android:layout_height="wrap_content"
        android:background="#00a294"
        android:layout_gravity="bottom" />

</androidx.viewpager.widget.ViewPager>

layout_gravity="bottom" 是将选项卡布局放置在底部的语法。


3
更好的方式是像下面的代码一样分开AppBarLayout和tabLayout。这样你可以独立修改选项卡栏和视图分页器的属性。
<android.support.design.widget.CoordinatorLayout xmlns:android="http://schemas.android.com/apk/res/android"
        xmlns:app="http://schemas.android.com/apk/res-auto"
        android:layout_width="match_parent"
        android:layout_height="match_parent">

        <android.support.design.widget.AppBarLayout
            android:layout_width="match_parent"
            android:layout_height="wrap_content"
            android:theme="@style/ThemeOverlay.AppCompat.Dark.ActionBar">

            <android.support.v7.widget.Toolbar
                android:id="@+id/toolbar"
                android:layout_width="match_parent"
                android:layout_height="?attr/actionBarSize"
                android:background="?attr/colorPrimary"
                app:layout_scrollFlags="scroll|enterAlways"
                app:popupTheme="@style/ThemeOverlay.AppCompat.Light" />
        </android.support.design.widget.AppBarLayout>

        <RelativeLayout
            android:layout_width="match_parent"
            android:layout_height="match_parent">

            <android.support.v4.view.ViewPager
                android:id="@+id/viewpager"
                android:layout_width="match_parent"
                android:layout_height="match_parent"
                app:layout_behavior="@string/appbar_scrolling_view_behavior"
                android:layout_above="@+id/tabs"/>

            <android.support.design.widget.TabLayout
                android:id="@+id/tabs"
                android:layout_width="match_parent"
                android:layout_height="wrap_content"
                app:tabMode="fixed"
                app:tabGravity="fill"
                android:layout_alignParentBottom="true"/>
        </RelativeLayout>
    </android.support.design.widget.CoordinatorLayout>

3

我在Android Studio 2.2上遇到了同样的问题。我所做的是:

<?xml version="1.0" encoding="utf-8"?>
<LinearLayout
    xmlns:android="http://schemas.android.com/apk/res/android"
    xmlns:app="http://schemas.android.com/apk/res-auto"
    xmlns:tools="http://schemas.android.com/tools"
    android:layout_width="match_parent"
    android:orientation="vertical"
    android:layout_height="match_parent">


    <android.support.v7.widget.Toolbar
        android:id="@+id/toolbar"
        android:layout_width="match_parent"
        android:layout_height="?attr/actionBarSize"
        android:background="?attr/colorPrimary"
        app:popupTheme="@style/ThemeOverlay.AppCompat.Light"
        app:subtitleTextColor="@color/color_white"
        android:theme="@style/ThemeOverlay.AppCompat.Dark.ActionBar"
        app:title="@string/call_log"
        app:titleTextColor="@color/color_white"
        />

    <RelativeLayout
        android:id="@+id/content_frame"
        android:layout_width="match_parent"
        android:layout_height="match_parent" >

        <android.support.v4.view.ViewPager
            android:id="@+id/viewpager"
            android:layout_width="match_parent"
            android:layout_height="wrap_content"
            android:layout_above="@+id/tabLayout" />

        <android.support.design.widget.TabLayout
            android:layout_alignParentBottom="true"
            android:id="@+id/tabLayout"
            android:layout_width="match_parent"
            android:layout_height="wrap_content"
            android:minHeight="?attr/actionBarSize"/>
    </RelativeLayout>

</LinearLayout>

2
android:layout_alignParentBottom="true"

在此设置中添加以下内容:
android.support.design.widget.TabLayout

没有起作用,觉得与更复杂的答案相比太好了,以至于难以置信。 - Dymas

0

在页面顶部的LinearLayout设置中,将android:gravity="bottom"。就这样。以下是代码:

<?xml version="1.0" encoding="utf-8"?>
<LinearLayout
    xmlns:android="http://schemas.android.com/apk/res/android"
    android:orientation="vertical"
    android:layout_width="match_parent"
    android:layout_height="match_parent"
    android:minWidth="25px"
    android:minHeight="25px"
    android:gravity="bottom"> //Thats it.
    <android.support.design.widget.TabLayout
        android:layout_width="match_parent"
        android:layout_height="45dp"
        android:id="@+id/tabLayout1">
        <android.support.design.widget.TabItem
        android:icon="@drawable/home"
        android:layout_width="match_parent"
        android:layout_height="wrap_content"
        android:id="@+id/tabItem1" />
        <android.support.design.widget.TabItem
        android:icon="@drawable/mypage"
        android:layout_width="match_parent"
        android:layout_height="wrap_content"
        android:id="@+id/tabItem2" />
        <android.support.design.widget.TabItem
        android:icon="@drawable/friends"
        android:layout_width="match_parent"
        android:layout_height="wrap_content"
        android:id="@+id/tabItem3" />
        <android.support.design.widget.TabItem
        android:icon="@drawable/messages"
        android:layout_width="match_parent"
        android:layout_height="wrap_content"
        android:id="@+id/tabItem4" />
        <android.support.design.widget.TabItem
        android:icon="@drawable/settings"
        android:layout_width="match_parent"
        android:layout_height="wrap_content"
        android:id="@+id/tabItem5" />
    </android.support.design.widget.TabLayout>
</LinearLayout>

-5
用这个替换你的TabLayout代码。
<android.support.design.widget.TabLayout
            android:id="@+id/tabs"
            android:layout_width="match_parent"
            android:layout_height="wrap_content"
            android:layout_alignParentBottom="true"
            android:elevation="2dp" />

网页内容由stack overflow 提供, 点击上面的
可以查看英文原文,
原文链接