如何正确地在Swift中将imageView设置为圆形,就像imageContacts一样?

60
我想将一张图片以像联系人那样的圆形形式显示在imageView中。但是当我尝试这样做时,imageView会重新调整大小,并且无法正确地以圆形形式显示。
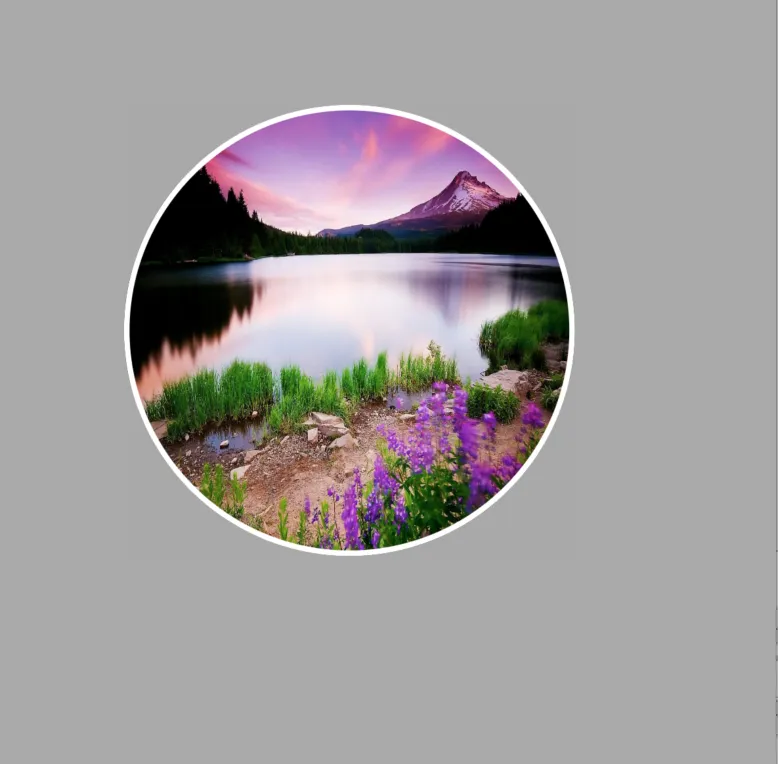
我想把一张图片显示成imageView里面的一个圆形,就像联系人列表里面的头像一样。但是当我试图这么做的时候,imageView控件会自动改变尺寸,导致圆形效果无法正确显示。

 image.layer.borderWidth=1.0
 image.layer.masksToBounds = false
 image.layer.borderColor = UIColor.whiteColor().CGColor
 image.layer.cornerRadius = image.frame.size.height/2
 image.clipsToBounds = true
我希望展示如下图所示: enter image description here 但我得到的效果是这样的: enter image description here 请问如何将图片大小调整为UIImageView大小,并显示为圆形?
谢谢!

这是解决ImageView宽度与高度不同的情况的方法:https://dev59.com/zV0b5IYBdhLWcg3wCtTY - lee
24个回答

57

这是我在我的应用程序中使用的解决方案:

var image: UIImage = UIImage(named: "imageName")
imageView.layer.borderWidth = 1.0
imageView.layer.masksToBounds = false
imageView.layer.borderColor = UIColor.whiteColor().CGColor
imageView.layer.cornerRadius = image.frame.size.width/2
imageView.clipsToBounds = true

Swift 4.0

let image = UIImage(named: "imageName")
imageView.layer.borderWidth = 1.0
imageView.layer.masksToBounds = false
imageView.layer.borderColor = UIColor.white.cgColor
imageView.layer.cornerRadius = image.frame.size.width / 2
imageView.clipsToBounds = true

1
为什么这里的所有答案都被投票得如此之高?如果图像不必是正方形,使用cornerRadius是不是有点愚蠢? - Injectios
“UIImage?”类型的值没有“frame”成员。嗯…… - Chris Neve

46

你正在使用什么框架大小来处理图像?如果我将框架设置为正方形,我可以得到一个完美的圆。

let image = UIImageView(frame: CGRectMake(0, 0, 100, 100))

我的图像大小在尺寸检查器中设置为120宽和120高,但当我运行它时,它不是一个完美的圆形,因为宽度变得有点长了?为什么? - LuKenneth
1
如果框架是正方形,将半径设置为宽度/高度的一半将始终给您一个圆形视图。如果要创建一个可以容纳各种正方形框架大小的自定义类,则不应硬编码半径值。 - user376845
这实际上是唯一正确的答案,如果您不将imageView设置为正方形,则其他任何答案都不起作用。 - bojan
"'CGRectMake'在Swift中不可用。" - Chris Neve

21

快速简单的解决方案。

如何使用 Swift 将 UIImage 掩盖为圆形,而不需剪裁。

extension UIImageView {
  public func maskCircle(anyImage: UIImage) {
    self.contentMode = UIViewContentMode.ScaleAspectFill
    self.layer.cornerRadius = self.frame.height / 2
    self.layer.masksToBounds = false
    self.clipsToBounds = true

   // make square(* must to make circle), 
   // resize(reduce the kilobyte) and 
   // fix rotation.
   self.image = anyImage
  }
}

如何拨打电话:

let anyAvatarImage:UIImage = UIImage(named: "avatar")!
avatarImageView.maskCircle(anyAvatarImage)

1
我找不到 prepareImage() 方法。它被更改了吗? - Antonio
@Antonio 那是他的自定义函数... 你只需要使用 self.image = anyImage。 - Boris Nikolic
我删除了多余的函数。谢谢@BorisNikolić - fatihyildizhan

11

我尝试过这个方法,它对我有效,

imageView的宽度和高度设置为相同。

Swift

imageview?.layer.cornerRadius = (imageview?.frame.size.width ?? 0.0) / 2     
imageview?.clipsToBounds = true
imageview?.layer.borderWidth = 3.0
imageview?.layer.borderColor = UIColor.white.cgColor

屏幕截图 在此输入图片描述

Objective C

self.imageView.layer.cornerRadius = self.imageView.frame.size.width / 2;
self.imageView.clipsToBounds = YES;
self.imageView.layer.borderWidth = 3.0f;
self.imageView.layer.borderColor = [UIColor whiteColor].CGColor;

希望这能对某人有所帮助。


9

创建自定义的圆形UIImageView,并在layoutSubviews下创建圆形,如果使用Autolayout,则有所帮助。

/*
      +-------------+
      |             |
      |             |
      |             |
      |             |
      |             |
      |             |
      +-------------+
  The IMAGE MUST BE SQUARE
*/
class roundImageView: UIImageView {

    override init(frame: CGRect) {
        // 1. setup any properties here
        // 2. call super.init(frame:)
        super.init(frame: frame)
        // 3. Setup view from .xib file
    }

    required init?(coder aDecoder: NSCoder) {
        // 1. setup any properties here
        // 2. call super.init(coder:)
        super.init(coder: aDecoder)
        // 3. Setup view from .xib file
    }

    override func layoutSubviews() {
        super.layoutSubviews()
        self.layer.borderWidth = 1
        self.layer.masksToBounds = false
        self.layer.borderColor = UIColor.white.cgColor
        self.layer.cornerRadius = self.frame.size.width/2
        self.clipsToBounds = true
    }
}

8

我建议一开始就将您的图片文件制作成完美的正方形。这可以在几乎任何照片编辑程序中完成。之后,在viewDidLoad中应该可以使用。感谢此视频

image.layer.cornerRadius = image.frame.size.width/2
image.clipsToBounds = true

7

这就是你需要的全部内容...

        profilepic = UIImageView(frame: CGRectMake(0, 0, self.view.bounds.width * 0.19 , self.view.bounds.height * 0.1))
        profilepic.layer.borderWidth = 1
        profilepic.layer.masksToBounds = false
        profilepic.layer.borderColor = UIColor.blackColor().CGColor
        profilepic.layer.cornerRadius = profilepic.frame.height/2
        profilepic.clipsToBounds = true

你需要导入 quartzcore 吗? - Supertecnoboff
@Supertecnoboff 不是的! - Codetard

5

如果您正在使用UIViewController,那么使用Anchors的方法如下。关键是在viewWillLayoutSubviews中设置imageView的layer.cornerRadius,代码如下:

override func viewWillLayoutSubviews() {
    super.viewWillLayoutSubviews()
    imageView.layer.cornerRadius = imageView.frame.size.width / 2
}

同时确保 heightAnchorwidthAnchor 大小相同。在下面的示例中,它们都是 100

代码:

let imageView: UIImageView = {
    let imageView = UIImageView()
    imageView.translatesAutoresizingMaskIntoConstraints = false
    imageView.layer.borderWidth = 1.0
    imageView.clipsToBounds = true
    imageView.layer.borderColor = UIColor.white.cgColor
    return imageView
}()


override func viewDidLoad() {
    super.viewDidLoad()

    view.addSubview(imageView)

    imageView.heightAnchor.constraint(equalToConstant: 100).isActive = true
    imageView.widthAnchor.constraint(equalToConstant: 100).isActive = true
    imageView.centerXAnchor.constraint(equalTo: view.centerXAnchor).isActive = true
    imageView.topAnchor.constraint(equalTo: view.safeAreaLayoutGuide.topAnchor, constant: 50).isActive = true

    imageView.image = UIImage(named: "pizzaImage")
}

override func viewWillLayoutSubviews() {
    super.viewWillLayoutSubviews()
    imageView.layer.cornerRadius = imageView.frame.size.width / 2
}

如果您正在使用 CollectionView Cell,请在 layoutSubviews() 中设置 imageView 的 layer.cornerRadius
override init(frame: CGRect) {
    super.init(frame: frame)

    addSubview(imageView)

    imageView.heightAnchor.constraint(equalToConstant: 100).isActive = true
    imageView.widthAnchor.constraint(equalToConstant: 100).isActive = true
    imageView.centerXAnchor.constraint(equalTo: self.centerXAnchor).isActive = true
    imageView.topAnchor.constraint(equalTo: self.topAnchor, constant: 50).isActive = true

    imageView.image = UIImage(named: "pizzaImage")

}

override func layoutSubviews() {
    super.layoutSubviews() // call super.layoutSubviews()
    imageView.layer.cornerRadius = imageView.frame.size.width / 2
}

将圆角代码添加到 viewWillLayoutSubviews 中对我来说很有效,使我的 ImageView 成为了一个完美的圆形。 - Anna Harrison
将角落半径添加到viewWillLayoutSubviews当通过storyboard对imageview进行了锚定,这对我在所有设备上都有效。但是我在iPhone X或更高版本上有效时遇到了问题,而在iPhone 8上无效。谢谢。 - clopex

5

这个扩展在我这里真的很好用(包括在Swift 4+中)。

extension UIImageView {
    func roundedImage() {
        self.layer.cornerRadius = (self.frame.size.width) / 2;
        self.clipsToBounds = true
        self.layer.borderWidth = 3.0
        self.layer.borderColor = UIColor.white.cgColor
    }
}

那么,只需简单地调用它即可。
imageView.roundedImage() 

3
reviewerImage.layer.cornerRadius = reviewerImage.frame.size.width / 2;
reviewerImage.clipsToBounds = true

网页内容由stack overflow 提供, 点击上面的
可以查看英文原文,
原文链接