我升级到Support Library v21后,PreferenceActivity中的ActionBar消失了。
我是否错过了一些属性来重新激活它?我曾经遇到过黑色ActionBar类似的问题。
我还尝试通过将Toolbar添加到根布局来进行一些hackish操作,但效果不如预期。
我升级到Support Library v21后,PreferenceActivity中的ActionBar消失了。
我是否错过了一些属性来重新激活它?我曾经遇到过黑色ActionBar类似的问题。
我还尝试通过将Toolbar添加到根布局来进行一些hackish操作,但效果不如预期。
PreferenceActivity:
settings_toolbar.xml :<?xml version="1.0" encoding="utf-8"?>
<android.support.v7.widget.Toolbar
xmlns:android="http://schemas.android.com/apk/res/android"
xmlns:app="http://schemas.android.com/apk/res-auto"
android:id="@+id/toolbar"
app:theme="@style/ThemeOverlay.AppCompat.Dark.ActionBar"
android:layout_width="match_parent"
android:layout_height="wrap_content"
android:minHeight="?attr/actionBarSize"
app:navigationContentDescription="@string/abc_action_bar_up_description"
android:background="?attr/colorPrimary"
app:navigationIcon="?attr/homeAsUpIndicator"
app:title="@string/action_settings"
/>
设置活动.java :
public class SettingsActivity extends PreferenceActivity {

    @Override
    protected void onPostCreate(Bundle savedInstanceState) {
        super.onPostCreate(savedInstanceState);

        LinearLayout root = (LinearLayout)findViewById(android.R.id.list).getParent().getParent().getParent();
        Toolbar bar = (Toolbar) LayoutInflater.from(this).inflate(R.layout.settings_toolbar, root, false);
        root.addView(bar, 0); // insert at top
        bar.setNavigationOnClickListener(new View.OnClickListener() {
            @Override
            public void onClick(View v) {
                finish();
            }
        });
    }

}
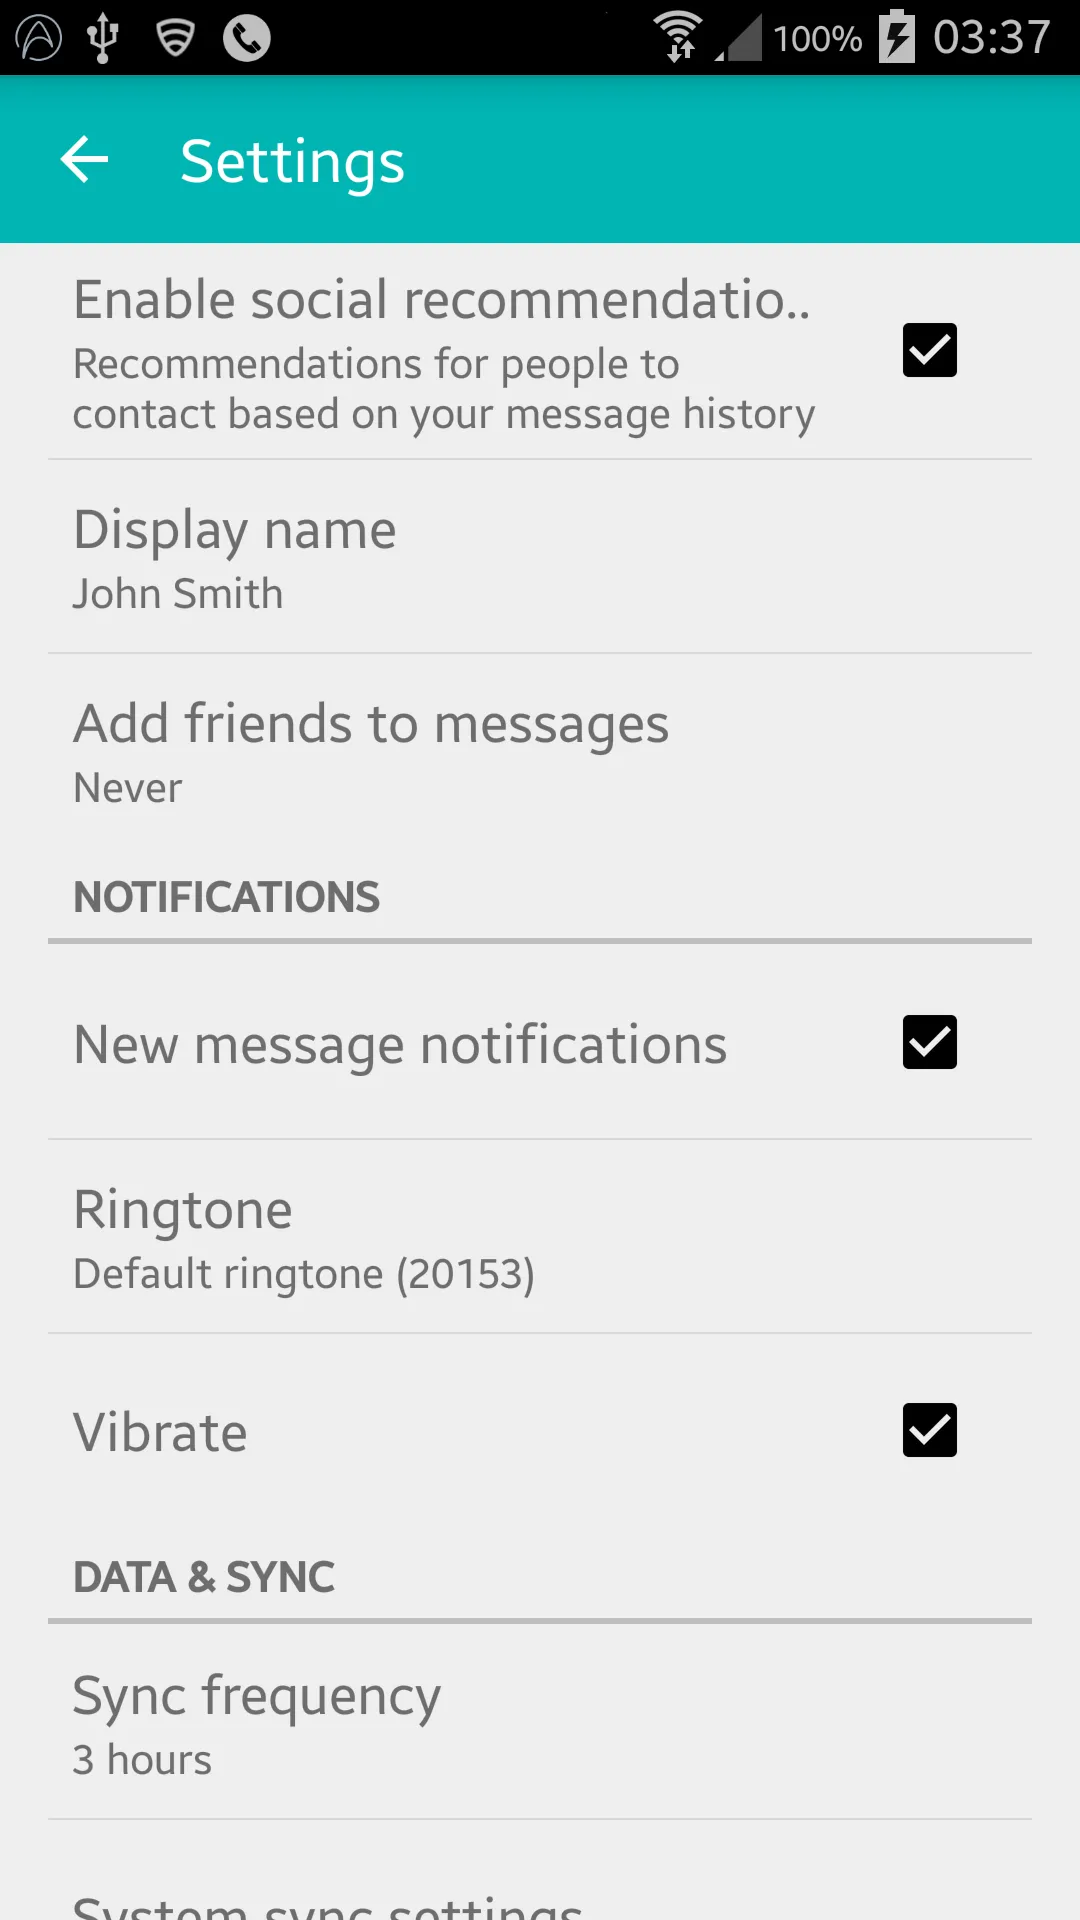
结果:
正如在这里所指出的,Gingerbread 设备在此行代码中返回 NullPointerException:
LinearLayout root = (LinearLayout)findViewById(android.R.id.list).getParent().getParent().getParent();
SettingsActivity.java :
public class SettingsActivity extends PreferenceActivity {

    @Override
    protected void onPostCreate(Bundle savedInstanceState) {
        super.onPostCreate(savedInstanceState);
        Toolbar bar;

        if (Build.VERSION.SDK_INT >= Build.VERSION_CODES.JELLY_BEAN) {
            LinearLayout root = (LinearLayout) findViewById(android.R.id.list).getParent().getParent().getParent();
            bar = (Toolbar) LayoutInflater.from(this).inflate(R.layout.settings_toolbar, root, false);
            root.addView(bar, 0); // insert at top
        } else {
            ViewGroup root = (ViewGroup) findViewById(android.R.id.content);
            ListView content = (ListView) root.getChildAt(0);

            root.removeAllViews();

            bar = (Toolbar) LayoutInflater.from(this).inflate(R.layout.settings_toolbar, root, false);


            int height;
            TypedValue tv = new TypedValue();
            if (getTheme().resolveAttribute(R.attr.actionBarSize, tv, true)) {
                height = TypedValue.complexToDimensionPixelSize(tv.data, getResources().getDisplayMetrics());
            }else{
                height = bar.getHeight();
            }

            content.setPadding(0, height, 0, 0);

            root.addView(content);
            root.addView(bar);
        }

        bar.setNavigationOnClickListener(new View.OnClickListener() {
            @Override
            public void onClick(View v) {
                finish();
            }
        });
    }
}
如果以上有任何问题,请告诉我!
更新2:着色解决方法
正如许多开发者笔记中指出的那样,PreferenceActivity不支持对元素进行着色,但是通过利用一些内部类,您可以实现这一点。直到这些类被删除为止。(使用appCompat support-v7 v21.0.3可行)。
添加以下导入:
import android.support.v7.internal.widget.TintCheckBox;
import android.support.v7.internal.widget.TintCheckedTextView;
import android.support.v7.internal.widget.TintEditText;
import android.support.v7.internal.widget.TintRadioButton;
import android.support.v7.internal.widget.TintSpinner;
然后重写 onCreateView 方法:
@Override
public View onCreateView(String name, Context context, AttributeSet attrs) {
    // Allow super to try and create a view first
    final View result = super.onCreateView(name, context, attrs);
    if (result != null) {
        return result;
    }

    if (Build.VERSION.SDK_INT < Build.VERSION_CODES.LOLLIPOP) {
        // If we're running pre-L, we need to 'inject' our tint aware Views in place of the
        // standard framework versions
        switch (name) {
            case "EditText":
                return new TintEditText(this, attrs);
            case "Spinner":
                return new TintSpinner(this, attrs);
            case "CheckBox":
                return new TintCheckBox(this, attrs);
            case "RadioButton":
                return new TintRadioButton(this, attrs);
            case "CheckedTextView":
                return new TintCheckedTextView(this, attrs);
        }
    }

    return null;
}
结果:
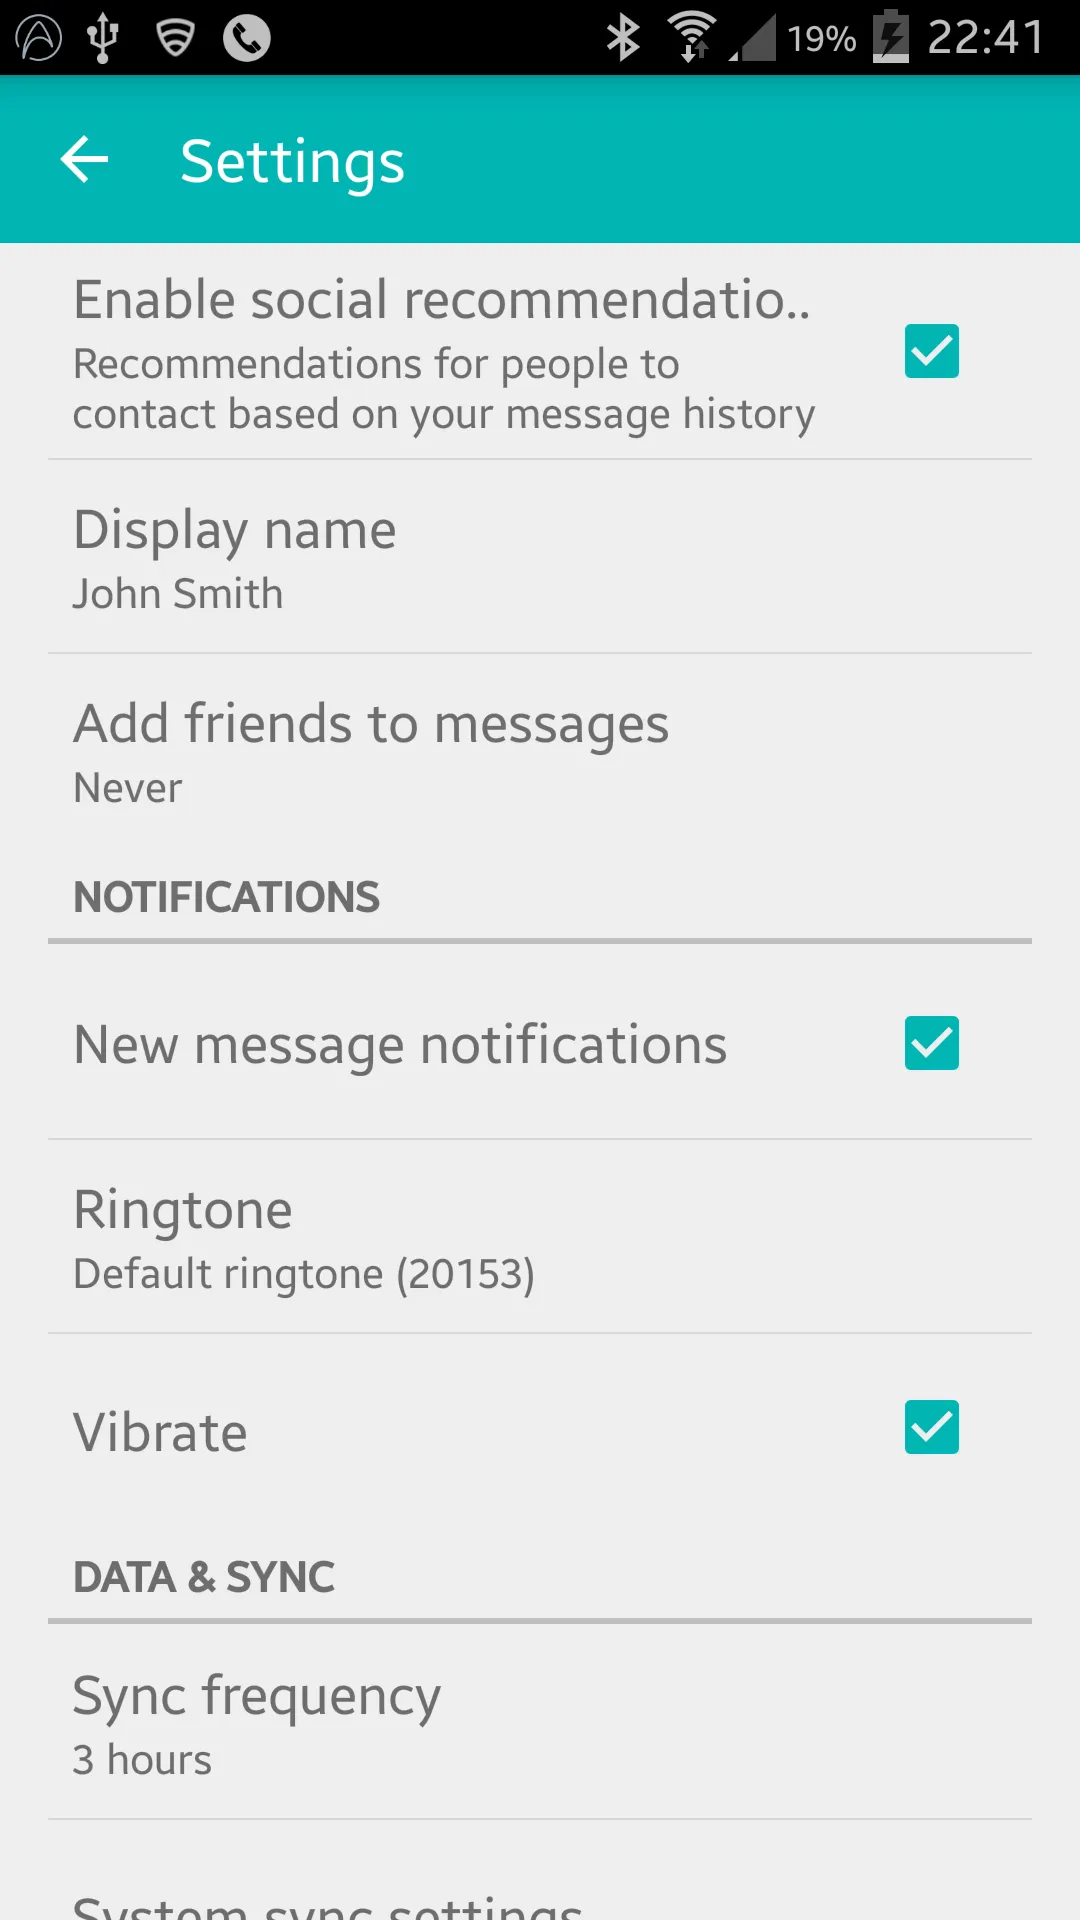
AppCompat 22.1引入了新的着色元素,这意味着不再需要使用内部类来实现与上次更新相同的效果。代替方法是按照以下步骤(仍然覆盖onCreateView):
@Override
public View onCreateView(String name, Context context, AttributeSet attrs) {
    // Allow super to try and create a view first
    final View result = super.onCreateView(name, context, attrs);
    if (result != null) {
        return result;
    }

    if (Build.VERSION.SDK_INT >= Build.VERSION_CODES.JELLY_BEAN) {
        // If we're running pre-L, we need to 'inject' our tint aware Views in place of the
        // standard framework versions
        switch (name) {
            case "EditText":
                return new AppCompatEditText(this, attrs);
            case "Spinner":
                return new AppCompatSpinner(this, attrs);
            case "CheckBox":
                return new AppCompatCheckBox(this, attrs);
            case "RadioButton":
                return new AppCompatRadioButton(this, attrs);
            case "CheckedTextView":
                return new AppCompatCheckedTextView(this, attrs);
        }
    }

    return null;
}
嵌套的偏好设置屏幕
很多人在嵌套的 <PreferenceScreen /> 中包含工具栏时会遇到问题,但是我找到了一个解决方法!- 经过了很多的尝试和错误!
将以下内容添加到您的 SettingsActivity 中:
@SuppressWarnings("deprecation")
@Override
public boolean onPreferenceTreeClick(PreferenceScreen preferenceScreen, Preference preference) {
    super.onPreferenceTreeClick(preferenceScreen, preference);

    // If the user has clicked on a preference screen, set up the screen
    if (preference instanceof PreferenceScreen) {
        setUpNestedScreen((PreferenceScreen) preference);
    }

    return false;
}

public void setUpNestedScreen(PreferenceScreen preferenceScreen) {
    final Dialog dialog = preferenceScreen.getDialog();

    Toolbar bar;

    if (Build.VERSION.SDK_INT >= Build.VERSION_CODES.ICE_CREAM_SANDWICH) {
        LinearLayout root = (LinearLayout) dialog.findViewById(android.R.id.list).getParent();
        bar = (Toolbar) LayoutInflater.from(this).inflate(R.layout.settings_toolbar, root, false);
        root.addView(bar, 0); // insert at top
    } else {
        ViewGroup root = (ViewGroup) dialog.findViewById(android.R.id.content);
        ListView content = (ListView) root.getChildAt(0);

        root.removeAllViews();

        bar = (Toolbar) LayoutInflater.from(this).inflate(R.layout.settings_toolbar, root, false);

        int height;
        TypedValue tv = new TypedValue();
        if (getTheme().resolveAttribute(R.attr.actionBarSize, tv, true)) {
            height = TypedValue.complexToDimensionPixelSize(tv.data, getResources().getDisplayMetrics());
        }else{
            height = bar.getHeight();
        }

        content.setPadding(0, height, 0, 0);

        root.addView(content);
        root.addView(bar);
    }

    bar.setTitle(preferenceScreen.getTitle());

    bar.setNavigationOnClickListener(new View.OnClickListener() {
        @Override
        public void onClick(View v) {
            dialog.dismiss();
        }
    });
}
PreferenceScreen非常麻烦的原因是因为它们被作为包装对话框来实现,因此我们需要捕获对话框布局以添加工具栏。
按设计,导入Toolbar不允许在v21之前的设备上使用高程和阴影,因此如果您想要在Toolbar上使用高程,则需要将其包装在AppBarLayout中:
`settings_toolbar.xml :
<android.support.design.widget.AppBarLayout
    xmlns:android="http://schemas.android.com/apk/res/android"
    android:layout_width="match_parent"
    android:layout_height="wrap_content">

   <android.support.v7.widget.Toolbar
       .../>

</android.support.design.widget.AppBarLayout>
别忘了在build.gradle文件中将设计支持库作为依赖项添加:
compile 'com.android.support:support-v4:22.2.0'
compile 'com.android.support:appcompat-v7:22.2.0'
compile 'com.android.support:design:22.2.0'
我调查了报告的重叠问题,但我无法复现该问题。
使用上述完整代码会产生如下结果:
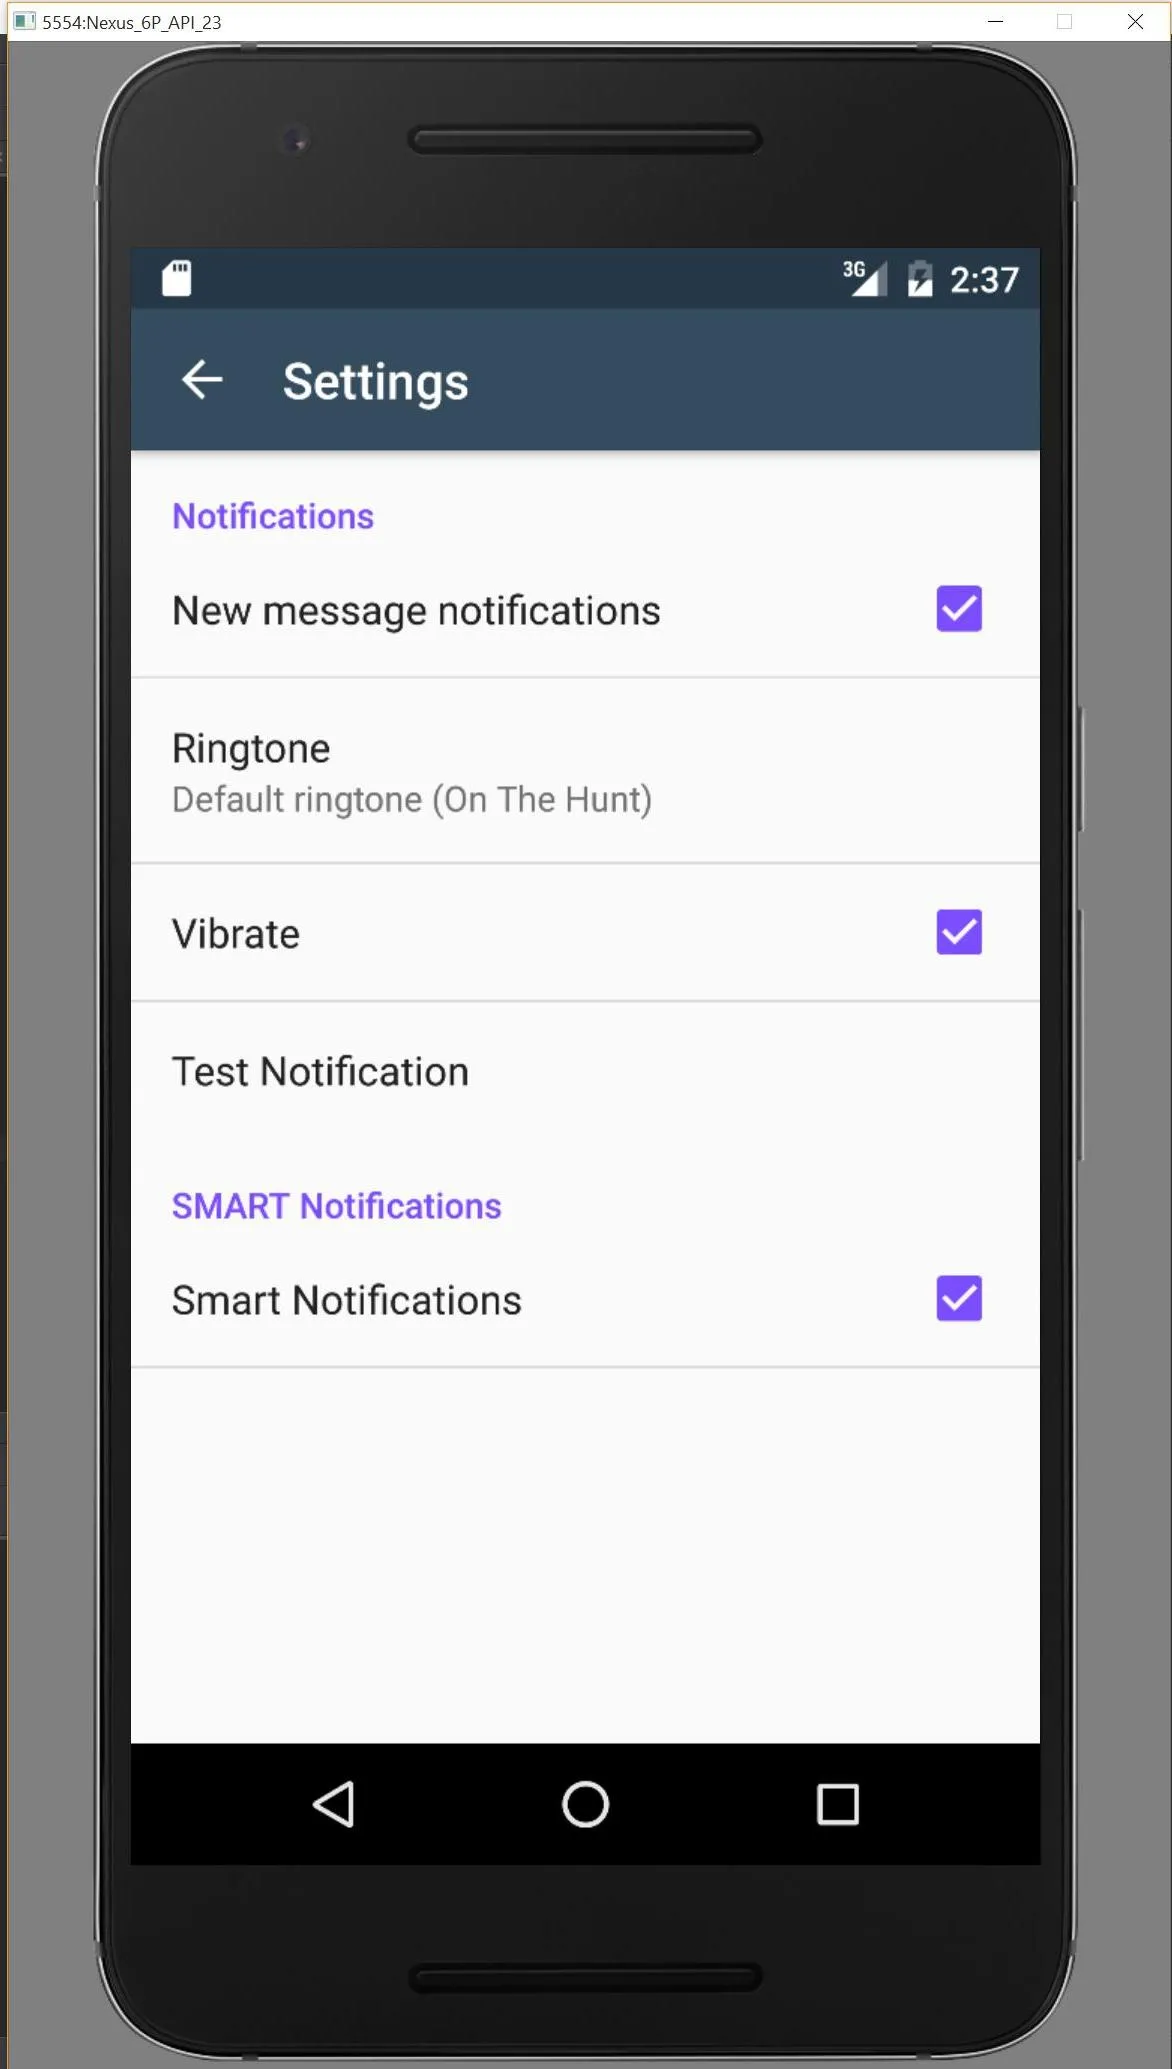
如果我有遗漏,请通过此 repo让我知道,我将进行调查。
:( - David Passmoreandroid:theme 解决方案仅适用于 Android 5.0+ 工具栏的黑色文本颜色。似乎新的支持库(我正在使用22.2.0)发生了一些变化。 - tony使用AppCompatActivity和PreferenceFragment来解决问题:
AppCompatActivity:
public class SettingsActivity extends AppCompatActivity {

@Override
protected void onPostCreate(Bundle savedInstanceState) {
    super.onPostCreate(savedInstanceState);
    getFragmentManager().beginTransaction().replace(android.R.id.content, new SettingsFragment()).commit();
}}
PreferenceFragment:
public class SettingsFragment extends PreferenceFragment {

@Override
public void onCreate(Bundle savedInstanceState) {
    super.onCreate(savedInstanceState);
    addPreferencesFromResource(R.xml.settings_preferences);
}}
我用这段简单的代码自己添加了工具栏:
```// get the root container of the preferences list
LinearLayout root = (LinearLayout)findViewById(android.R.id.list).getParent().getParent().getParent();
Toolbar bar = (Toolbar)LayoutInflater.from(this).inflate(R.layout.preferences_toolbar, root, false);
root.addView(bar, 0); // insert at top
bar.setNavigationOnClickListener(new View.OnClickListener() {
@Override
public void onClick(View v) {
finish();
}
});
这是我的preferences_toolbar.xml文件:
<android.support.v7.widget.Toolbar
    xmlns:android="http://schemas.android.com/apk/res/android"
    xmlns:app="http://schemas.android.com/apk/res-auto"
    android:layout_height="wrap_content"
    android:layout_width="match_parent"
    android:minHeight="?attr/actionBarSize"
    app:navigationContentDescription="@string/abc_action_bar_up_description"
    android:background="?attr/colorPrimary"
    app:navigationIcon="?attr/homeAsUpIndicator"
    app:theme="@style/Theme.Toolbar" />
...
import android.support.v7.app.ActionBar;
import android.support.v7.app.AppCompatDelegate;
import android.support.v7.widget.Toolbar;
...

public class SettingsActivity extends PreferenceActivity {

    private AppCompatDelegate mDelegate;

    @Override
    protected void onCreate(Bundle savedInstanceState) {
        getDelegate().installViewFactory();
        getDelegate().onCreate(savedInstanceState);
        super.onCreate(savedInstanceState);
    }

    @Override
    protected void onPostCreate(Bundle savedInstanceState) {
        super.onPostCreate(savedInstanceState);
        getDelegate().onPostCreate(savedInstanceState);
    }

    public ActionBar getSupportActionBar() {
        return getDelegate().getSupportActionBar();
    }

    public void setSupportActionBar(@Nullable Toolbar toolbar) {
        getDelegate().setSupportActionBar(toolbar);
    }

    @Override
    public MenuInflater getMenuInflater() {
        return getDelegate().getMenuInflater();
    }

    @Override
    public void setContentView(@LayoutRes int layoutResID) {
        getDelegate().setContentView(layoutResID);
    }

    @Override
    public void setContentView(View view) {
        getDelegate().setContentView(view);
    }

    @Override
    public void setContentView(View view, ViewGroup.LayoutParams params) {
        getDelegate().setContentView(view, params);
    }

    @Override
    public void addContentView(View view, ViewGroup.LayoutParams params) {
        getDelegate().addContentView(view, params);
    }

    @Override
    protected void onPostResume() {
        super.onPostResume();
        getDelegate().onPostResume();
    }

    @Override
    protected void onTitleChanged(CharSequence title, int color) {
        super.onTitleChanged(title, color);
        getDelegate().setTitle(title);
    }

    @Override
    public void onConfigurationChanged(Configuration newConfig) {
        super.onConfigurationChanged(newConfig);
        getDelegate().onConfigurationChanged(newConfig);
    }

    @Override
    protected void onStop() {
        super.onStop();
        getDelegate().onStop();
    }

    @Override
    protected void onDestroy() {
        super.onDestroy();
        getDelegate().onDestroy();
    }

    public void invalidateOptionsMenu() {
        getDelegate().invalidateOptionsMenu();
    }

    private AppCompatDelegate getDelegate() {
        if (mDelegate == null) {
            mDelegate = AppCompatDelegate.create(this, null);
        }
        return mDelegate;
    }
}
你好,我不确定你是否还遇到这个问题。但是我想分享一下我解决这个问题的方法,希望能帮助到其他人。
1) 首先,你可能已经注意到PreferenceActivity继承自ListActivity,而ListActivity又继承自Activity。
根据开发者博客上的评论(http://android-developers.blogspot.com/2014/10/appcompat-v21-material-design-for-pre.html),为了使用v21,所有的活动都必须从ActionBarActivity继承。所以这就是你的问题所在。
2) 我解决这个问题的步骤如下:
a) Make sure that you set the Theme of your PreferenceActivity to inherits one ot the Theme.AppCompat Themes.

b) Make your class PreferenceActivity extends ActionBarActivity.

c) Use the PreferenceFragment as your container for all your preferences.
这应该可以解决它。
干杯!
我曾经遇到过同样的问题。只需将活动的主题更改为具有任何ActionBar的主题即可。在SettingsActivity的activity标签中添加以下行即可解决:
android:theme="Theme.AppCompat.DayNight.DarkActionBar"
我做了类似于被接受的问题,但是我也在其他活动中使用我的布局(包括MainActivity),所以我不能只是在其中硬编码一个箭头。
对我有用的是:
private void setupActionBar() {
    LinearLayout root = (LinearLayout)findViewById(android.R.id.list).getParent().getParent().getParent();
    Toolbar toolbar = (Toolbar)LayoutInflater.from(this).inflate(R.layout.app_bar, root, false);
    root.addView(toolbar, 0);
    setSupportActionBar(toolbar);
    ActionBar ab = getSupportActionBar();
    ab.setDisplayHomeAsUpEnabled(true);
}
我发现的一种简单方法是覆盖:
@android:style/Theme.Material.Light.DarkActionBar
以你的风格:
<style name="SettingsTheme" parent="@android:style/Theme.Material.Light.DarkActionBar">
    <item name="android:colorPrimary">@color/sunshine_blue</item>
    <item name="android:colorPrimaryDark">@color/sunshine_dark_blue</item>
</style>