Tensorboard ReadMe中的图像仪表板部分表示:
由于图像仪表板支持任意png格式的图像,因此您可以使用它将自定义可视化(例如matplotlib散点图)嵌入到TensorBoard中。
我知道如何将pyplot图像写入文件,作为张量重新读取,然后使用tf.image_summary()将其写入TensorBoard,但是Readme中的这个声明表明有更直接的方式吗? 如果是这样,请问是否有进一步的文档和/或如何有效进行此操作的示例?
Tensorboard ReadMe中的图像仪表板部分表示:
由于图像仪表板支持任意png格式的图像,因此您可以使用它将自定义可视化(例如matplotlib散点图)嵌入到TensorBoard中。
我知道如何将pyplot图像写入文件,作为张量重新读取,然后使用tf.image_summary()将其写入TensorBoard,但是Readme中的这个声明表明有更直接的方式吗? 如果是这样,请问是否有进一步的文档和/或如何有效进行此操作的示例?
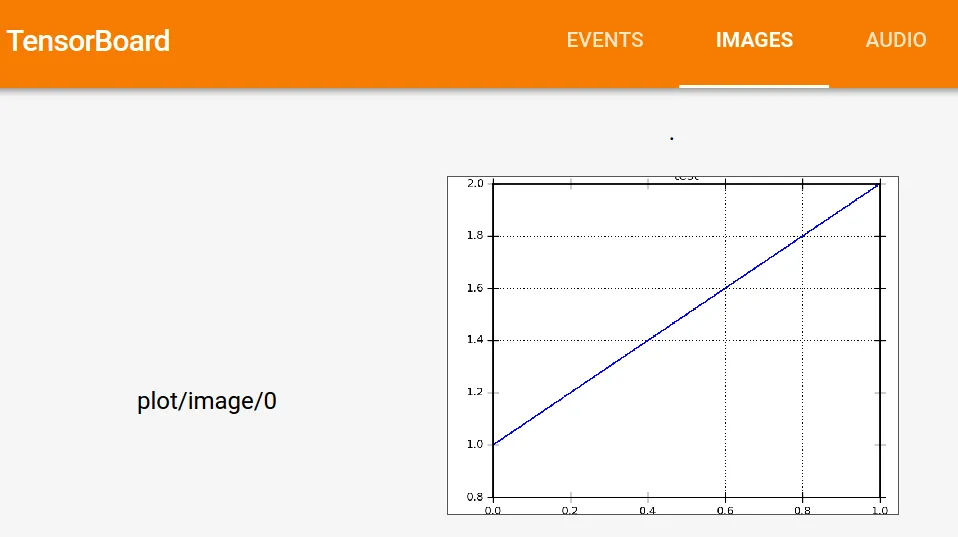
如果您有图像的内存缓冲区,这样做非常容易。下面我会展示一个例子,其中将pyplot保存到缓冲区中,然后转换为TF图像表示形式,最后发送到图像摘要。
import io
import matplotlib.pyplot as plt
import tensorflow as tf


def gen_plot():
    """Create a pyplot plot and save to buffer."""
    plt.figure()
    plt.plot([1, 2])
    plt.title("test")
    buf = io.BytesIO()
    plt.savefig(buf, format='png')
    buf.seek(0)
    return buf


# Prepare the plot
plot_buf = gen_plot()

# Convert PNG buffer to TF image
image = tf.image.decode_png(plot_buf.getvalue(), channels=4)

# Add the batch dimension
image = tf.expand_dims(image, 0)

# Add image summary
summary_op = tf.summary.image("plot", image)

# Session
with tf.Session() as sess:
    # Run
    summary = sess.run(summary_op)
    # Write summary
    writer = tf.train.SummaryWriter('./logs')
    writer.add_summary(summary)
    writer.close()
这将产生以下TensorBoard可视化:
我的回答有点晚了。使用tf-matplotlib,一个简单的散点图可以变得非常简单:
import tensorflow as tf
import numpy as np

import tfmpl

@tfmpl.figure_tensor
def draw_scatter(scaled, colors):
    '''Draw scatter plots. One for each color.'''
    figs = tfmpl.create_figures(len(colors), figsize=(4,4))
    for idx, f in enumerate(figs):
        ax = f.add_subplot(111)
        ax.axis('off')
        ax.scatter(scaled[:, 0], scaled[:, 1], c=colors[idx])
        f.tight_layout()

    return figs

with tf.Session(graph=tf.Graph()) as sess:

    # A point cloud that can be scaled by the user
    points = tf.constant(
        np.random.normal(loc=0.0, scale=1.0, size=(100, 2)).astype(np.float32)
    )
    scale = tf.placeholder(tf.float32)
    scaled = points*scale

    # Note, `scaled` above is a tensor. Its being passed `draw_scatter` below.
    # However, when `draw_scatter` is invoked, the tensor will be evaluated and a
    # numpy array representing its content is provided.
    image_tensor = draw_scatter(scaled, ['r', 'g'])
    image_summary = tf.summary.image('scatter', image_tensor)
    all_summaries = tf.summary.merge_all()

    writer = tf.summary.FileWriter('log', sess.graph)
    summary = sess.run(all_summaries, feed_dict={scale: 2.})
    writer.add_summary(summary, global_step=0)
 请注意,tf-matplotlib会评估任何张量输入,并避免
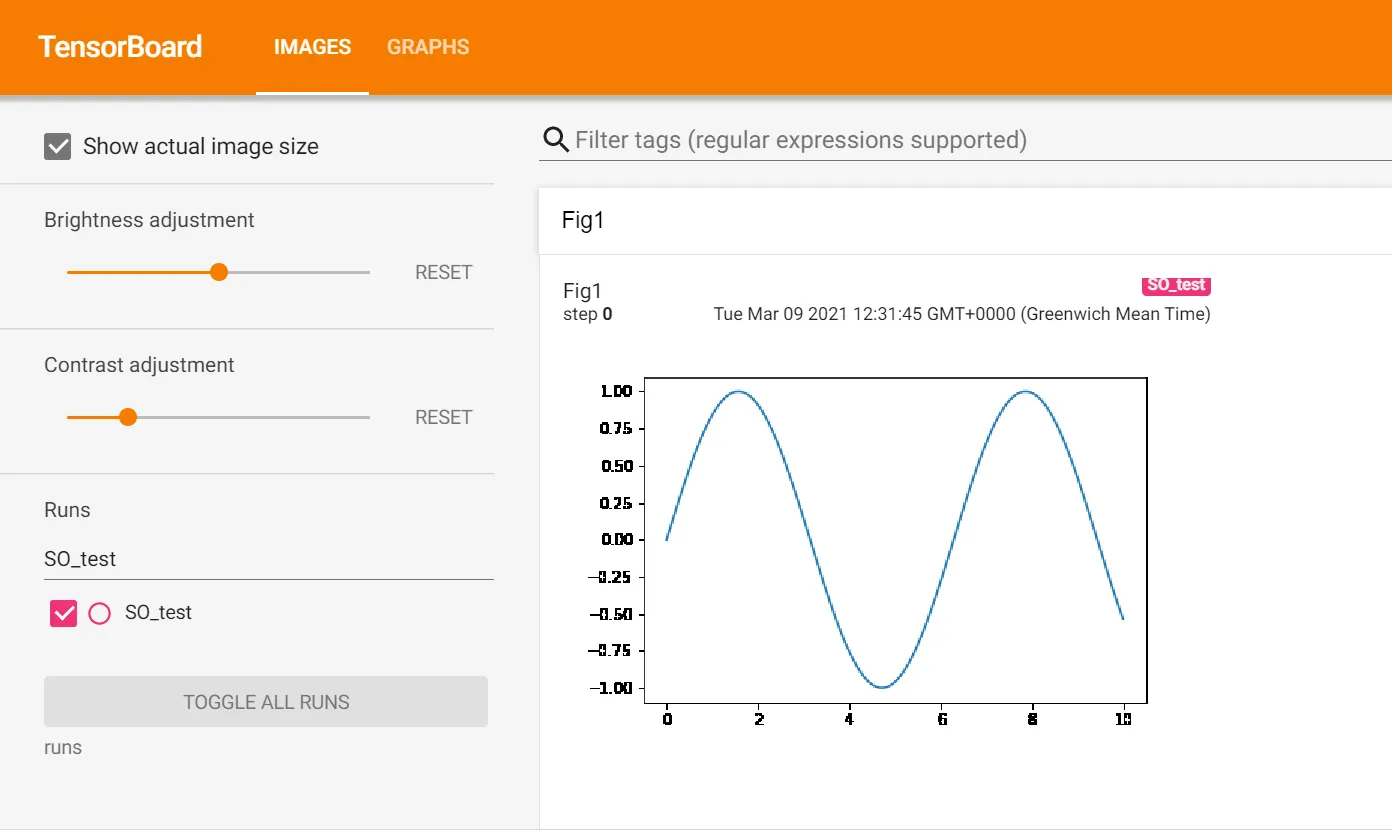
pyplot线程问题,并支持运行时关键绘图的blitting。使用add_figure函数,可以直接将Matplotlib绘图添加到tensorboard中:
import numpy as np, matplotlib.pyplot as plt
from torch.utils.tensorboard import SummaryWriter

# Example plot
x = np.linspace(0,10)
plt.plot(x, np.sin(x))

# Adding plot to tensorboard
with SummaryWriter('runs/SO_test') as writer:
  writer.add_figure('Fig1', plt.gcf())
# Loading tensorboard
%tensorboard --logdir=runs
import matplotlib.pyplot as plt
import tensorflow as tf
import numpy as np

def get_figure():
  fig = plt.figure(num=0, figsize=(6, 4), dpi=300)
  fig.clf()
  return fig


def fig2rgb_array(fig, expand=True):
  fig.canvas.draw()
  buf = fig.canvas.tostring_rgb()
  ncols, nrows = fig.canvas.get_width_height()
  shape = (nrows, ncols, 3) if not expand else (1, nrows, ncols, 3)
  return np.fromstring(buf, dtype=np.uint8).reshape(shape)


def figure_to_summary(fig):
  image = fig2rgb_array(fig)
  summary_writer.add_summary(
    vis_summary.eval(feed_dict={vis_placeholder: image}))


if __name__ == '__main__':
      # construct graph
      x = tf.Variable(initial_value=tf.random_uniform((2, 10)))
      inc = x.assign(x + 1)

      # construct summary
      fig = get_figure()
      vis_placeholder = tf.placeholder(tf.uint8, fig2rgb_array(fig).shape)
      vis_summary = tf.summary.image('custom', vis_placeholder)

      with tf.Session() as sess:
        tf.global_variables_initializer().run()
        summary_writer = tf.summary.FileWriter('./tmp', sess.graph)

        for i in range(100):
          # execute step
          _, values = sess.run([inc, x])
          # draw on the plot
          fig = get_figure()
          plt.subplot('111').scatter(values[0], values[1])
          # save the summary
          figure_to_summary(fig)
最近官方文档发布了一些关于“记录任意图像数据”的内容,其中包括使用matplotlib创建图像的示例。点击此处查看官方文档。
以下代码将使用matplotlib的subplot()函数将前25个图像记录为漂亮的网格,并在TensorBoard中查看该网格:
# Clear out prior logging data.
!rm -rf logs/plots

logdir = "logs/plots/" + datetime.now().strftime("%Y%m%d-%H%M%S")
file_writer = tf.summary.create_file_writer(logdir)

def plot_to_image(figure):
  """Converts the matplotlib plot specified by 'figure' to a PNG image and
  returns it. The supplied figure is closed and inaccessible after this call."""
  # Save the plot to a PNG in memory.
  buf = io.BytesIO()
  plt.savefig(buf, format='png')
  # Closing the figure prevents it from being displayed directly inside
  # the notebook.
  plt.close(figure)
  buf.seek(0)
  # Convert PNG buffer to TF image
  image = tf.image.decode_png(buf.getvalue(), channels=4)
  # Add the batch dimension
  image = tf.expand_dims(image, 0)
  return image

def image_grid():
  """Return a 5x5 grid of the MNIST images as a matplotlib figure."""
  # Create a figure to contain the plot.
  figure = plt.figure(figsize=(10,10))
  for i in range(25):
    # Start next subplot.
    plt.subplot(5, 5, i + 1, title=class_names[train_labels[i]])
    plt.xticks([])
    plt.yticks([])
    plt.grid(False)
    plt.imshow(train_images[i], cmap=plt.cm.binary)

  return figure

# Prepare the plot
figure = image_grid()
# Convert to image and log
with file_writer.as_default():
  tf.summary.image("Training data", plot_to_image(figure), step=0)

%tensorboard --logdir logs/plots
    plt.figure()
    plt.plot([1, 2])
    plt.title("test")
    buf = io.BytesIO()
    plt.savefig(buf, format='png')
    buf.seek(0)
    image = tf.image.decode_png(buf.getvalue(), channels=4)
    image = tf.expand_dims(image, 0)
    summary = tf.summary.image("test", image, max_outputs=1)
    writer.add_summary(summary, step)
当 writer 是 tf.summary.FileWriter 的一个实例时,我遇到了以下错误:AttributeError: 'Tensor' object has no attribute 'value'。这个 github 帖子 提供了解决方案:必须在将摘要添加到写入器之前对其进行评估(转换为字符串)。因此,对我来说,工作代码仍然如下所示(只需在最后一行添加 .eval() 调用即可):
    plt.figure()
    plt.plot([1, 2])
    plt.title("test")
    buf = io.BytesIO()
    plt.savefig(buf, format='png')
    buf.seek(0)
    image = tf.image.decode_png(buf.getvalue(), channels=4)
    image = tf.expand_dims(image, 0)
    summary = tf.summary.image("test", image, max_outputs=1)
    writer.add_summary(summary.eval(), step)
已弃用:对于 PyTorch,请使用内置的 SummaryWriter.add_figure(请参见其他答案)!
PyTorch 解决方案:
# make the canvas
figure = plt.figure(figsize=(10,10))
canvas = matplotlib.backends.backend_agg.FigureCanvas(figure)

# insert plotting code here; you can use imshow or subplot, etc.
for i in range(25):
    plt.subplot(5, 5, i + 1, title=class_names[train_labels[i]])
    plt.xticks([])
    plt.yticks([])
    plt.grid(False)
    plt.imshow(train_images[i], cmap=plt.cm.binary)

# convert canvas to figure
canvas.draw()
image = np.frombuffer(canvas.tostring_rgb(), dtype='uint8').reshape((1000,1000,3)).transpose((2, 0, 1))
tensorboard.add_image('name', image, global_step)
Pytorch Lightning 中的解决方案
这不是完整的类,而是您需要添加到框架中使其正常工作的内容。
import pytorch_lightning as pl
import seaborn as sn
import pandas as pd
import numpy as np
import matplotlib.pyplot as plt
from PIL import Image

def __init__(self, config, trained_vae, latent_dim):
    self.val_confusion = pl.metrics.classification.ConfusionMatrix(num_classes=self._config.n_clusters)
    self.logger: Optional[TensorBoardLogger] = None

def forward(self, x):
    ...
    return log_probs

def validation_step(self, batch, batch_index):
    if self._config.dataset == "mnist":
        orig_batch, label_batch = batch
        orig_batch = orig_batch.reshape(-1, 28 * 28)

    log_probs = self.forward(orig_batch)
    loss = self._criterion(log_probs, label_batch)

    self.val_confusion.update(log_probs, label_batch)
    return {"loss": loss, "labels": label_batch}

def validation_step_end(self, outputs):
    return outputs

def validation_epoch_end(self, outs):
    tb = self.logger.experiment

    # confusion matrix
    conf_mat = self.val_confusion.compute().detach().cpu().numpy().astype(np.int)
    df_cm = pd.DataFrame(
        conf_mat,
        index=np.arange(self._config.n_clusters),
        columns=np.arange(self._config.n_clusters))
    plt.figure()
    sn.set(font_scale=1.2)
    sn.heatmap(df_cm, annot=True, annot_kws={"size": 16}, fmt='d')
    buf = io.BytesIO()

    plt.savefig(buf, format='jpeg')
    buf.seek(0)
    im = Image.open(buf)
    im = torchvision.transforms.ToTensor()(im)
    tb.add_image("val_confusion_matrix", im, global_step=self.current_epoch)
并且调用
logger = TensorBoardLogger(save_dir=tb_logs_folder, name='Classifier')
trainer = Trainer(
    default_root_dir=classifier_checkpoints_path,
    logger=logger,
)