有几种不同的方法可以实现这个。
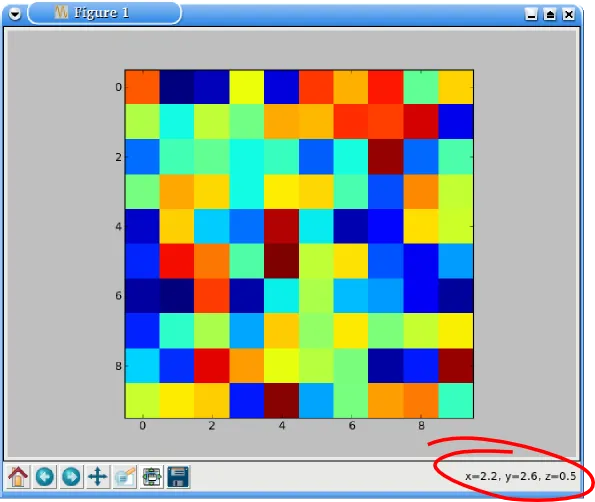
你可以类似于这个官方示例中的做法,对 ax.format_coord 进行 monkey-patch。在这里,我将使用稍微更为“pythonic”的方法,不依赖全局变量。(请注意,我假设没有指定 extent kwarg,与 matplotlib 示例类似。要完全通用,你需要进行更多工作。)
import numpy as np
import matplotlib.pyplot as plt

class Formatter(object):
    def __init__(self, im):
        self.im = im
    def __call__(self, x, y):
        z = self.im.get_array()[int(y), int(x)]
        return 'x={:.01f}, y={:.01f}, z={:.01f}'.format(x, y, z)

data = np.random.random((10,10))

fig, ax = plt.subplots()
im = ax.imshow(data, interpolation='none')
ax.format_coord = Formatter(im)
plt.show()
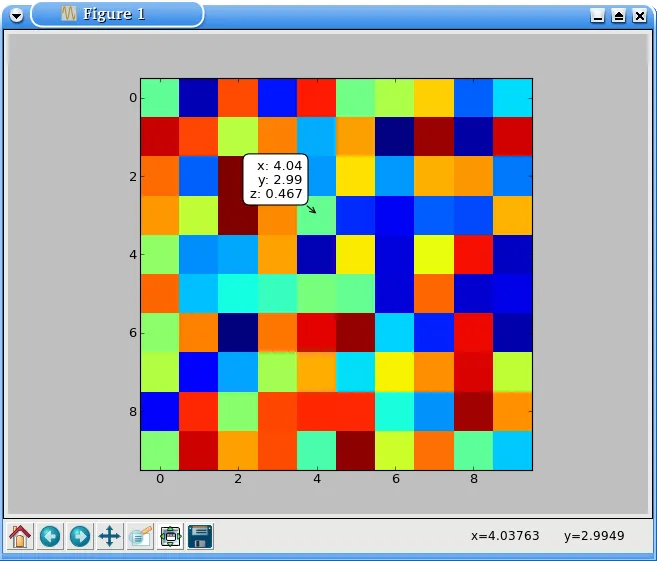
或者,只是为了推广我自己的一个项目,你可以使用mpldatacursor。如果你指定hover=True,当你将鼠标悬停在启用的艺术家上时,框会弹出。 (默认情况下,它只在单击时弹出。)请注意,mpldatacursor会正确处理imshow的extent和origin kwargs。
import numpy as np
import matplotlib.pyplot as plt
import mpldatacursor

data = np.random.random((10,10))

fig, ax = plt.subplots()
ax.imshow(data, interpolation='none')

mpldatacursor.datacursor(hover=True, bbox=dict(alpha=1, fc='w'))
plt.show()
另外,我忘了如何显示像素索引。在第一个例子中,它只是假设i, j = int(y), int(x)。如果您愿意,可以将其添加到x和y的位置。
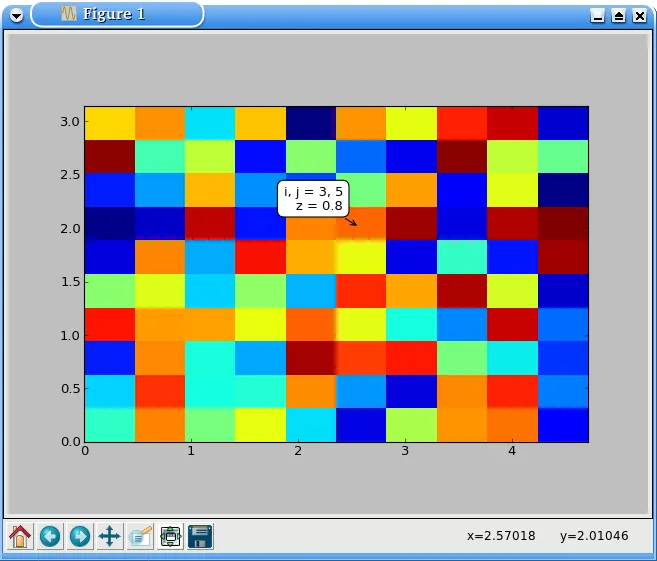
使用mpldatacursor,您可以使用自定义格式设置器指定它们。无论所绘制图像的extent和origin如何,i和j参数都是正确的像素索引。
例如(请注意图像的extent与显示的i,j坐标之间的差异):
import numpy as np
import matplotlib.pyplot as plt
import mpldatacursor

data = np.random.random((10,10))

fig, ax = plt.subplots()
ax.imshow(data, interpolation='none', extent=[0, 1.5*np.pi, 0, np.pi])

mpldatacursor.datacursor(hover=True, bbox=dict(alpha=1, fc='w'),
                         formatter='i, j = {i}, {j}\nz = {z:.02g}'.format)
plt.show()
Formatter类? - tacaswellz = self.im.get_array()[int(y+0.5), int(x+0.5)]。 - ImportanceOfBeingErnest