我有一个登录活动的布局。我想要像使用 FrameLayout 那样,叠加 progressBar。如何使用 ConstraintLayout 实现这一点?
<layout>

    <data>

        <variable
            name="vm"
            type="com.app.android.login.vm" />
    </data>

    <ScrollView xmlns:android="http://schemas.android.com/apk/res/android"
        xmlns:app="http://schemas.android.com/apk/res-auto"
        xmlns:tools="http://schemas.android.com/tools"
        android:layout_width="match_parent"
        android:layout_height="match_parent"
        android:fillViewport="true"
        tools:context="com.app.android.login.LoginActivity"
        tools:ignore="missingPrefix">

        <android.support.constraint.ConstraintLayout
            android:layout_width="match_parent"
            android:layout_height="wrap_content"
            android:paddingBottom="@dimen/default_view_margin_bottom_8dp">

            <android.support.design.widget.TextInputLayout
                android:id="@+id/til_login_email"
                android:layout_width="match_parent"
                android:layout_height="wrap_content"
                android:layout_marginEnd="@dimen/default_view_margin_right_8dp"
                android:layout_marginStart="@dimen/default_view_margin_left_8dp"
                android:textColorHint="@color/colorSecondaryText"
                app:hintTextAppearance="@style/AppTheme.InputLayoutStyle"
                app:layout_constraintBottom_toTopOf="@+id/til_login_password"
                app:layout_constraintTop_toTopOf="parent"
                app:layout_constraintVertical_chainStyle="packed">

                <android.support.design.widget.TextInputEditText
                    android:layout_width="match_parent"
                    android:layout_height="wrap_content"
                    android:hint="@string/login_email"
                    android:imeOptions="actionNext"
                    android:singleLine="true"
                    android:text="@={vm.emailField}"
                    android:textColor="@color/colorPrimaryText" />
            </android.support.design.widget.TextInputLayout>

            <android.support.design.widget.TextInputLayout
                android:id="@+id/til_login_password"
                android:layout_width="match_parent"
                android:layout_height="wrap_content"
                android:layout_marginEnd="@dimen/default_view_margin_right_8dp"
                android:layout_marginStart="@dimen/default_view_margin_left_8dp"
                android:textColorHint="@color/colorSecondaryText"
                app:hintTextAppearance="@style/AppTheme.InputLayoutStyle"
                app:layout_constraintBottom_toTopOf="@+id/btn_login_login"
                app:layout_constraintTop_toBottomOf="@+id/til_login_email"
                app:layout_constraintVertical_chainStyle="packed">

                <android.support.design.widget.TextInputEditText
                    android:layout_width="match_parent"
                    android:layout_height="wrap_content"
                    android:hint="@string/login_password"
                    android:imeOptions="actionDone"
                    android:inputType="textPassword"
                    android:singleLine="true"
                    android:text="@={vm.passwordField}"
                    android:textColor="@color/colorPrimaryText" />
            </android.support.design.widget.TextInputLayout>

            <Button
                android:id="@+id/btn_login_login"
                android:layout_width="match_parent"
                android:layout_height="wrap_content"
                android:layout_marginEnd="@dimen/default_view_margin_right_8dp"
                android:layout_marginStart="@dimen/default_view_margin_left_8dp"
                android:layout_marginTop="48dp"
                android:onClick="@{vm::login}"
                android:text="@string/login_btn_text"
                android:textColor="@color/colorWhite"
                app:layout_constraintBottom_toTopOf="@+id/textview_login_forgot_password"
                app:layout_constraintTop_toBottomOf="@+id/til_login_password"
                app:layout_constraintVertical_chainStyle="packed" />

            <TextView
                android:id="@+id/textview_login_forgot_password"
                android:layout_width="match_parent"
                android:layout_height="wrap_content"
                android:layout_marginEnd="@dimen/default_view_margin_right_8dp"
                android:layout_marginStart="@dimen/default_view_margin_left_8dp"
                android:layout_marginTop="36dp"
                android:gravity="center"
                android:text="@string/login_forgot_password"
                app:layout_constraintBottom_toTopOf="@+id/btn_login_register"
                app:layout_constraintTop_toBottomOf="@+id/btn_login_login"
                app:layout_constraintVertical_chainStyle="packed" />

            <Button
                android:id="@+id/btn_login_register"
                android:layout_width="match_parent"
                android:layout_height="wrap_content"
                android:layout_marginEnd="@dimen/default_view_margin_right_8dp"
                android:layout_marginStart="@dimen/default_view_margin_left_8dp"
                android:text="@string/login_sign_up"
                android:textColor="@color/colorWhite"
                app:layout_constraintBottom_toBottomOf="parent" />

            <ProgressBar
                android:id="@+id/progressBar"
                android:layout_width="wrap_content"
                android:layout_height="wrap_content"
                android:visibility="@{vm.progressVisibility}"
                app:layout_constraintBottom_toBottomOf="parent"
                app:layout_constraintLeft_toLeftOf="parent"
                app:layout_constraintRight_toRightOf="parent"
                app:layout_constraintTop_toTopOf="parent" />

        </android.support.constraint.ConstraintLayout>
    </ScrollView>
</layout>
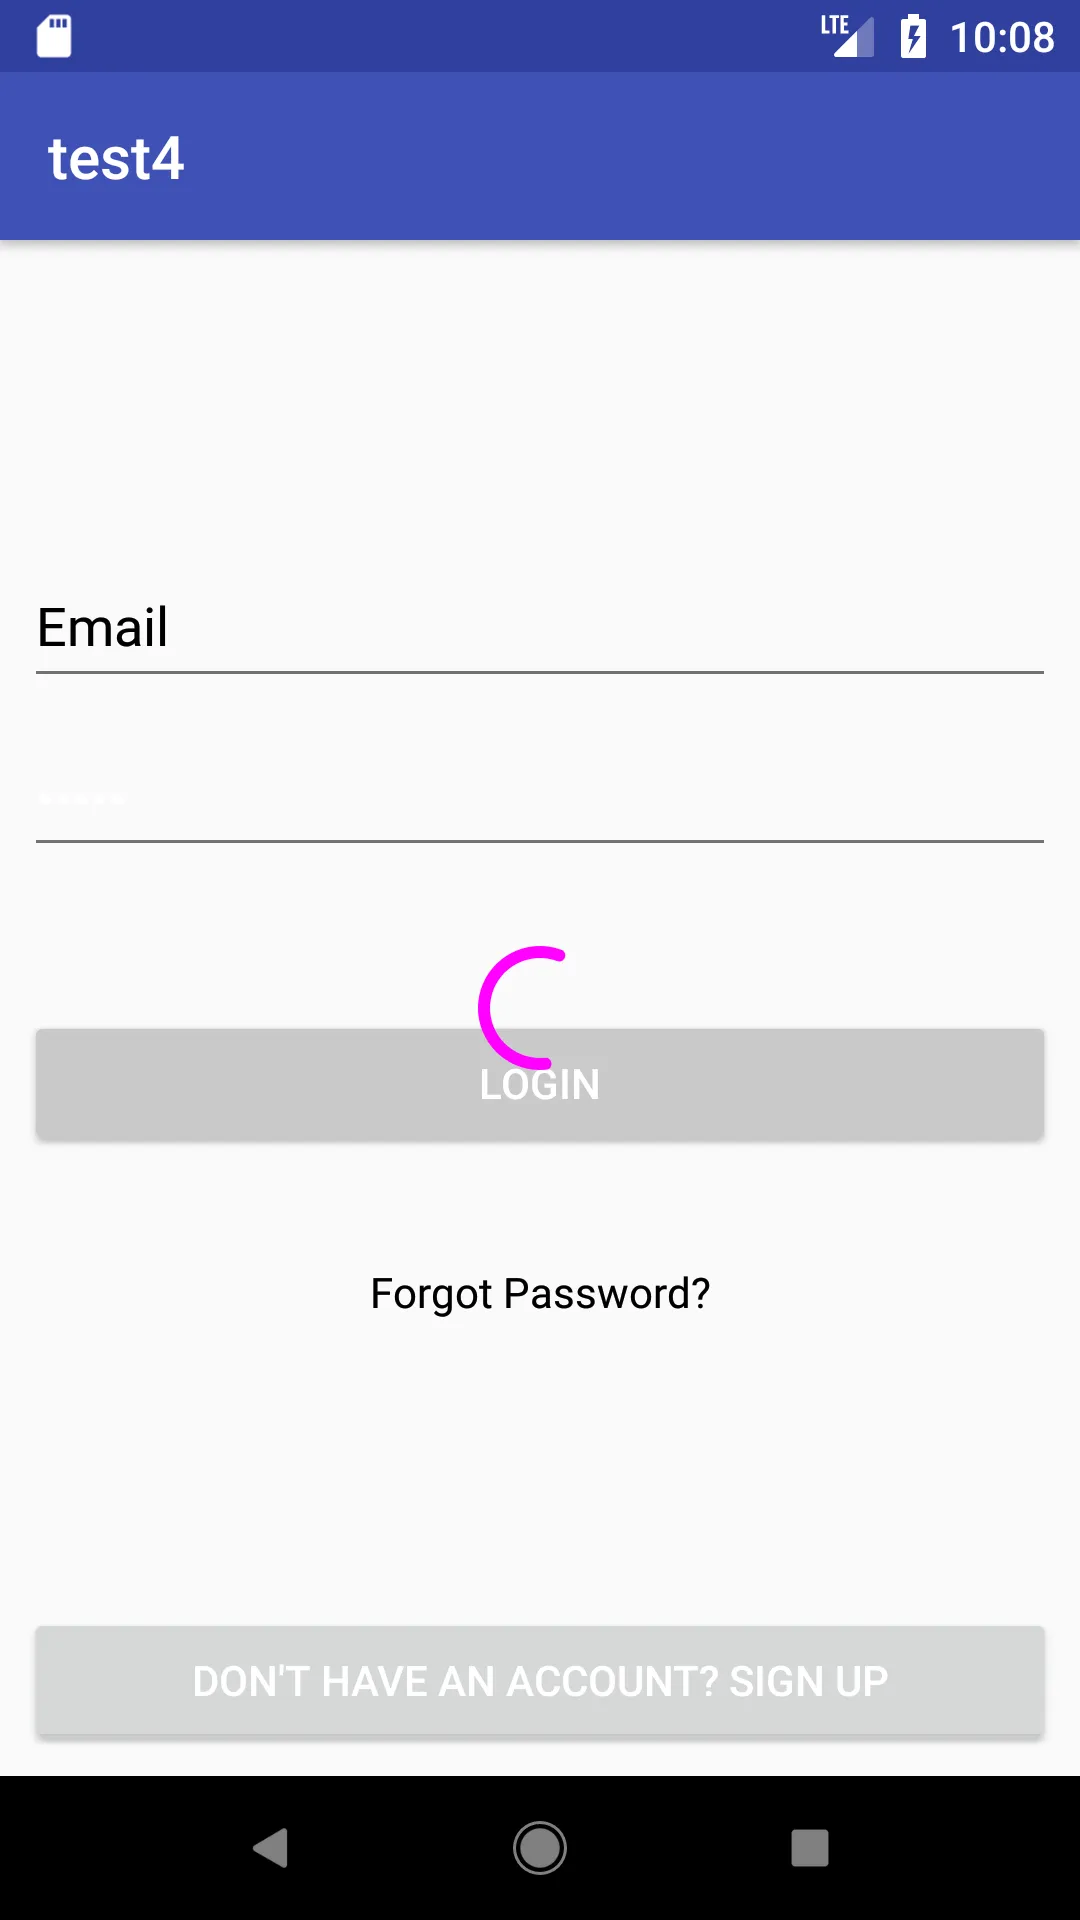
看起来是这样的:
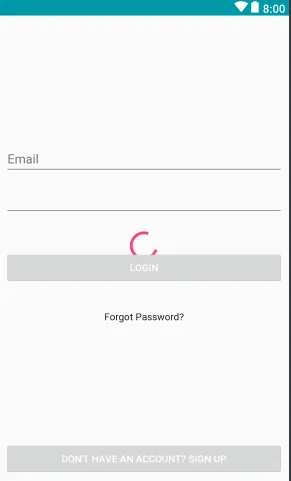
我正在寻找适用于API级别19+的解决方案。 我不想通过将Button或ProgressBar包装在ViewGroup中来增加我的布局层次结构。