我试图按照下面的形状制作椭圆形标签页。

我尝试了以下代码。
    public class AndroidTabLayoutActivity extends TabActivity {
    TabHost tabHost;

    @Override
    public void onCreate(Bundle savedInstanceState) {
        super.onCreate(savedInstanceState);
        setContentView(R.layout.main);

        tabHost = getTabHost();
        TabHost.TabSpec spec;
        Intent intent;
        intent = new Intent().setClass(this, PhotosActivity.class);
        View tabView = createTabView(this, "Updates");
        spec = tabHost.newTabSpec("tab1").setIndicator(tabView).setContent(intent);
        tabHost.addTab(spec);

        tabView = createTabView(this, "Events");
        intent = new Intent().setClass(this, SongsActivity.class);
        spec = tabHost.newTabSpec("tab2").setIndicator(tabView)
                .setContent(intent);
        tabHost.addTab(spec);

        TabWidget tabWidget = (TabWidget) findViewById(android.R.id.tabs);
        final int tabChildrenCount = tabWidget.getChildCount();
        View currentView;
        for (int i = 0; i < tabChildrenCount; i++) {
            currentView = tabWidget.getChildAt(0);
            LinearLayout.LayoutParams currentLayout =
                    (LinearLayout.LayoutParams) currentView.getLayoutParams();
            currentLayout.setMargins(0, 0, 16, 0);
        }
        tabWidget.requestLayout();
        tabHost.getTabWidget().setDividerDrawable(null);
    }

    private static View createTabView(Context context, String tabText) {
        View view = LayoutInflater.from(context).inflate(R.layout.custom_tab, null, false);
        TextView tv = (TextView) view.findViewById(R.id.tabTitleText);
        tv.setText(tabText);
        return view;
    }
}
main.xml
<?xml version="1.0" encoding="utf-8"?>
<LinearLayout xmlns:android="http://schemas.android.com/apk/res/android"
android:layout_width="fill_parent"
android:layout_height="fill_parent"
android:background="#2CA0E6">

<LinearLayout xmlns:android="http://schemas.android.com/apk/res/android"
    android:layout_width="fill_parent"
    android:layout_height="fill_parent"
    android:layout_marginBottom="20dp"
    android:layout_marginTop="30dp"
    android:paddingLeft="20dp"
    android:paddingRight="20dp">

    <TabHost
        android:id="@android:id/tabhost"
        android:layout_width="fill_parent"
        android:layout_height="fill_parent"
        android:layout_marginTop="2dp">

        <LinearLayout
            android:layout_width="fill_parent"
            android:layout_height="fill_parent"
            android:orientation="vertical"
            android:paddingTop="5dp">

            <TabWidget
                android:id="@android:id/tabs"
                android:layout_width="fill_parent"
                android:layout_height="70dp" />

            <FrameLayout
                android:id="@android:id/tabcontent"
                android:layout_width="fill_parent"
                android:layout_height="fill_parent" />
        </LinearLayout>
    </TabHost>
</LinearLayout>
custom_tab.xml
<?xml version="1.0" encoding="utf-8"?>
<TextView xmlns:android="http://schemas.android.com/apk/res/android"
android:id="@+id/tabTitleText"
android:layout_width="wrap_content"
android:layout_height="wrap_content"
android:gravity="center"
android:clickable="true"
android:padding="5dp"
android:textSize="15sp"
android:textStyle="bold"
android:layout_gravity="center"
android:ellipsize="marquee"
android:singleLine="true"
android:textColor="@color/tab_textcolor"
android:background="@drawable/tab_selector"/>
我得到的输出如下图所示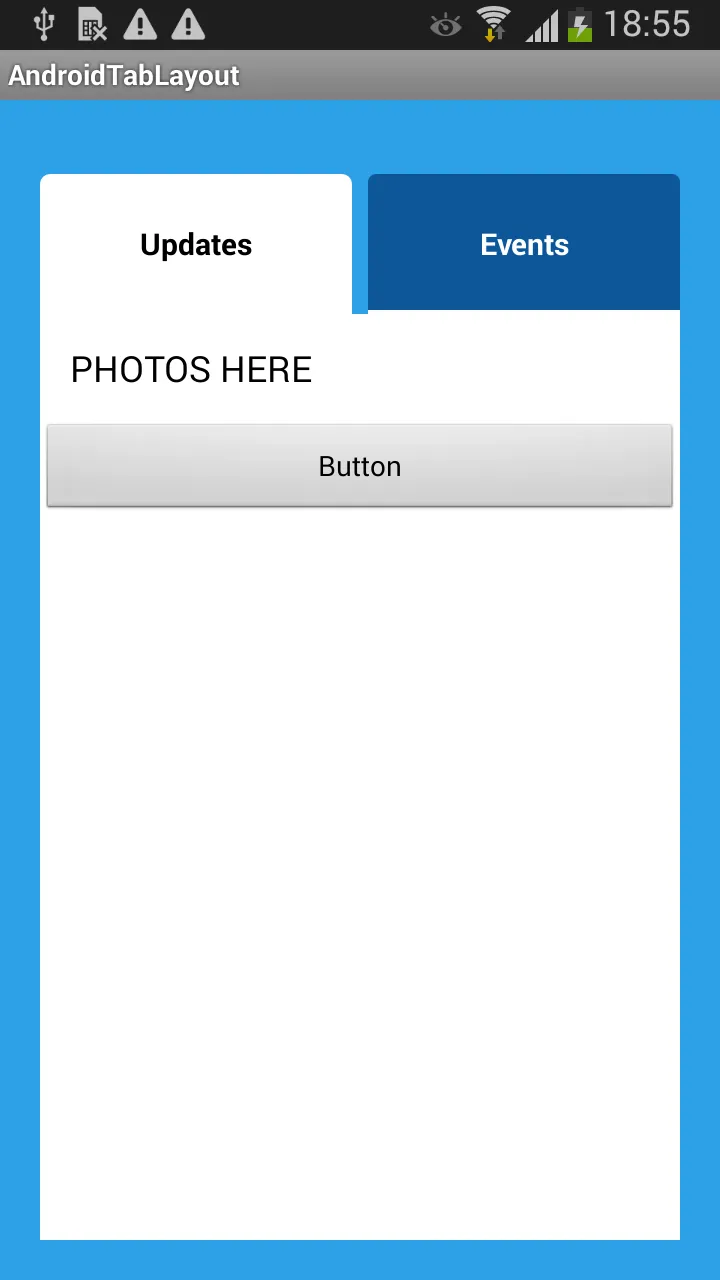
有人可以帮忙吗,如何制作它。谢谢。