我有一组点,可以形成一个“形状”(闭合折线)。现在我想复制/裁剪从某个图像“内部这个形状”中的所有像素,同时使其余部分为黑色/透明。如何实现?
例如,我有这个: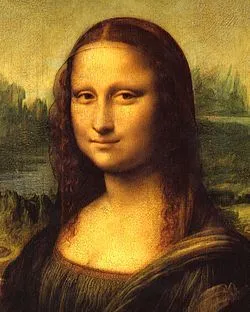 我想得到这个:
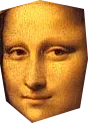
例如,我有这个:
我想得到这个:
我想得到这个:
*编辑-已更新,使其适用于具有Alpha通道的图像。
这对我有用:
您可能只想保留图像和遮罩以供接受遮罩的功能使用。 但是,我相信这正是您要求的内容:
import cv2
import numpy as np

# original image
# -1 loads as-is so if it will be 3 or 4 channel as the original
image = cv2.imread('image.png', -1)
# mask defaulting to black for 3-channel and transparent for 4-channel
# (of course replace corners with yours)
mask = np.zeros(image.shape, dtype=np.uint8)
roi_corners = np.array([[(10,10), (300,300), (10,300)]], dtype=np.int32)
# fill the ROI so it doesn't get wiped out when the mask is applied
channel_count = image.shape[2]  # i.e. 3 or 4 depending on your image
ignore_mask_color = (255,)*channel_count
cv2.fillPoly(mask, roi_corners, ignore_mask_color)
# from Masterfool: use cv2.fillConvexPoly if you know it's convex

# apply the mask
masked_image = cv2.bitwise_and(image, mask)

# save the result
cv2.imwrite('image_masked.png', masked_image)
import cv2
import numpy as np

# load the image
image_path = 'input image path'
image = cv2.imread(image_path)

# create a mask with white pixels
mask = np.ones(image.shape, dtype=np.uint8)
mask.fill(255)

# points to be cropped
roi_corners = np.array([[(0, 300), (1880, 300), (1880, 400), (0, 400)]], dtype=np.int32)
# fill the ROI into the mask
cv2.fillPoly(mask, roi_corners, 0)

# The mask image
cv2.imwrite('image_masked.png', mask)

# applying th mask to original image
masked_image = cv2.bitwise_or(image, mask)

# The resultant image
cv2.imwrite('new_masked_image.png', masked_image)
输入图像:
遮罩图像:

处理结果输出图像: