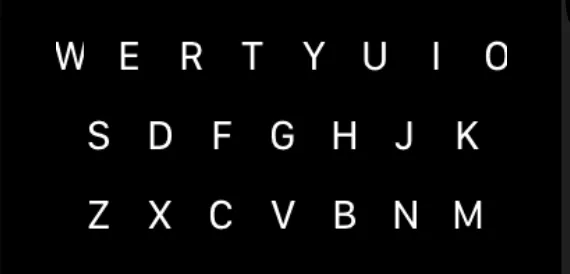
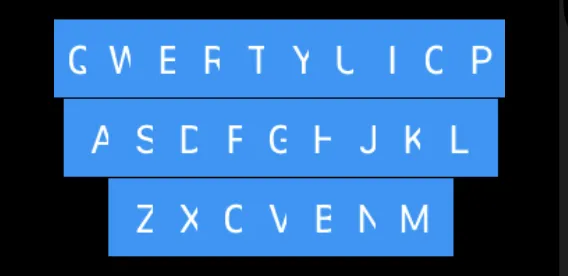
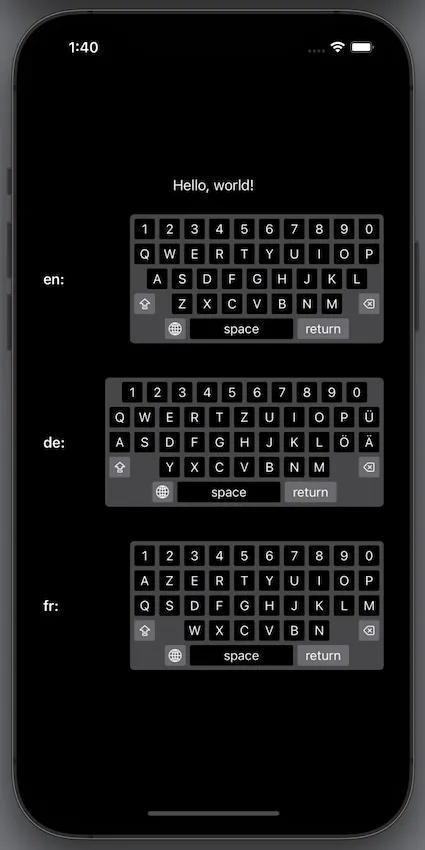
我试图让键盘上的按钮在水平方向更加接近。首先,我尝试调整按钮框架的宽度。但我发现如果我减小框架的宽度,一些长宽字符如“W”将无法正确显示。
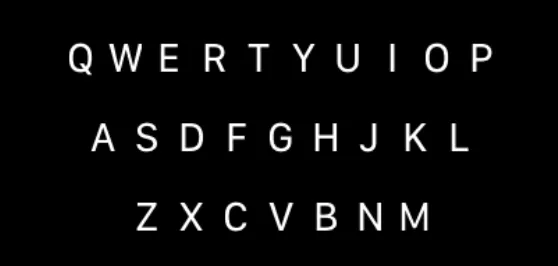
然后我尝试将HStack的间距设置为负数,就像下面的代码一样。
struct KeyboardView: View {
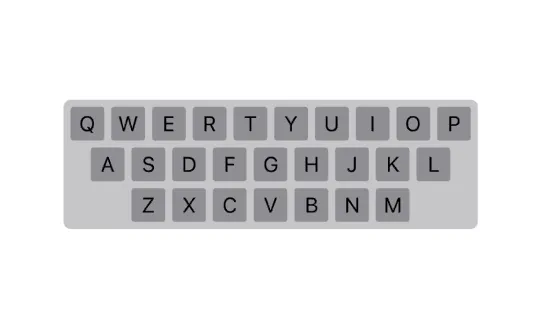
let KeyboardStack = [["Q", "W", "E", "R", "T", "Y", "U", "I", "O", "P"],
["A", "S", "D", "F", "G", "H", "J", "K", "L"],
["Z", "X", "C", "V", "B", "N", "M"]]
var body: some View {
VStack(spacing: 9) {
ForEach(KeyboardStack.indices) { row in
let num = KeyboardStack[row].indices
HStack(spacing: -12) {
ForEach(num) { column in
Button(KeyboardStack[row][column]) {}
.frame(width: 12, height: 12,alignment: .center)
.padding()
// .background(Color.blue)
.font(.system(size: 15, weight: .regular, design: .default))
.foregroundColor(.white)
.buttonStyle(PlainButtonStyle())
}
}
.frame(width: 255, height: 19.5, alignment:.center)
}
}
.frame(width: 445, height: 60, alignment:.center)
}
}

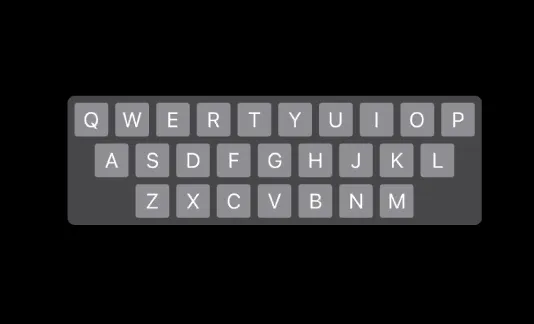
.contentShape(Rectangle())。我已经更新了答案。 - jnpdx