我有一个UIButton,它与标准的iOS键盘字母按钮非常相似。
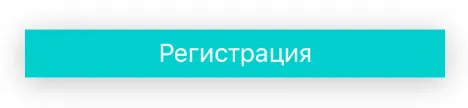
我不确定如何只为底部图层创建阴影,就像iOS所做的那样。
我使用下面的代码,但我看到的阴影是在所有边缘,而不仅仅是底部:
CALayer *buttonLayer = [[CALayer alloc] init];
buttonLayer.shadowColor = [UIColor grayColor].CGColor;
buttonLayer.shadowOffset = CGSizeMake(0.f,1.f);
buttonLayer.masksToBounds = NO;
buttonLayer.shadowOpacity = 1.f;
我该怎样达到相同的效果呢?

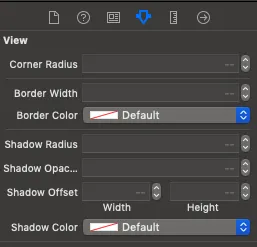
shadowRadius设置为0。 - AaronmaskToBounds为NO。 - Aaron