Python:快速删除图像中的黑色像素

3

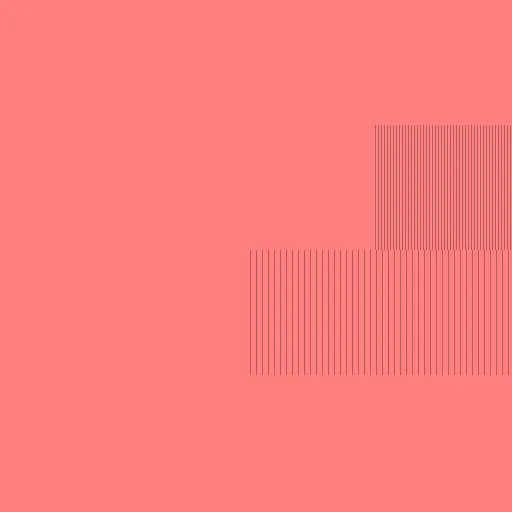
我有一张包含黑色像素的图片,可能是垂直线条也可能是简单的点。

我想要用相邻像素(左右)的平均值替换这些像素。

黑色像素的左右邻居都与黑色不同。

enter image description here

目前我的代码如下:

import numpy as np
from matplotlib import pyplot as plt
import time


#Creating test img
test_img = np.full((2048, 2048, 3), dtype = np.uint8, fill_value = (255,127,127))

#Draw vertical black line
test_img[500:1000,1500::12] = (0,0,0)
test_img[1000:1500,1000::24] = (0,0,0)
#Draw black point
test_img[250,250] = (0,0,0)
test_img[300,300] = (0,0,0)

#Fill hole functions
def fill_hole(img):

    #Find coords of black pixek
    imggray = img[:,:,0]

    
    coords = np.column_stack(np.where(imggray < 1))
    print(len(coords))

    #Return if no black pixel
    if len(coords) == 0:
        return img

    percent_black = len(coords)/(img.shape[0]*img.shape[1]) * 100
    print(percent_black)
    
    #Make a copy of input image
    out = np.copy(img)

    #Iterate on all black pixels
    for p in coords:

            #Edge management
            if p[0] < 1 or p[0] > img.shape[0] - 1 or p[1] < 1 or p[1] > img.shape[1] - 1:
                continue

            #Get left and right of each pixel
            left = img[p[0], p[1] - 1]
            right = img[p[0], p[1] + 1]

            #Get new pixel value
            r = int((int(left[0])+int(right[0])))/2
            g = int((int(left[1])+int(right[1])))/2
            b = int((int(left[2])+int(right[2])))/2

            out[p[0],p[1]] = [r,g,b] 
    return out

#Function call
start = time.time()
img = fill_hole(test_img)
end = time.time()
print(end - start)

这段代码在我的示例中运行良好,但是对黑色像素列表进行循环需要一定的时间,具体取决于其大小。

有没有一种方法可以优化它?

我还没有在你的图像上尝试过,但我怀疑 OpenCVinpaint() 函数可以非常快速地实现你想要的效果。https://docs.opencv.org/4.x/d7/d8b/group__photo__inpaint.html#gaedd30dfa0214fec4c88138b51d678085 - Mark Setchell
实际上,这只是一种水平卷积,使用权重[0.5,0,0.5]通过黑色像素蒙版应用。 - Mark Setchell
1
@MarkSetchell 这似乎值得写成一个答案。 - Karl Knechtel
@KarlKnechtel 我现在身边没有可以运行Python的设备,也不喜欢提交未经测试的代码。希望周末能接近一台电脑。 - Mark Setchell
@MarckSetchell,感谢您的建议。我会尝试使用convolve2d函数。 - Fedour
3个回答

4
通常情况下,在numpy数组上的for循环通常会导致速度变慢,并且在大多数情况下可以通过numpy内置函数避免。在您的情况下,考虑对图像使用卷积操作,请参考以下链接: Python获取矩阵邻居的平均值(带na值)

3
请注意,我在答案结尾处添加了一个使用numba实现的显著更快的版本。
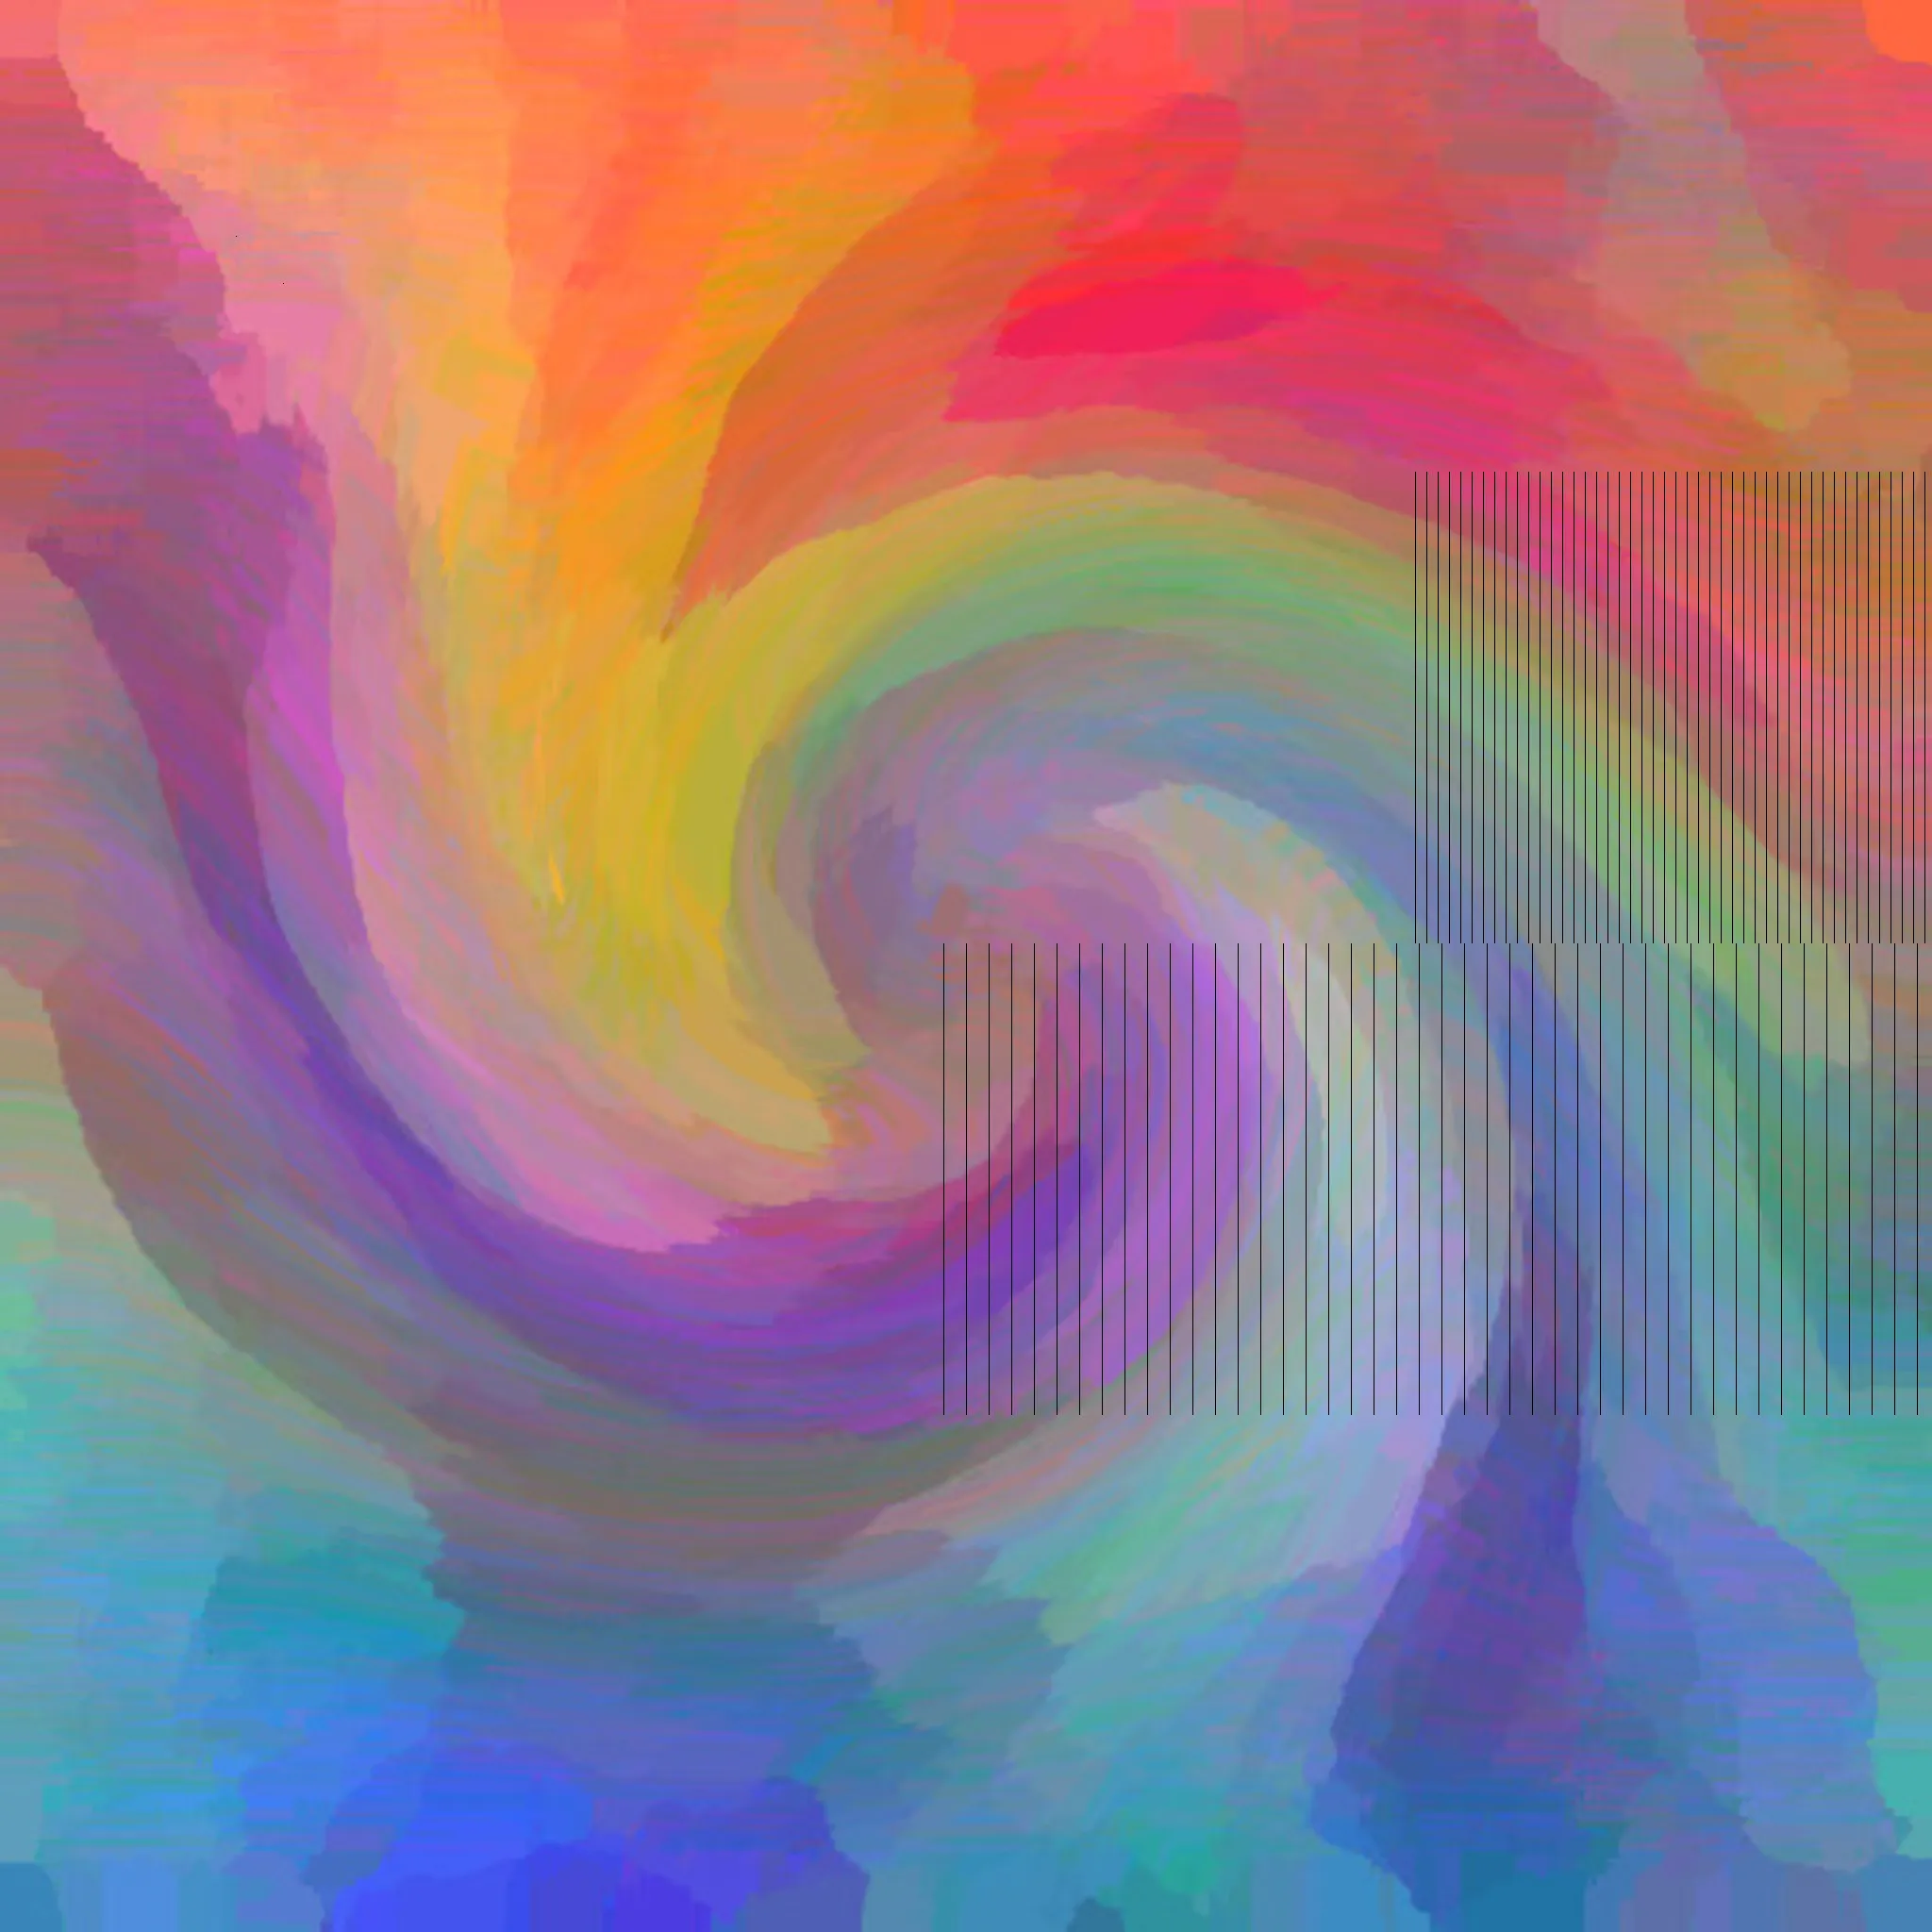
我想确定这可以正确地处理比普通桃红色背景更棘手的图像,因此我创建了这个。 enter image description here 请注意,这只是一个令人讨厌的、不准确的JPEG表示,因为原始图片太大了,无法上传到imgur。
然后我运行了这段代码:
#!/usr/bin/env python3

import cv2
import numpy as np

# Load image 2048x2048 RGB
im = cv2.imread('start.png')

# Make mask of black pixels, True where black
blackMask = np.all(im==0, axis=-1)
cv2.imwrite('DEBUG-blackMask.png', (blackMask*255).astype(np.uint8))

# Convolve with [0.5, 0, 0.5] to set each pixel to average of its left and right neighbours
kernel = np.array([0.5, 0, 0.5], dtype=float).reshape(1,-1)
print(kernel.shape)
convolved = cv2.filter2D(im, ddepth=-1, kernel=kernel, borderType=cv2.BORDER_REPLICATE)
cv2.imwrite('DEBUG-convolved.png', convolved)

# Choose either convolved or original image at each pixel
res = np.where(blackMask[...,None], convolved, im)
cv2.imwrite('result.png', res)

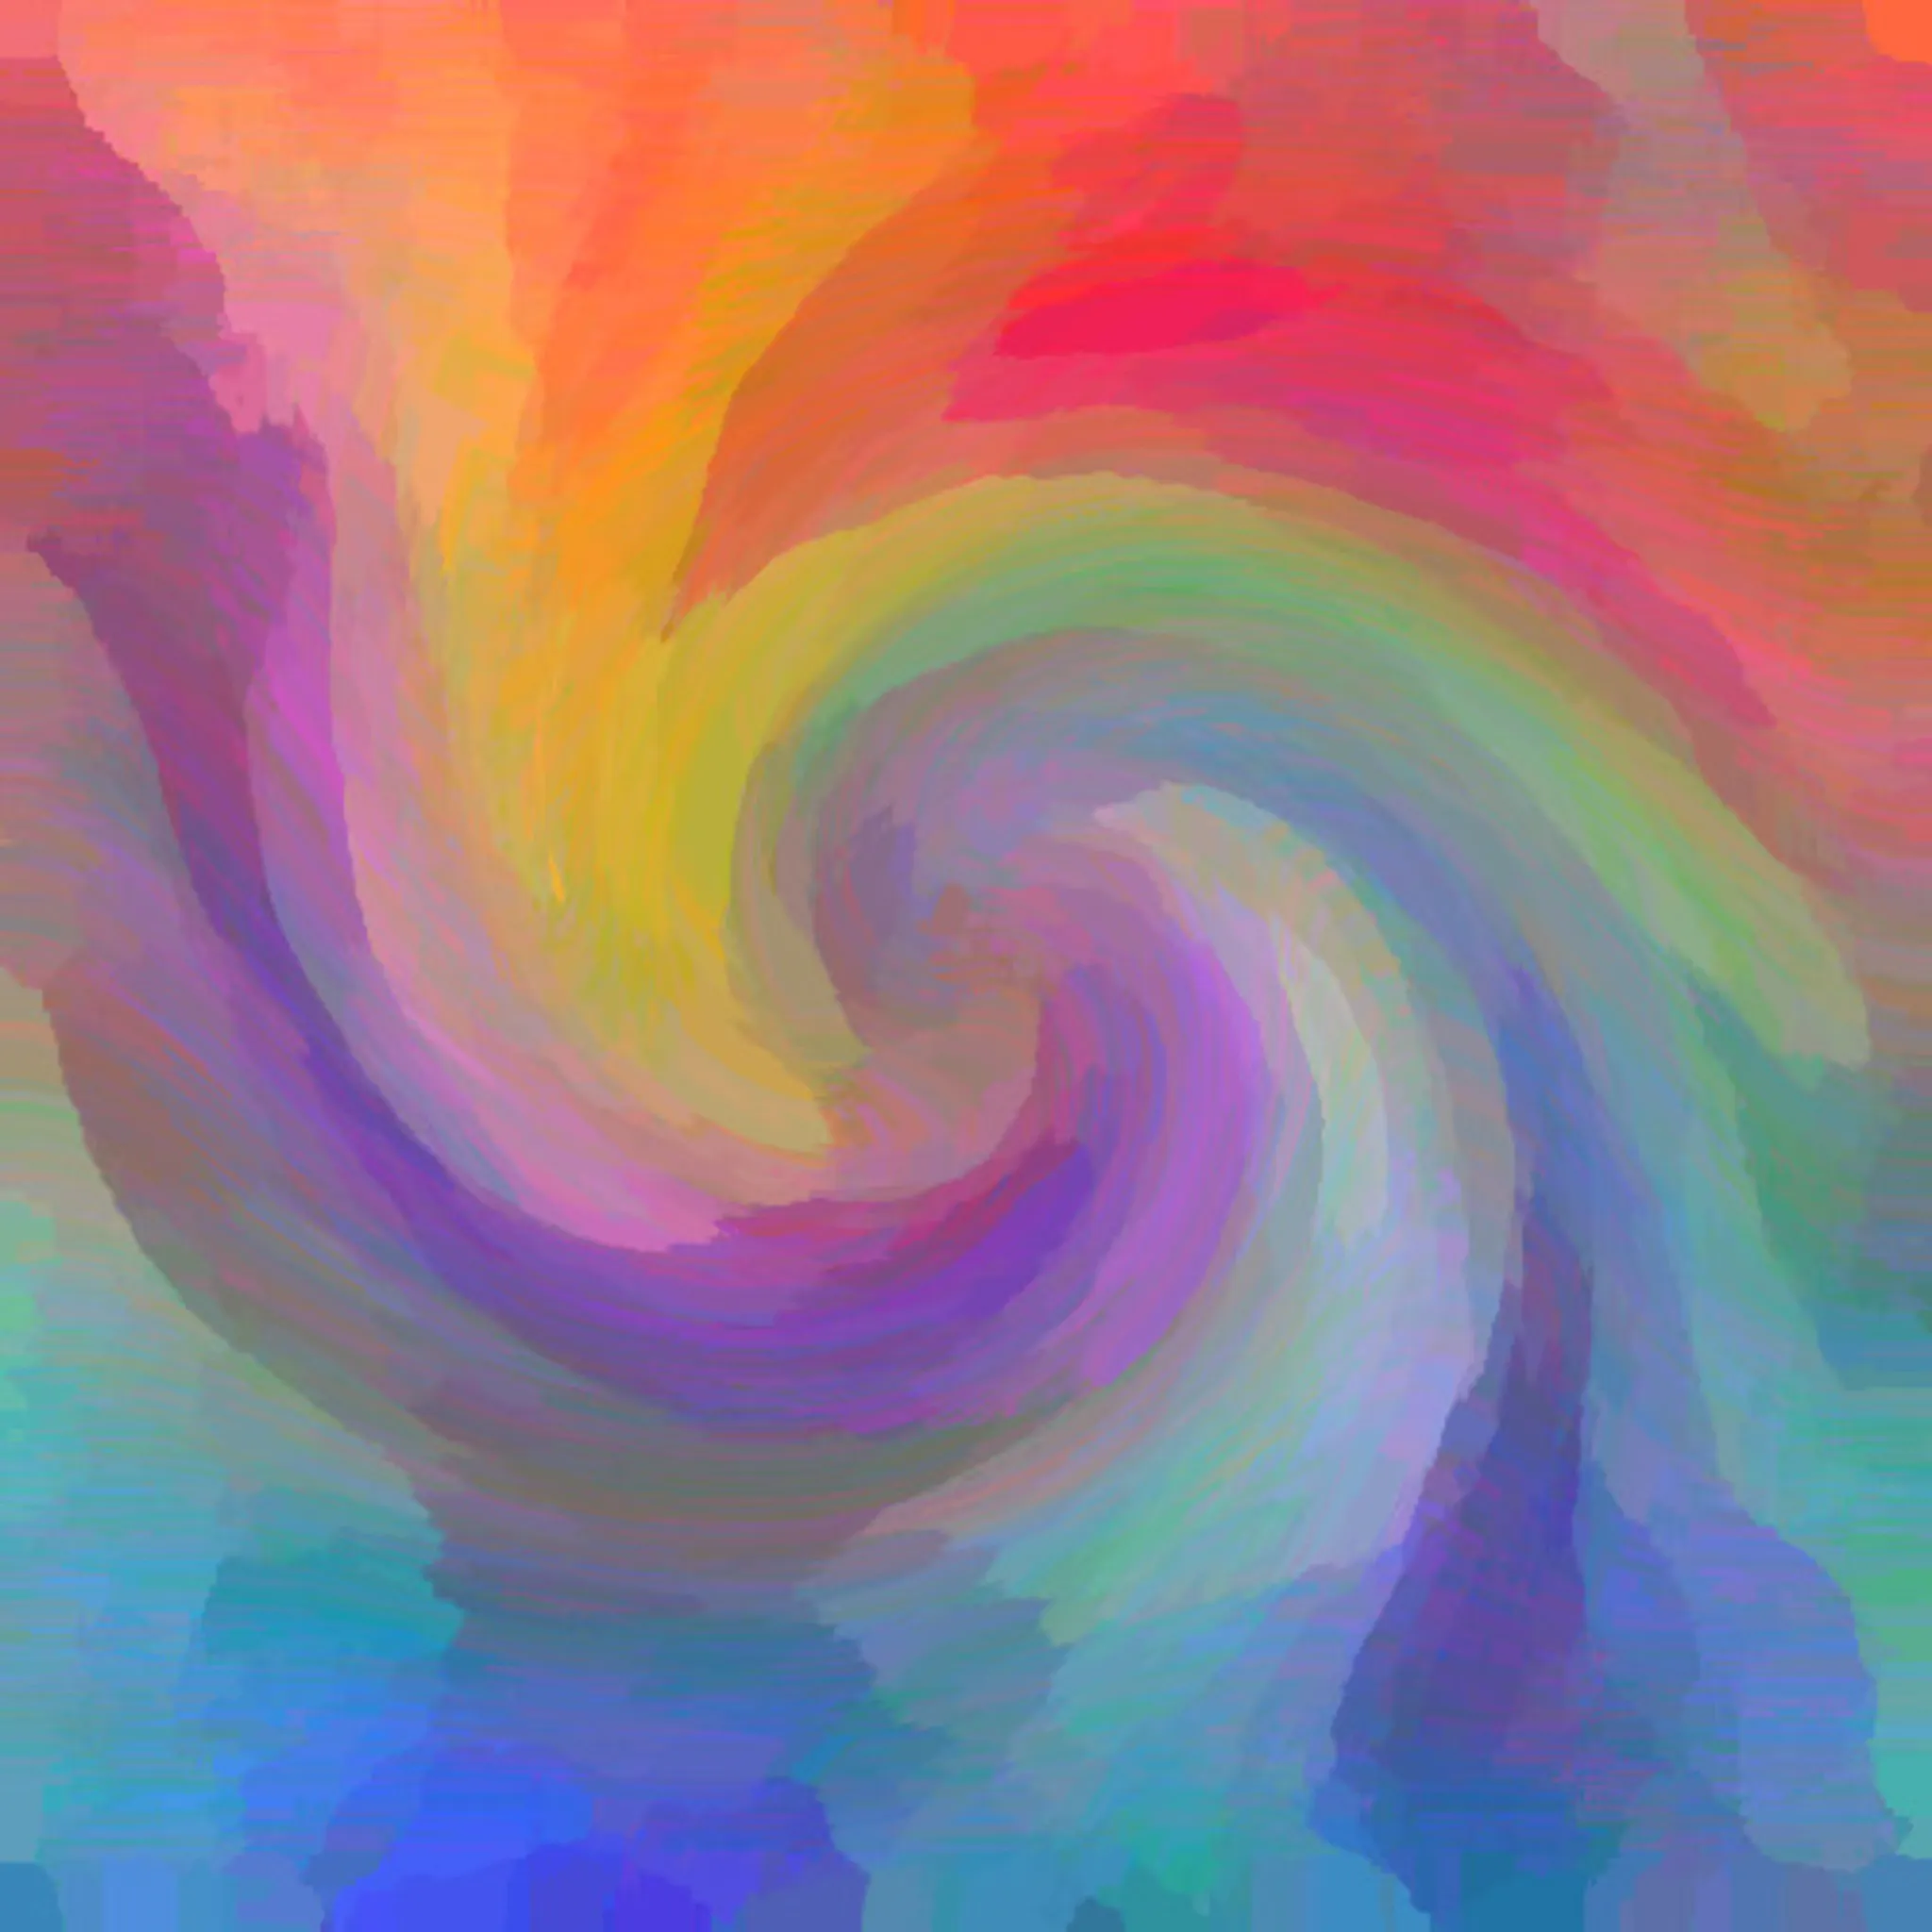
结果是(另一个调整大小的恶意JPEG):

输入图像描述

这里是时间,可能还可以进一步改进-不确定您的代码实现了什么时间或您需要什么:

In [55]: %timeit blackMask = np.all(im==0, axis=-1)
22.3 ms ± 29.1 µs per loop (mean ± std. dev. of 7 runs, 10 loops each)

In [56]: %timeit convolved = cv2.filter2D(im, ddepth=-1, kernel=kernel, borderType=cv2.BORDER_REPLICATE
    ...: )
2.66 ms ± 3.07 µs per loop (mean ± std. dev. of 7 runs, 100 loops each)

In [57]: %timeit res = np.where(blackMask[...,None], convolved, im)
22.7 ms ± 76.2 µs per loop (mean ± std. dev. of 7 runs, 10 loops each)

大约需要46毫秒的时间in-toto。请注意,您可以注释掉所有创建名为DEBUG-xxx.png的输出图像的行,因为它们只是用于调试,并且以这种方式命名,以便我在测试后可以轻松清理。

我认为这在numba下可以运行得很好,但目前我的M1 Mac上不支持llvmlite所以我不能尝试。 这里是使用numba进行类似操作的内容。


优化

我考虑了一些对上面代码的优化。看起来两个方面比较慢 - 制作蒙版和将卷积值插入数组中。因此,首先看如何制作蒙版,我最初做了:

blackMask = np.all(im==0, axis=-1)

这个过程花费了22毫秒。我尝试使用numexpr来实现:

import numexpr as ne
R=im[...,0]
G=im[...,1]
B=im[...,2]
blackMask = ne.evaluate('(R==0)&(G==0)&(B==0)')

而且这样做可以得到相同的结果,但只需要1.88毫秒,而不是22毫秒,因此可以节省20毫秒的时间。

关于第三部分,在将卷积值插入输出数组方面,我发现我也可以使用numexpr更快地完成。

所以,不是:

res = np.where(blackMask[...,None], convolved, im)

我使用了:

blackMask3 = np.dstack((blackMask, blackMask, blackMask))
res = ne.evaluate("where(blackMask3, convolved, im)")

这样可以将我的机器上的时间从22毫秒减少到6毫秒。因此,总时间现在从46毫秒减少到10.5毫秒(1.88毫秒+2.66毫秒+6毫秒)。


我仍然坚信,使用Numba可以显著加快速度,因为它真正适用于具有大图像和可并行化代码的情况。但是,我无法在我的M1 Mac上安装Numba,所以我找到了一个非常低端的Intel Celeron,可以在其中安装Numba并运行以下代码。

低配的200英镑Intel Celeron机器(4核心、8GB DDR4 RAM、eMMC硬盘)以3倍的速度击败了价值5000英镑的M1 Mac(12核心、32GB DDR5 RAM、NVMe SSD),只需要略微超过3毫秒:

#!/usr/bin/env python3

import cv2
import numpy as np
import numba as nb

@nb.jit('void(uint8[:,:,::3])', parallel=True)
def removeLines(im):
    # Ensure image is 3-channel
    assert (im.ndim == 3) and (im.shape[2] == 3)

    h, w = im.shape[0], im.shape[1]
    for y in nb.prange(h):
        for x in range(1,w-1):
            # Check if black, ignore if not
            sum = im[y,x,0] + im[y,x,1] + im[y,x,2]
            if sum != 0: continue

            # Pixel is black.
            # Replace with mean of left and right neighbours in all channels
            im[y, x, 0] = im[y, x-1, 0] // 2 + im[y, x+1, 0] // 2
            im[y, x, 1] = im[y, x-1, 1] // 2 + im[y, x+1, 1] // 2
            im[y, x, 2] = im[y, x-1, 2] // 2 + im[y, x+1, 2] // 2
    return

# Load image
im = cv2.imread('start.png')
removeLines(im)
cv2.imwrite('result.png', im)

非常感谢您的答复。同时,我已经通过对每个RGB通道进行卷积并使用遮罩来找到了一个解决方案。但它比您的解决方案慢得多! - Fedour
PIL以每个像素4个字节的RGBA格式加载图像。接下来可以使用.view()将数组视为np.uint32,以进行更快的比较和where操作。OpenCV中的BGR数组可以被视为'S3'或'V3'数据类型,但是对我来说数组操作并不更快。 - user7138814

2
您总是对黑色像素应用相同的操作。因此,它高度可并行化。将图像分成较小的矩形,并放置线程和/或进程以在每个小矩形上执行操作。您可以尝试调整矩形大小以获得最佳性能。
另外,由于您的黑色像素结构非常特殊,您可以实现某些策略来避免检查您确定没有黑色像素的一些图像区域。一个想法是对于每个图像列,在列的开始、中间和末尾检查一些随机像素。然后,如果您在检查中找不到黑色像素,则忽略该列。

感谢您的回答。我之前没有提到,但我已经在做这个了。我正在将一张非常大的图像分成大小为1024*1024的小图像,并使用线程。 - Fedour
你的原始图像尺寸是多少? - joaopfg
请检查我的修改。我根据您的黑色像素结构提出了一些改进建议。 - joaopfg

网页内容由stack overflow 提供, 点击上面的
可以查看英文原文,
原文链接