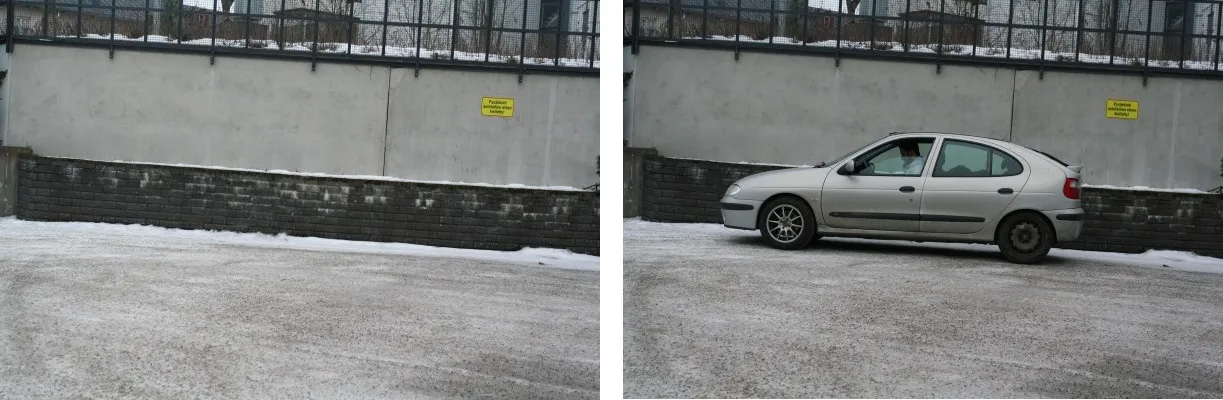
我有两张图片,一张只有背景,另一张则是背景加上可识别的物体(在我的情况下是一辆车)。以下是这些图片:
我正在尝试去除背景,以便最终图像只显示汽车。以下是我尝试实现所需结果的代码:
import numpy as np
import cv2


original_image = cv2.imread('IMG1.jpg', cv2.IMREAD_COLOR)
gray_original = cv2.cvtColor(original_image, cv2.COLOR_BGR2GRAY)
background_image = cv2.imread('IMG2.jpg', cv2.IMREAD_COLOR)
gray_background = cv2.cvtColor(background_image, cv2.COLOR_BGR2GRAY)

foreground = np.absolute(gray_original - gray_background)
foreground[foreground > 0] = 255

cv2.imshow('Original Image', foreground)
cv2.waitKey(0)
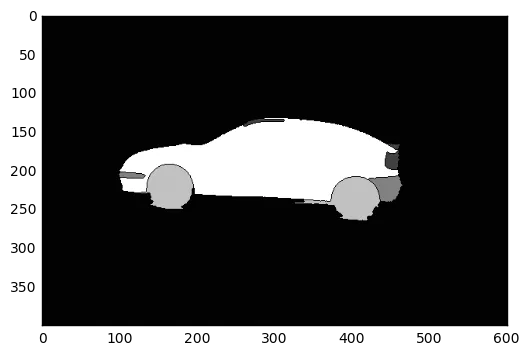
通过减去两张图片得到的图像是:

问题在于,期望得到的图像应该只有汽车。 此外,如果你仔细观察这两张图片,你会发现它们并不完全相同,也就是说,相机移动了一点,背景受到了一些干扰。我的问题是,如何用这两张图片减去背景。我现在不想使用grabCut或backgroundSubtractorMOG算法,因为我现在还不知道这些算法的具体情况。
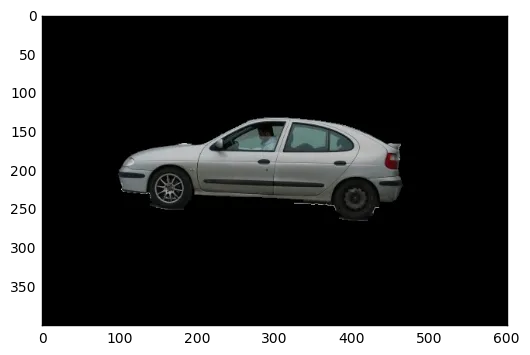
我想做的是得到以下的结果图像:
另外,如果可能的话,请指导我一般的方法,不仅适用于这种特定情况,即在一张图片中有背景,在第二张图片中有背景+物体。最好的方式是什么。抱歉问题这么长。