我正在尝试去除一些图像的背景,调整一些值并使用一些方法如
更新 我已经修改了代码,以获得更好的结果,但仍然存在一些洞...如果我能填补这些洞,脚本将是完美的。
morphologyEx给我一个可接受的结果,但仍有一些洞留下来。在最后这种情况下,即使迭代每个轮廓并使用-1进行绘制,洞也不会填补。我可以看到阈值图像非常好,用线条制成整个形状,但我不知道该如何继续...更新 我已经修改了代码,以获得更好的结果,但仍然存在一些洞...如果我能填补这些洞,脚本将是完美的。
def get_contrasted(image, type="dark", level=3):
    maxIntensity = 255.0 # depends on dtype of image data
    phi = 1
    theta = 1

    if type == "light":
        newImage0 = (maxIntensity/phi)*(image/(maxIntensity/theta))**0.5
        newImage0 = array(newImage0,dtype=uint8)
        return newImage0
    elif type == "dark":
        newImage1 = (maxIntensity/phi)*(image/(maxIntensity/theta))**level
        newImage1 = array(newImage1,dtype=uint8)

        return newImage1

def sharp(image, level=3):
    f = cv2.GaussianBlur(image, (level,level), level)
    f = cv2.addWeighted(image, 1.5, f, -0.5, 0)
    return f

original_image = imread('imagen.jpg')
# 1 Convert to gray & Normalize
gray_img = cv2.cvtColor(original_image, cv2.COLOR_BGR2GRAY)
gray_img = sharp(get_contrasted(gray_img))
gray_img = normalize(gray_img, None, 0, 255, NORM_MINMAX, CV_8UC1)
imshow("Gray", gray_img)

# 2 Find Threshold
gray_blur = cv2.GaussianBlur(gray_img, (7, 7), 0)
adapt_thresh_im = cv2.adaptiveThreshold(gray_blur, 255, cv2.ADAPTIVE_THRESH_GAUSSIAN_C, cv2.THRESH_BINARY_INV, 11, 1)
max_thresh, thresh_im = cv2.threshold(gray_img, 0, 255, cv2.THRESH_BINARY_INV | cv2.THRESH_OTSU)
thresh = cv2.bitwise_or(adapt_thresh_im, thresh_im)

# 3 Dilate
gray = cv2.Canny(thresh, 88, 400, apertureSize=3)
gray = cv2.dilate(gray, None, iterations=8)
gray = cv2.erode(gray, None, iterations=8)
imshow("Trheshold", gray)

# 4 Flood
contours, _ = cv2.findContours(gray, cv2.RETR_TREE, cv2.CHAIN_APPROX_SIMPLE)
contour_info = []
for c in contours:
    contour_info.append((
        c,
        cv2.isContourConvex(c),
        cv2.contourArea(c),
    ))
contour_info = sorted(contour_info, key=lambda c: c[2], reverse=True)
max_contour = contour_info[0]
holes = np.zeros(gray_img.shape, np.uint8)
drawContours(holes, max_contour, 0, 255, -1)
imshow("Holes", holes)

mask = cv2.GaussianBlur(holes, (15, 15), 0)
mask = np.dstack([mask] * 3)  # Create 3-channel alpha mask

mask = mask.astype('float32') / 255.0  # Use float matrices,
img = original_image.astype('float32') / 255.0  # for easy blending
masked = (mask * img) + ((1 - mask) * (0,0,1))  # Blend
masked = (masked * 255).astype('uint8')

imshow("Maked", masked)
waitKey()
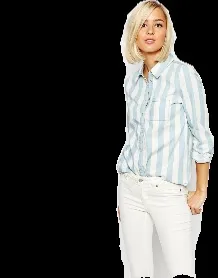
0 原始图片

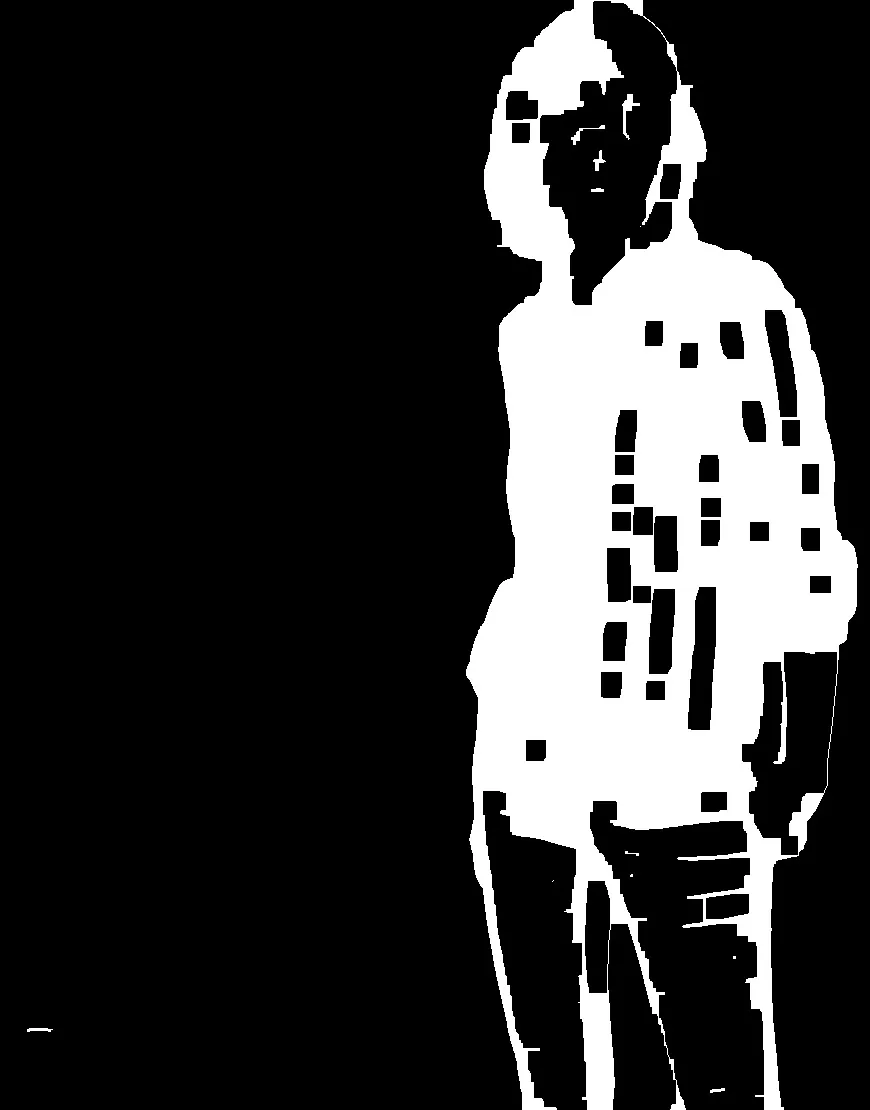
1 阈值处理
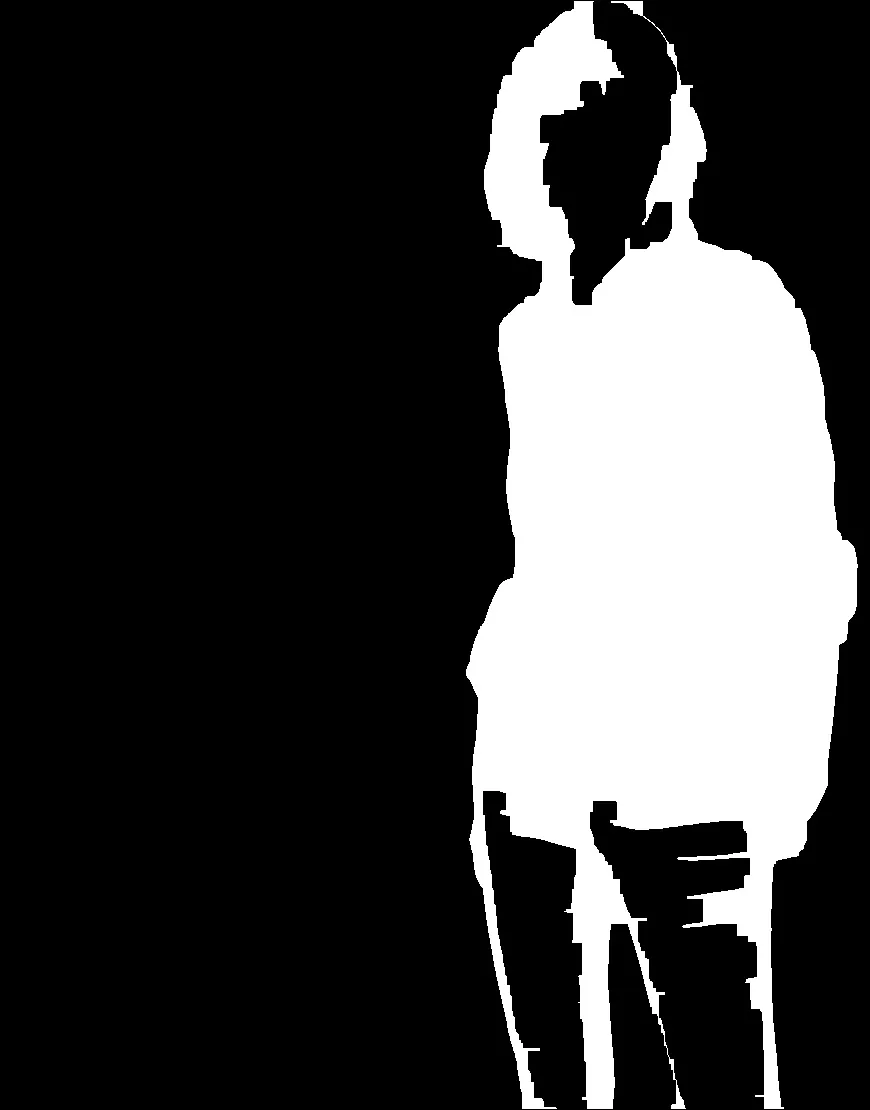
2 孔洞填充
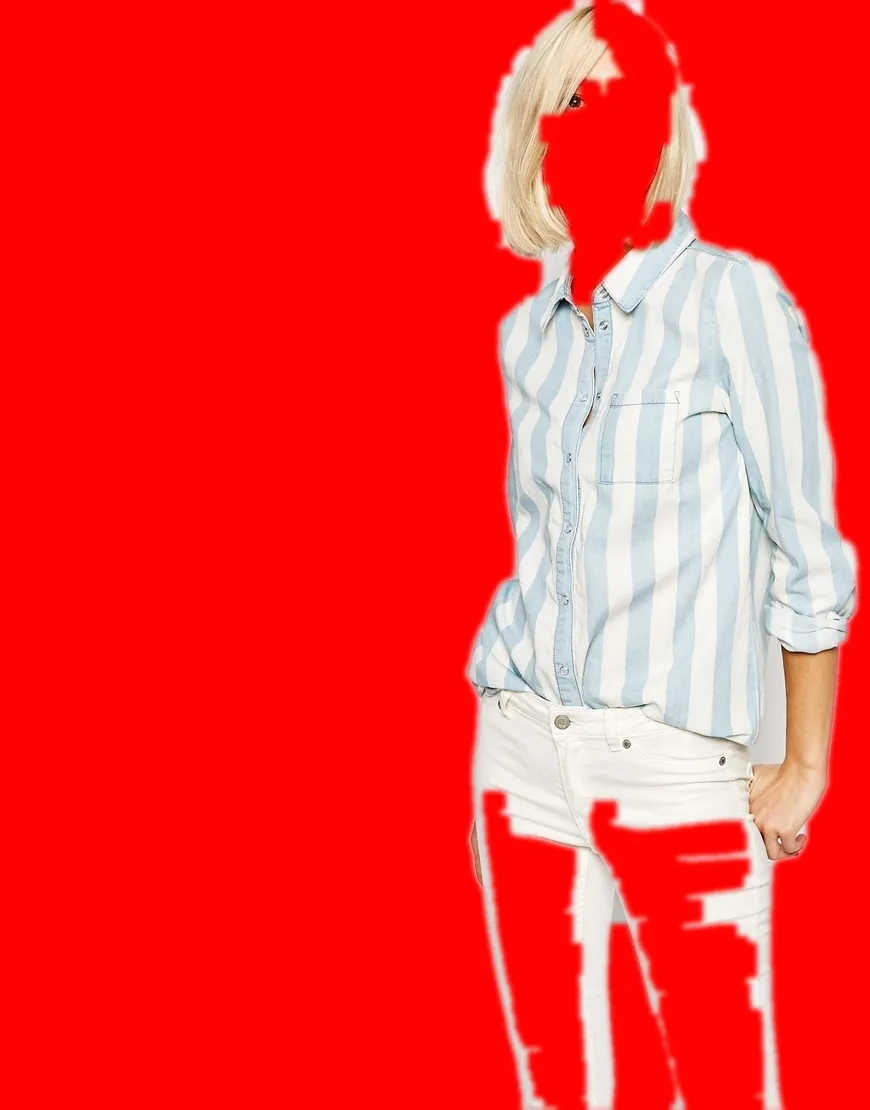
3 最终图像
Mat(hsvImg.rows, hsvImg.cols, CV_8UC1, 200)和其他东西... - Robert W. Hunter