我有一款纹理笔刷,它使用特定的图像来制作纹理,使其显示如下:
Image image = new Bitmap("Untitled.png");
for (int i = 0; i < points.Count; i++)
{
    using (TextureBrush tbr = new TextureBrush(image))
    {
          tbr.RotateTransform(i * 4);
          var p = PointToClient(Cursor.Position);
          tbr.Transform = new Matrix(
          75.0f / 640.0f,
          0.0f,
          0.0f,
          75.0f / 480.0f,
          0.0f,
          0.0f);
          e.Graphics.FillEllipse(tbr, p.X - 50, p.Y - 50, 100, 100);
          Pen p3 = new Pen(tbr);
          e.Graphics.DrawEllipse(Pens.DeepSkyBlue, p.X - 50, p.Y - 50, 100, 100);
    }
}
下面是它正在使用的图片:

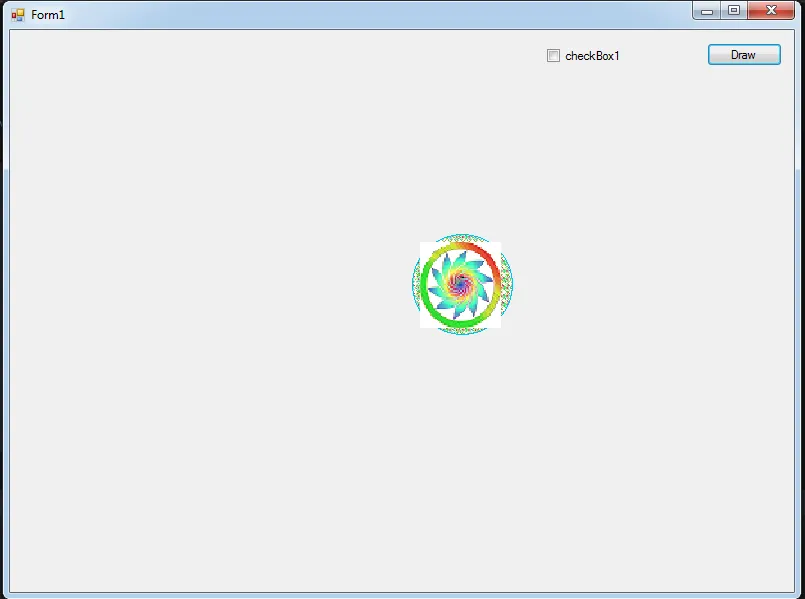
这就是最终效果:

我希望图片填满圆形,看起来像这样(编辑后的图片):
任何帮助都将不胜感激。