我在使用Roi-Kyi Bryant的解决方案时遇到了困难,因为当有
多个插件试图修改功能区时情况变得很复杂。并且我没有管理权限,在我的工作计算机上安装
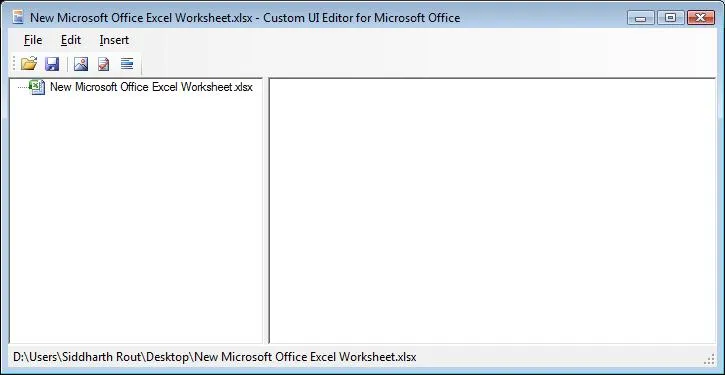
Custom UI Editor也不可行。因此,如果你和我处境相同,这里提供了一个用Excel进行自定义功能区的替代
示例。需要注意的是,我的解决方案源自
Microsoft指南。
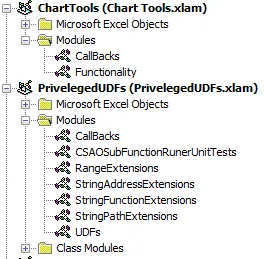
- 创建一个或多个Excel文件,这些文件需要进行自定义功能区。在我的情况下,我创建了两个
.xlam文件,Chart Tools.xlam 和 Priveleged UDFs.xlam,以演示多个插件如何与功能区交互。
- 为每个刚创建的文件创建一个文件夹,文件夹名称任意。
- 在您创建的每个文件夹中添加一个
customUI文件夹和一个_rels文件夹。
- 在每个
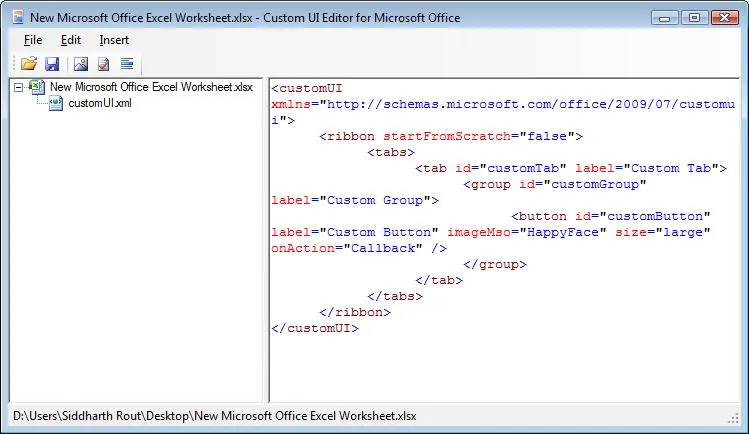
customUI文件夹中创建一个customUI.xml文件。customUI.xml文件详细说明了Excel文件如何与功能区交互。Microsoft指南的第二部分介绍了customUI.xml文件中的元素。
我的Chart Tools.xlam的customUI.xml文件如下:
<customUI xmlns="http://schemas.microsoft.com/office/2006/01/customui" xmlns:x="sao">
  <ribbon>
    <tabs>
      <tab idQ="x:chartToolsTab" label="Chart Tools">
        <group id="relativeChartMovementGroup" label="Relative Chart Movement" >
            <button id="moveChartWithRelativeLinksButton" label="Copy and Move" imageMso="ResultsPaneStartFindAndReplace" onAction="MoveChartWithRelativeLinksCallBack" visible="true" size="normal"/>
            <button id="moveChartToManySheetsWithRelativeLinksButton" label="Copy and Distribute" imageMso="OutlineDemoteToBodyText" onAction="MoveChartToManySheetsWithRelativeLinksCallBack" visible="true" size="normal"/>
        </group >
        <group id="chartDeletionGroup" label="Chart Deletion">
            <button id="deleteAllChartsInWorkbookSharingAnAddressButton" label="Delete Charts" imageMso="CancelRequest" onAction="DeleteAllChartsInWorkbookSharingAnAddressCallBack" visible="true" size="normal"/>
        </group>
      </tab>
    </tabs>
  </ribbon>
</customUI>
我为Priveleged UDFs.xlam准备的customUI.xml文件如下所示:
<customUI xmlns="http://schemas.microsoft.com/office/2006/01/customui" xmlns:x="sao">
  <ribbon>
    <tabs>
      <tab idQ="x:privelgedUDFsTab" label="Privelged UDFs">
        <group id="privelgedUDFsGroup" label="Toggle" >
            <button id="initialisePrivelegedUDFsButton" label="Activate" imageMso="TagMarkComplete" onAction="InitialisePrivelegedUDFsCallBack" visible="true" size="normal"/>
            <button id="deInitialisePrivelegedUDFsButton" label="De-Activate" imageMso="CancelRequest" onAction="DeInitialisePrivelegedUDFsCallBack" visible="true" size="normal"/>
        </group >
      </tab>
    </tabs>
  </ribbon>
</customUI>
- 对于你在步骤1中创建的每个文件,将
.zip作为它们的文件名后缀。例如,在我的情况下,我把Chart Tools.xlam重命名为Chart Tools.xlam.zip,并把Privelged UDFs.xlam重命名为Priveleged UDFs.xlam.zip。
- 打开每个
.zip文件,并导航到_rels文件夹。将.rels文件复制到步骤3中创建的_rels文件夹中。使用文本编辑器编辑每个.rels文件。从Microsoft指南中获取以下信息:
在最后一个<Relationship>元素和闭合的<Relationships>元素之间添加一行,创建文档文件和自定义文件之间的关系。确保正确指定文件夹和文件名。
<Relationship Type="http://schemas.microsoft.com/office/2006/
  relationships/ui/extensibility" Target="/customUI/customUI.xml"
  Id="customUIRelID" />
我的Chart Tools.xlam的.rels文件如下所示
<?xml version="1.0" encoding="UTF-8" standalone="yes"?>
    <Relationships xmlns="http://schemas.openxmlformats.org/package/2006/relationships">
        <Relationship Id="rId3" Type="http://schemas.openxmlformats.org/officeDocument/2006/relationships/extended-properties" Target="docProps/app.xml"/><Relationship Id="rId2" Type="http://schemas.openxmlformats.org/package/2006/relationships/metadata/core-properties" Target="docProps/core.xml"/>
        <Relationship Id="rId1" Type="http://schemas.openxmlformats.org/officeDocument/2006/relationships/officeDocument" Target="xl/workbook.xml"/>
        <Relationship Type="http://schemas.microsoft.com/office/2006/relationships/ui/extensibility" Target="/customUI/customUI.xml" Id="chartToolsCustomUIRel" />
    </Relationships>
我用于特权UDFs的.rels文件如下所示。
<?xml version="1.0" encoding="UTF-8" standalone="yes"?>
    <Relationships xmlns="http://schemas.openxmlformats.org/package/2006/relationships">
        <Relationship Id="rId3" Type="http://schemas.openxmlformats.org/officeDocument/2006/relationships/extended-properties" Target="docProps/app.xml"/><Relationship Id="rId2" Type="http://schemas.openxmlformats.org/package/2006/relationships/metadata/core-properties" Target="docProps/core.xml"/>
        <Relationship Id="rId1" Type="http://schemas.openxmlformats.org/officeDocument/2006/relationships/officeDocument" Target="xl/workbook.xml"/>
        <Relationship Type="http://schemas.microsoft.com/office/2006/relationships/ui/extensibility" Target="/customUI/customUI.xml" Id="privelegedUDFsCustomUIRel" />
    </Relationships>
- 将每个
.zip文件中的.rels文件替换为您在上一步中修改的.rels文件/文件。
- 将您创建的
.customUI文件夹复制并粘贴到.zip文件/文件的主目录中。
- 从您创建的Excel文件中删除
.zip文件扩展名。
- 如果您创建了
.xlam文件,请返回Excel,将它们添加到您的Excel加载项中。
- 如适用,在每个加载项中创建回调函数。在第4步中,我的按钮中有
onAction关键字。 onAction关键字表示,当触发包含元素时,Excel应用程序将直接在引号后触发封装在onAction关键字之后的子例程。这被称为回调函数。在我的.xlam文件中,我有一个名为CallBacks的模块,其中包含我的回调子例程。
我的Chart Tools.xlam的CallBacks模块如下所示:
Option Explicit

Public Sub MoveChartWithRelativeLinksCallBack(ByRef control As IRibbonControl)
  MoveChartWithRelativeLinks
End Sub

Public Sub MoveChartToManySheetsWithRelativeLinksCallBack(ByRef control As IRibbonControl)
  MoveChartToManySheetsWithRelativeLinks
End Sub

Public Sub DeleteAllChartsInWorkbookSharingAnAddressCallBack(ByRef control As IRibbonControl)
  DeleteAllChartsInWorkbookSharingAnAddress
End Sub
我的
CallBacks模块针对
Priveleged UDFs.xlam看起来像这样:
Option Explicit
Public Sub InitialisePrivelegedUDFsCallBack(ByRef control As IRibbonControl)
  ThisWorkbook.InitialisePrivelegedUDFs
End Sub

Public Sub DeInitialisePrivelegedUDFsCallBack(ByRef control As IRibbonControl)
  ThisWorkbook.DeInitialisePrivelegedUDFs
End Sub
不同的元素有不同的回调子例程签名。对于按钮,所需的子例程参数是
ByRef control As IRibbonControl。如果不符合所需的回调签名,则在编译VBA项目/项目时会收到错误提示。
Microsoft指南的第3部分定义了所有回调签名。
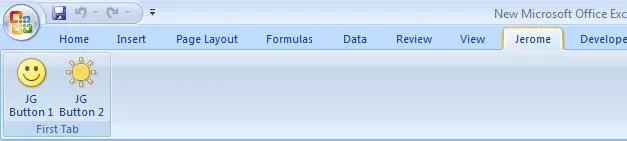
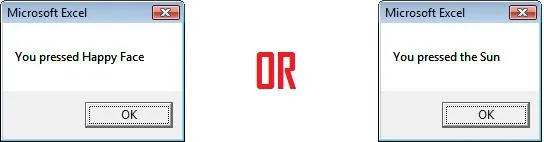
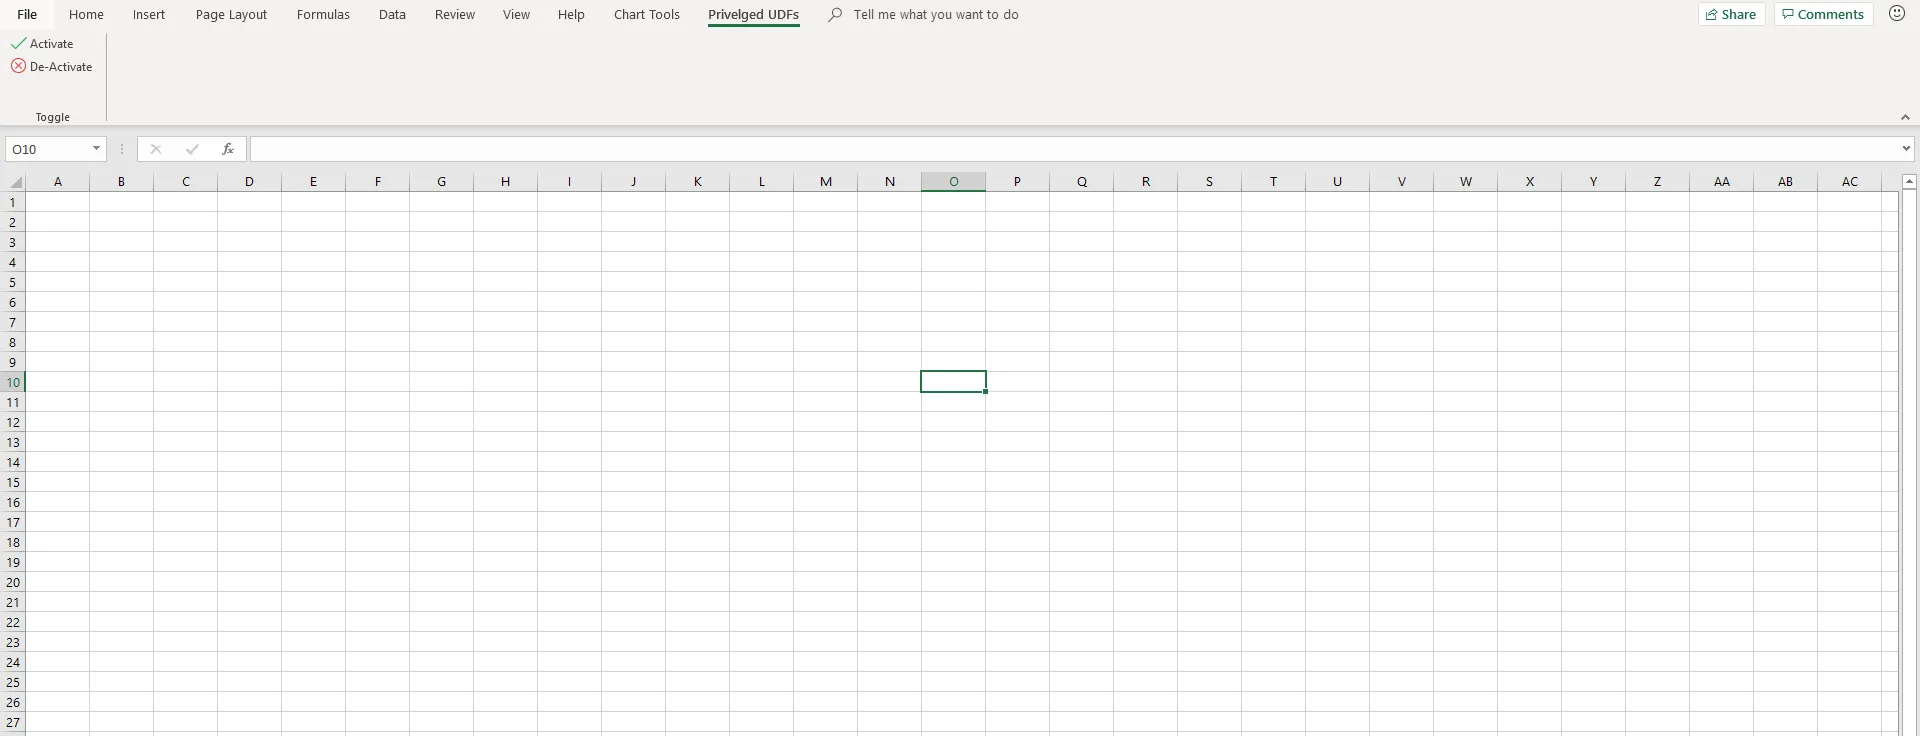
这是我的完成示例的样子
一些结尾提示
- 如果您想让插件共享功能区元素,请使用
idQ和xlmns:关键字。在我的示例中,Chart Tools.xlam和Priveleged UDFs.xlam都可以访问具有等于x:chartToolsTab和x:privelgedUDFsTab的idQ的元素。为使此工作正常,需要x:,并且我已在customUI.xml文件的第一行中定义了它的命名空间,<customUI xmlns="http://schemas.microsoft.com/office/2006/01/customui" xmlns:x="sao">。在Microsoft指南的自定义流畅UI的两种方法部分提供了更多详细信息。
- 如果您想让插件访问Excel附带的功能区元素,请使用
isMSO关键字。在Microsoft指南的自定义流畅UI的两种方法部分提供了更多详细信息。