不使用OpenCV获取图像的掩码

3
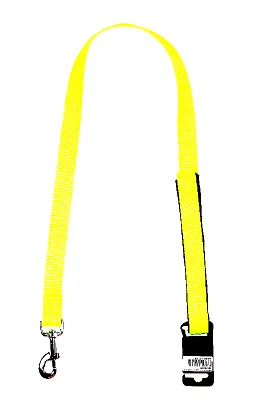
我试图从这张图片中获取掩码,但很遗憾我失败了。
import numpy as np
import skimage.color
import skimage.filters
import skimage.io

# get filename, sigma, and threshold value from command line
filename = 'pathToImage'

# read and display the original image
image = skimage.io.imread(fname=filename)
skimage.io.imshow(image)
# blur and grayscale before thresholding
blur = skimage.color.rgb2gray(image)
blur = skimage.filters.gaussian(blur, sigma=2)
# perform inverse binary thresholding
mask = blur < 0.8
# use the mask to select the "interesting" part of the image
sel = np.ones_like(image)
sel[mask] = image[mask]

# display the result
skimage.io.imshow(sel)

我该如何获得这个口罩?

在此输入图片描述 在此输入图片描述

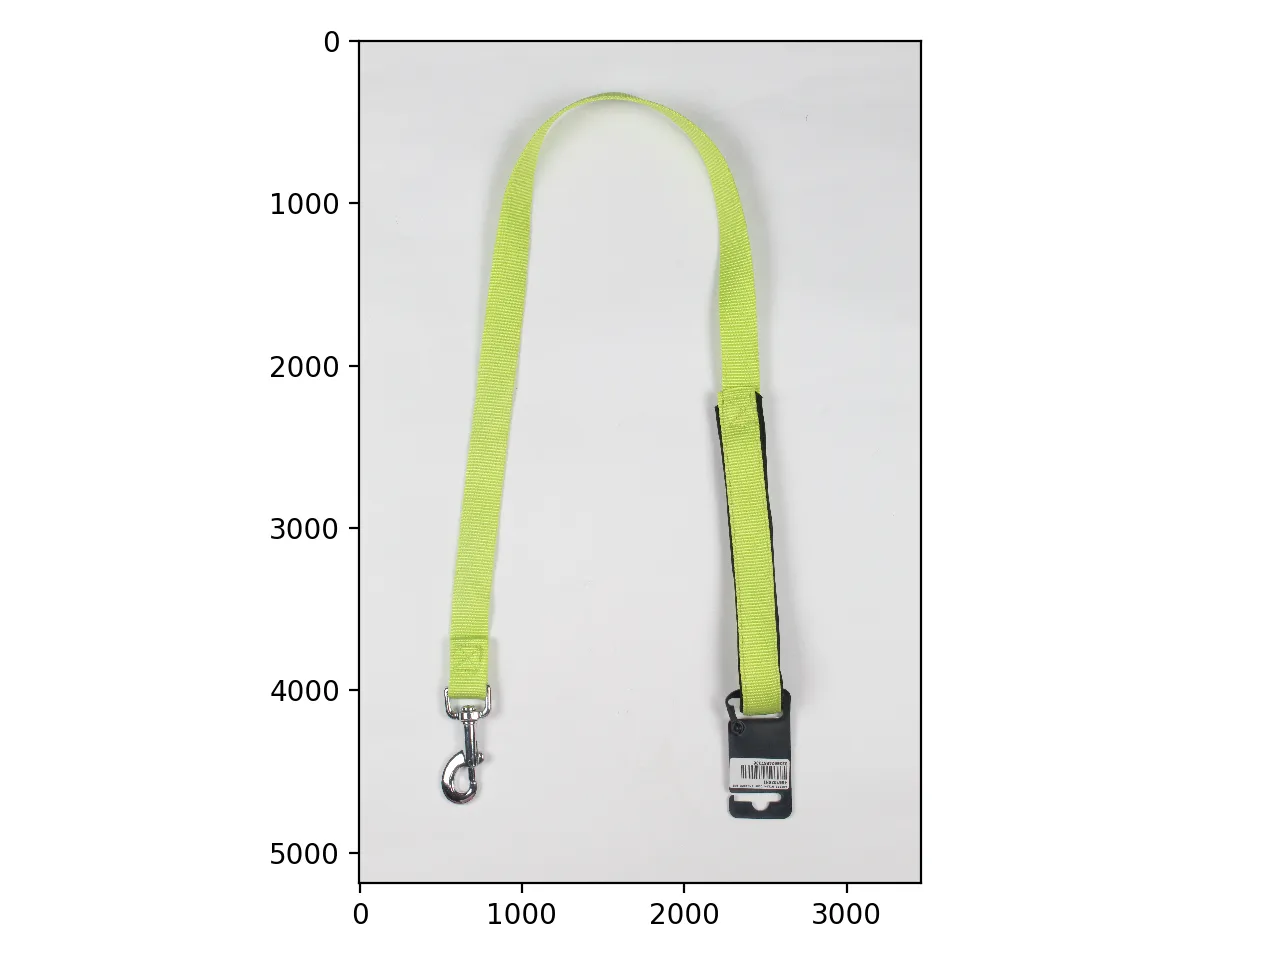
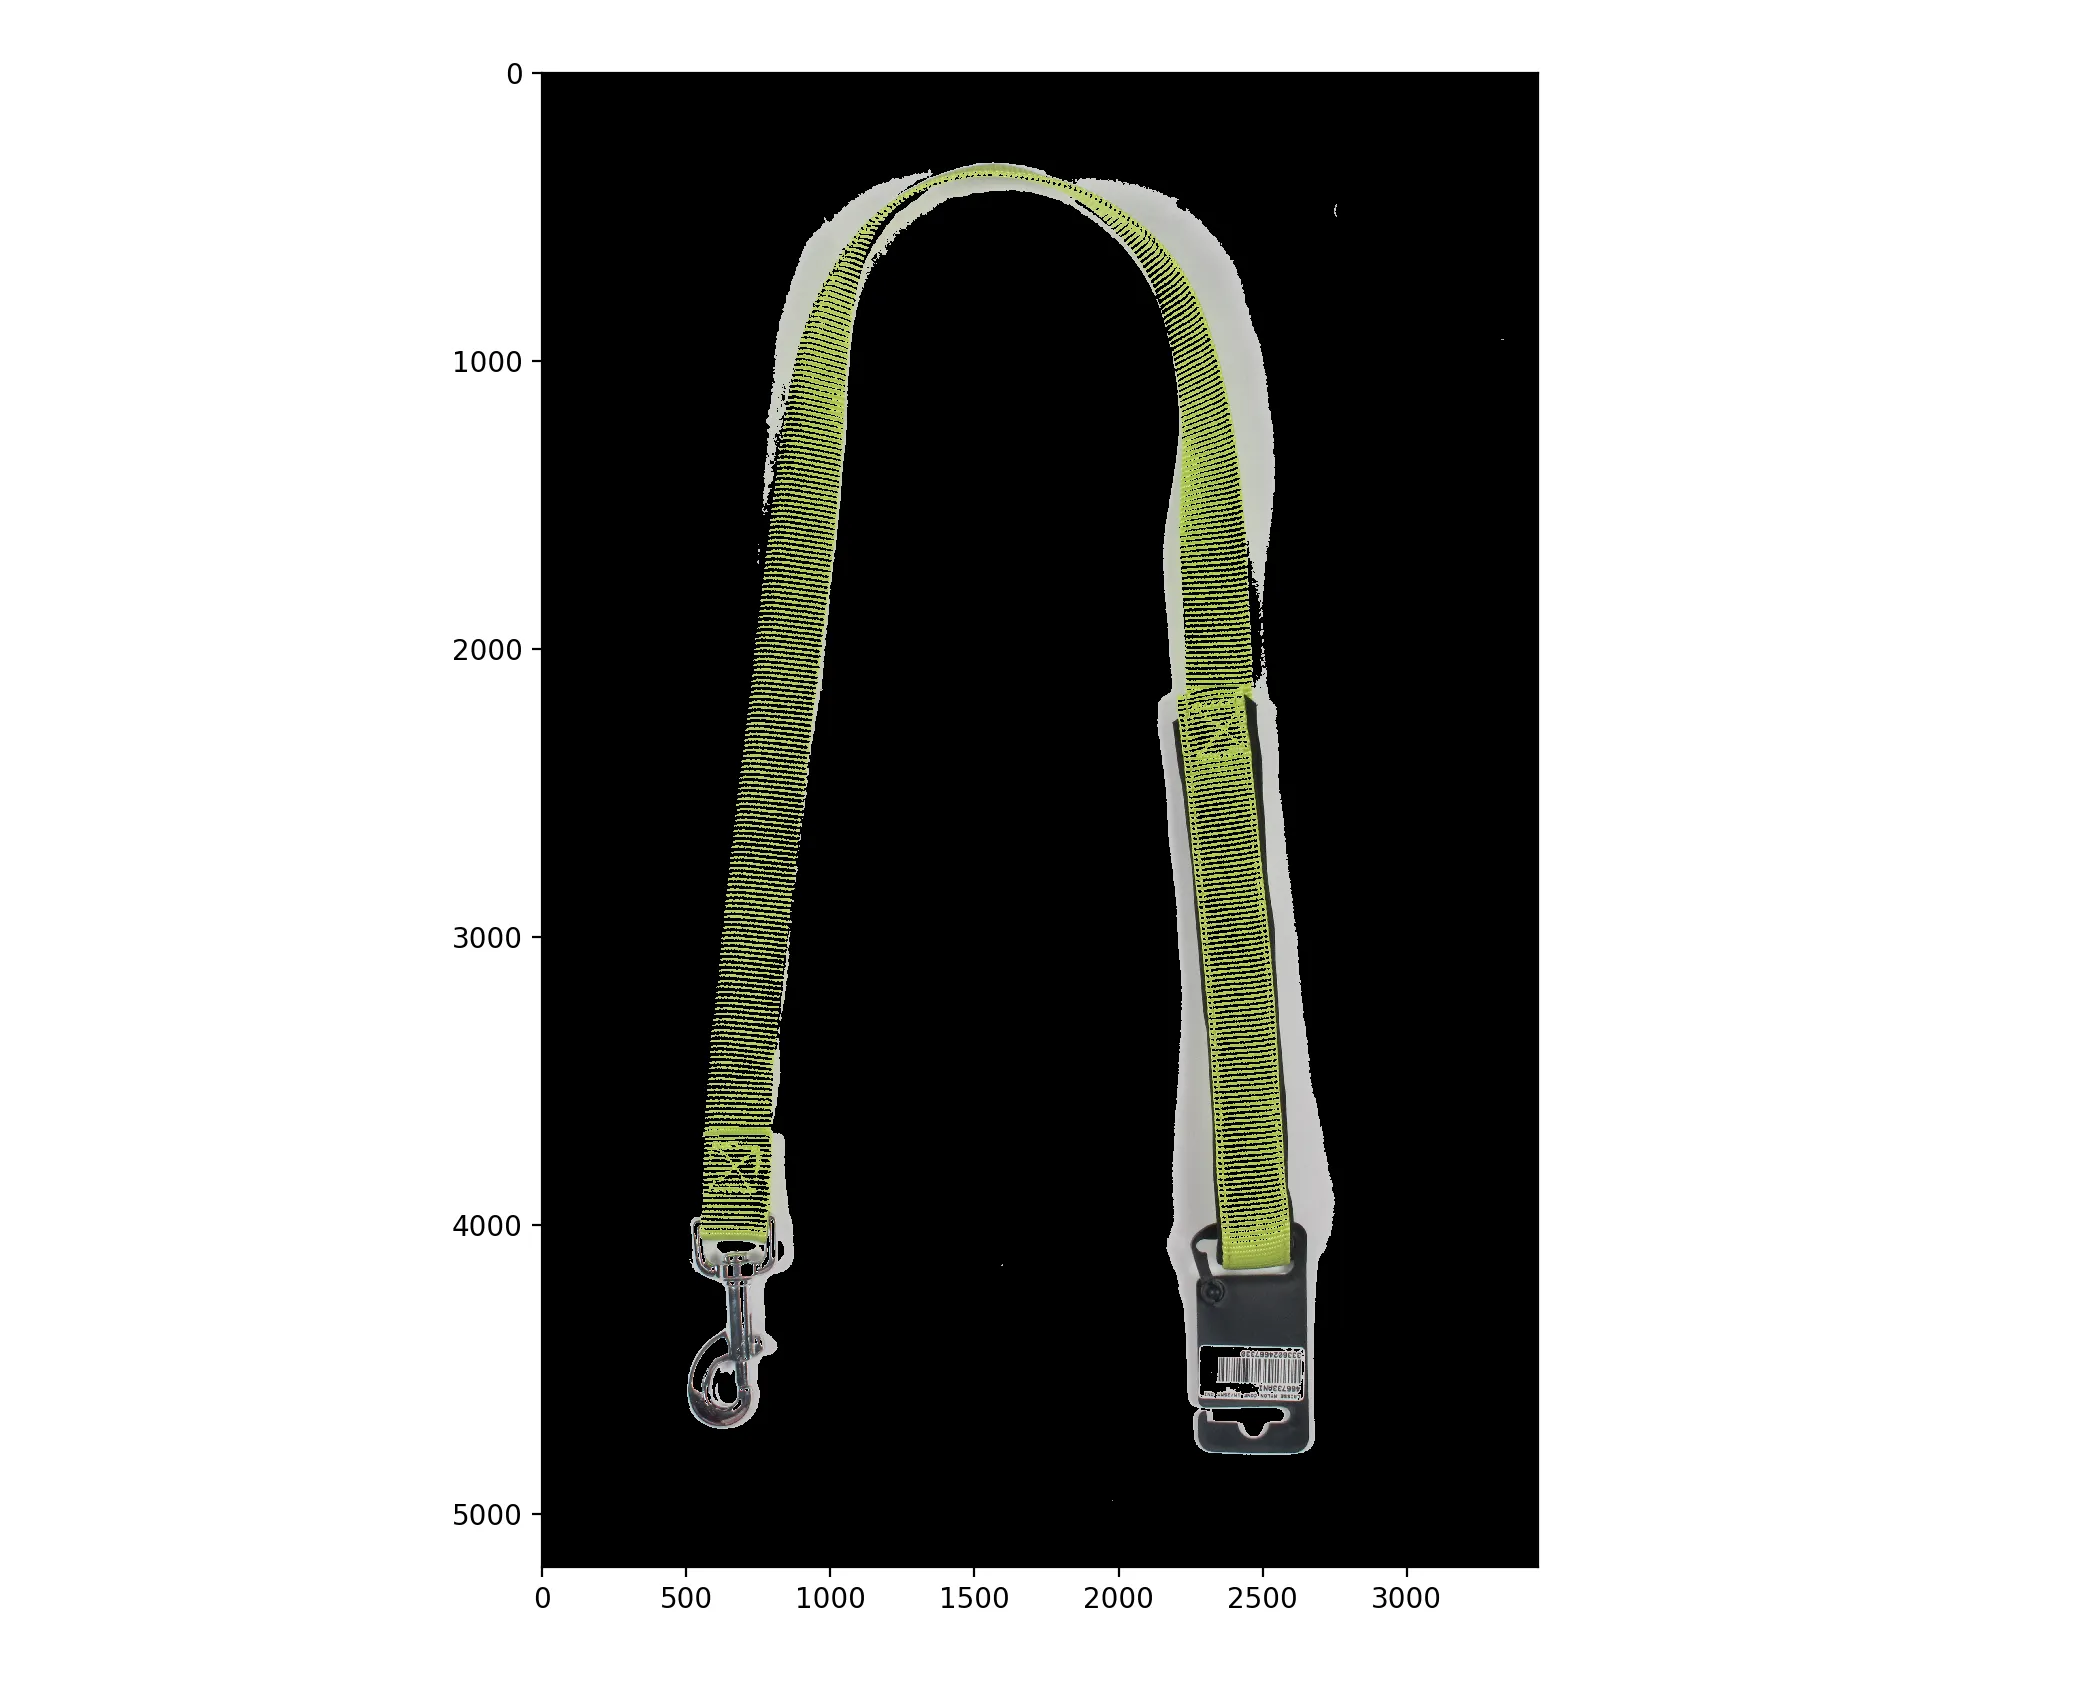
是否有一种通用方法可以适用于这个图像而无需进行自定义微调和更改参数? 在此输入图片描述


一种可能的方法是加载图像,转换为灰度图,高斯模糊,阈值化以获取二进制图像,形态学开运算以去除小噪声,查找轮廓,并按最大到最小轮廓面积排序,最大轮廓应该是您想要的对象。然后只需将此轮廓用白色绘制在黑色掩膜图像上即可得到结果。 - nathancy
3个回答

1

以下是如何仅使用skimage库方法获取粗略掩模的方法:

import numpy as np
from skimage.io import imread, imsave
from skimage.feature import canny
from skimage.color import rgb2gray
from skimage.filters import gaussian
from skimage.morphology import dilation, erosion, selem
from skimage.measure import find_contours
from skimage.draw import polygon

def get_mask(img):
    kernel = selem.rectangle(7, 6)
    dilate = dilation(canny(rgb2gray(img), 0), kernel)
    dilate = dilation(dilate, kernel)
    dilate = dilation(dilate, kernel)
    erode = erosion(dilate, kernel)
    mask = np.zeros_like(erode)
    rr, cc = polygon(*find_contours(erode)[0].T)
    mask[rr, cc] = 1
    return gaussian(mask, 7) > 0.74

def save_img_masked(file):
    img = imread(file)[..., :3]
    mask = get_mask(img)
    result = np.zeros_like(img)
    result[mask] = img[mask]
    imsave("masked_" + file, result)

save_img_masked('belt.png')
save_img_masked('bottle.jpg')

生成的masked_belt.png结果:

enter image description here

生成的masked_bottle.jpg结果:

enter image description here


1
应用高对比度(最大可能值)。

s1

  1. 使用高阈值(我使用的是250)将图像转换为黑白图像

s2

  1. 最小值滤波器(value=8)

s3

  1. 最大值滤波器(value=8)

s4


有没有一种通用的方法,可以在不手动修改参数的情况下,也适用于其他图像(请参见编辑)? - azal
1
如果对象颜色与背景匹配,您需要不同的方法。为什么不将您想要正确工作的所有奇怪情况都放在一起,然后我会尝试给您一个通用的方法。 - user16930239
我认为我的所有情况都属于这两类。 - azal
1
为什么你不想使用OpenCV? - user16930239
我的应用程序无法支持它,因为已经有了现有的流程。 - azal

0
一种方法是利用背景颜色变化非常缓慢的事实。在这里,我对每个通道应用梯度幅值,并计算结果的范数,从而得到一个突出显示颜色更快变化的图像。这个图像的分水岭(具有足够的容差)应该有一个或多个区域覆盖背景并接触图像边缘。在识别出这些区域后,进行一些清理工作,我们就可以得到这些结果(红线是掩模的边缘,叠加在输入图像上):

case 1 output

case 2 output

我确实需要调整公差,在第一种情况下,如果公差较低,则更多的阴影被视为对象。我认为应该可以找到一种基于梯度图像统计数据设置公差的方法,但我还没有尝试过。

这里没有其他参数需要调整,最小对象面积300非常安全;另一种选择是仅保留最大的一个对象。

这是使用DIPlib(免责声明:我是作者)的代码。out是掩膜图像,而不是上面显示的轮廓。

import diplib as dip
import numpy as np

# Case 1:
img = dip.ImageRead('Pa9DO.png')
img = img[362:915, 45:877]  # cut out actual image
img = img(slice(0,2))       # remove alpha channel
tol = 7

# Case 2:
#img = dip.ImageRead('jTnVr.jpg')
#tol = 1

# Compute gradient
gm = dip.Norm(dip.GradientMagnitude(img))
# Compute watershed with tolerance
lab = dip.Watershed(gm, connectivity=1, maxDepth=tol, flags={'correct','labels'})
# Identify regions touching the image edge
ll = np.unique(np.concatenate((
      np.unique(lab[:,0]),
      np.unique(lab[:,-1]),
      np.unique(lab[0,:]),
      np.unique(lab[-1,:]))))
# Remove regions touching the image edge
out = dip.Image(lab.Sizes(), dt='BIN')
out.Fill(1)
for l in ll:
   if l != 0:  # label zero is for the watershed lines
      out = out - (lab == l)
# Remove watershed lines
out = dip.Opening(out, dip.SE(3, 'rectangular'))
# Remove small regions
out = dip.AreaOpening(out, filterSize=300)
# Display
dip.Overlay(img, dip.Dilation(out, 3) - out).Show()

1
@azal 那行代码是必要的,因为你发布了一个带有Matplotlib显示的图像截图,周围有边框和坐标轴。它正在切断这些坐标轴和边框。我非常确定你发布的图像不是你实际处理的图像。这是我近似处理你需要处理的实际图像的方式。你应该把它去掉。 - Cris Luengo
1
@azal 我还没有时间考虑那个。第一张图片中的阴影非常锐利,很难知道它是一个锐利的阴影还是产品本身。我认为二阶导数可能是有意义的,但我需要考虑一下才能给出具体的想法。 - Cris Luengo
@azal:错误信息是什么?您使用的Python版本是什么?DIPlib支持3.7到3.9版本,在Linux、macOS和Windows上都可以使用。在Linux上,也支持3.6版本。在其他系统或其他版本的Python上,您需要自己构建库。 - Cris Luengo
@azal PNG 图像是通过 Bio-Formats 包读取的,需要单独安装。请从命令行运行 python -m diplib download_bioformats,如此处所述:https://pypi.org/project/diplib/ - Cris Luengo
尝试安装模块后,我得到了以下信息:/Library/Frameworks/Python.framework/Versions/3.7/bin/python3: No module named diplib。diplib已经安装。 - azal
显示剩余9条评论

网页内容由stack overflow 提供, 点击上面的
可以查看英文原文,
原文链接