以下是使用Python/OpenCV提取图像的一种方法,通过关注图像周围的黑色线条实现。
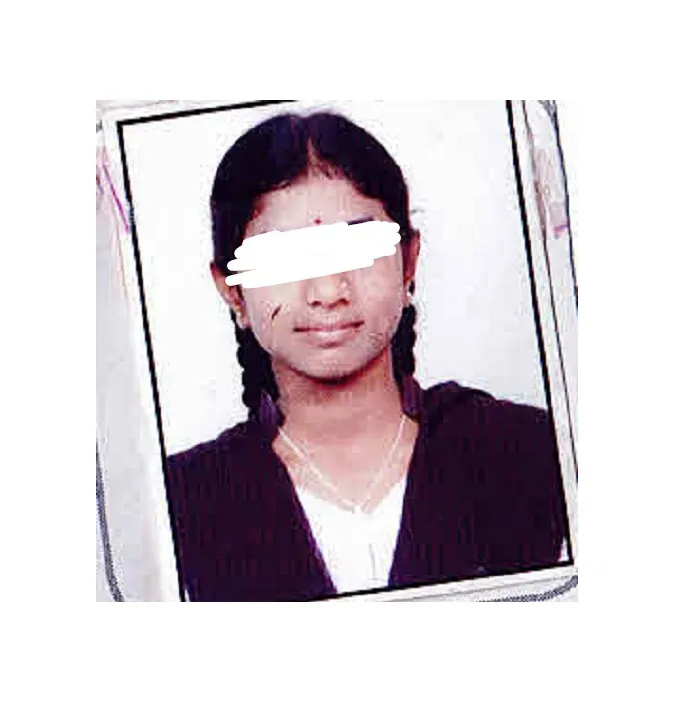
输入:

- Read the input
- Pad the image with white so that the lines can be extended until intersection
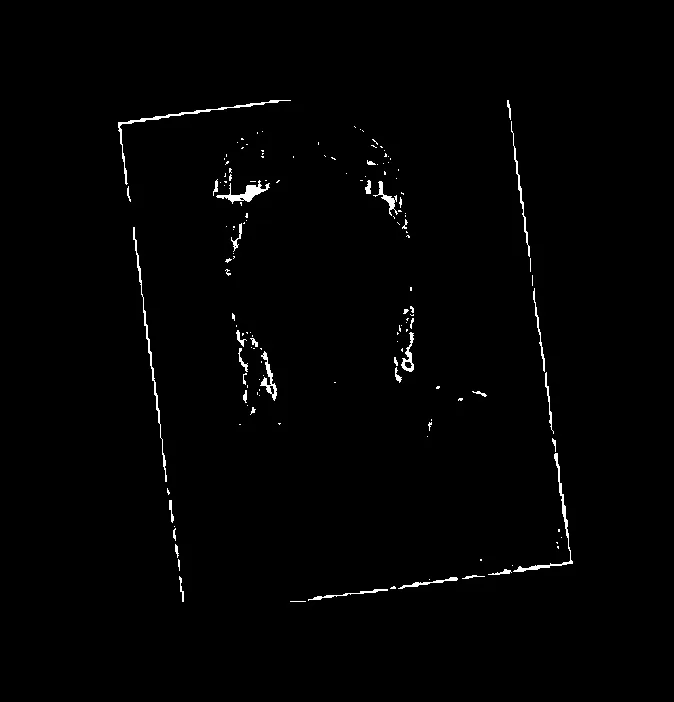
- Threshold on black to extract the lines
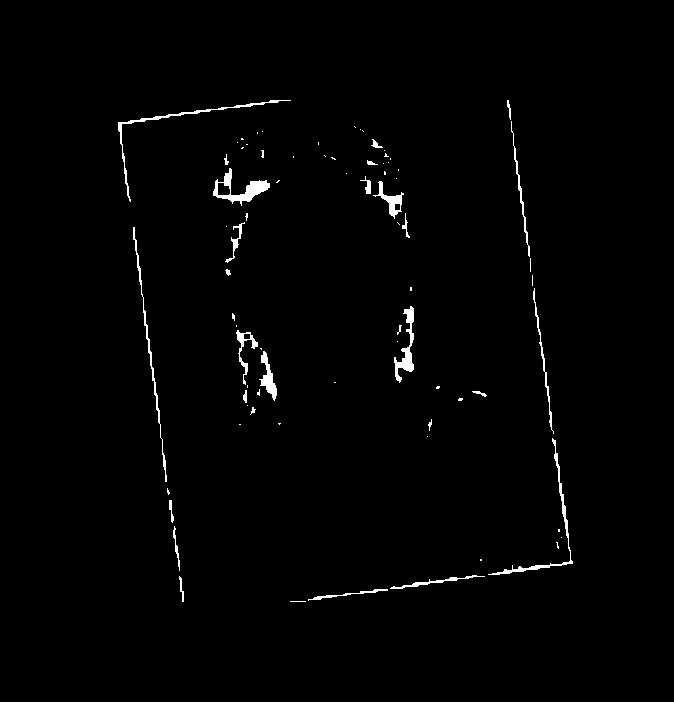
- Apply morphology close to try to connect the lines somewhat
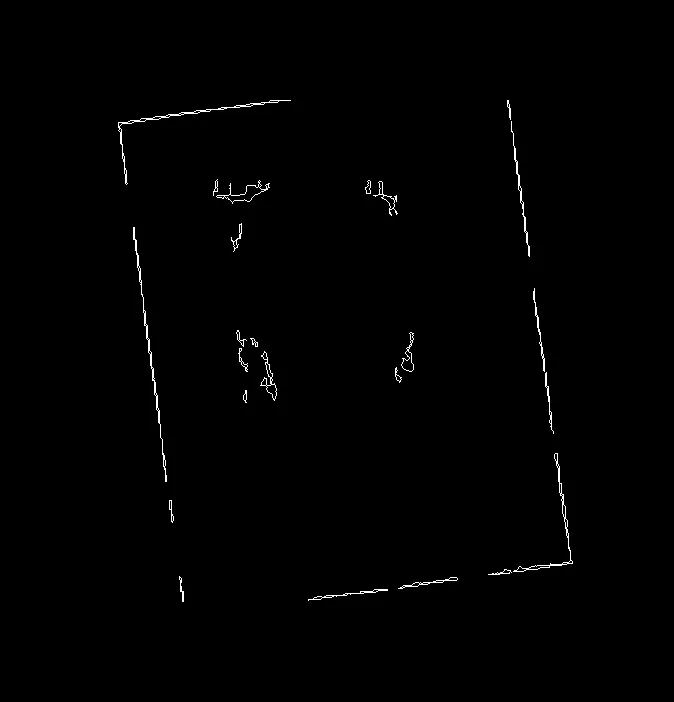
- Get the contours and filter on area drawing the contours on a black background
- Apply morphology close again to fill the line centers
- Skeletonize to thin the lines
- Get the Hough lines and draw them as white on a black background
- Floodfill the center of the rectangle of lines to fill with mid-gray. Then convert that image to binary so that the gray becomes white and all else is black.
- Get the coordinates of all non-black pixels and then from the coordinates get the rotated rectangle.
- Use the angle and center of the rotated rectangle to unrotated both the padded image and this mask image via an Affine warp
- (Alternately, get the four corners of the rotated rectangle from the mask and then project that to the padded input domain using the affine matrix)
- Get the coordinates of all non-black pixels in the unrotated mask and compute its rotated rectangle.
- Get the bounding box of the (un-)rotated rectangle
- Use those bounds to crop the padded image
- Save the results
import cv2
import numpy as np
import math
from skimage.morphology import skeletonize
img = cv2.imread('passport.jpg')
ht, wd = img.shape[:2]
padpct = 20
xpad = int(wd*padpct/100)
ypad = int(ht*padpct/100)
imgpad = cv2.copyMakeBorder(img, ypad, ypad, xpad, xpad, borderType=cv2.BORDER_CONSTANT, value=(255,255,255))
ht2, wd2 = imgpad.shape[:2]
low = (0,0,0)
high = (20,20,20)
thresh = cv2.inRange(imgpad, low, high)
kernel = np.ones((5,5), np.uint8)
morph = cv2.morphologyEx(thresh, cv2.MORPH_CLOSE, kernel)
contours = cv2.findContours(thresh, cv2.RETR_EXTERNAL, cv2.CHAIN_APPROX_SIMPLE)
contours = contours[0] if len(contours) == 2 else contours[1]
mask = np.zeros((ht2,wd2), dtype=np.uint8)
for cntr in contours:
area = cv2.contourArea(cntr)
if area > 20:
cv2.drawContours(mask, [cntr], 0, 255, 1)
kernel = np.ones((5,5), np.uint8)
bmask = cv2.morphologyEx(mask, cv2.MORPH_CLOSE, kernel)/255
skeleton = skeletonize(bmask)
skeleton = (255*skeleton).clip(0,255).astype(np.uint8)
line_img = np.zeros_like(imgpad, dtype=np.uint8)
lines= cv2.HoughLines(skeleton, 1, math.pi/180.0, 90, np.array([]), 0, 0)
a,b,c = lines.shape
for i in range(a):
rho = lines[i][0][0]
theta = lines[i][0][1]
a = math.cos(theta)
b = math.sin(theta)
x0, y0 = a*rho, b*rho
pt1 = ( int(x0+1000*(-b)), int(y0+1000*(a)) )
pt2 = ( int(x0-1000*(-b)), int(y0-1000*(a)) )
cv2.line(line_img, pt1, pt2, (255, 255, 255), 1)
xcent = int(wd2/2)
ycent = int(ht2/2)
ffmask = np.zeros((ht2+2, wd2+2), np.uint8)
mask2 = line_img.copy()
mask2 = cv2.floodFill(mask2, ffmask, (xcent,ycent), (128,128,128))[1]
mask2[mask2 != 128] = 0
mask2[mask2 == 128] = 255
mask2 = mask2[:,:,0]
coords = np.column_stack(np.where(mask2.transpose() > 0))
rotrect = cv2.minAreaRect(coords)
(center), (width,height), angle = rotrect
if angle < -45:
angle = -(90 + angle)
else:
angle = -angle
rotation = -angle - 90
M = cv2.getRotationMatrix2D(center, rotation, scale=1.0)
rot_img = cv2.warpAffine(imgpad, M, (wd2, ht2), flags=cv2.INTER_CUBIC, borderValue=(0,0,0))
rot_mask2= cv2.warpAffine(mask2, M, (wd2, ht2), flags=cv2.INTER_CUBIC, borderValue=(0,0,0))
coords2 = np.column_stack(np.where(rot_mask2.transpose() > 0))
x,y,w,h = cv2.boundingRect(coords2)
print(x,y,w,h)
result = rot_img[y:y+h, x:x+w]
cv2.imwrite('passport_pad.jpg',imgpad)
cv2.imwrite('passport_thresh.jpg',thresh)
cv2.imwrite('passport_morph.jpg',morph)
cv2.imwrite('passport_mask.jpg',mask)
cv2.imwrite('passport_skeleton.jpg',skeleton)
cv2.imwrite('passport_line_img.jpg',line_img)
cv2.imwrite('passport_mask2.jpg',mask2)
cv2.imwrite('passport_rot_img.jpg',rot_img)
cv2.imwrite('passport_rot_mask2.jpg',rot_mask2)
cv2.imwrite('passport_result.jpg',result)
cv2.imshow("imgpad", imgpad)
cv2.imshow("thresh", thresh)
cv2.imshow("morph", morph)
cv2.imshow("mask", mask)
cv2.imshow("skeleton", skeleton)
cv2.imshow("line_img", line_img)
cv2.imshow("mask2", mask2)
cv2.imshow("rot_img", rot_img)
cv2.imshow("rot_mask2", rot_mask2)
cv2.imshow("result", result)
cv2.waitKey(0)
cv2.destroyAllWindows()
填充图像:
阈值图像:
形态学清理后的图像:
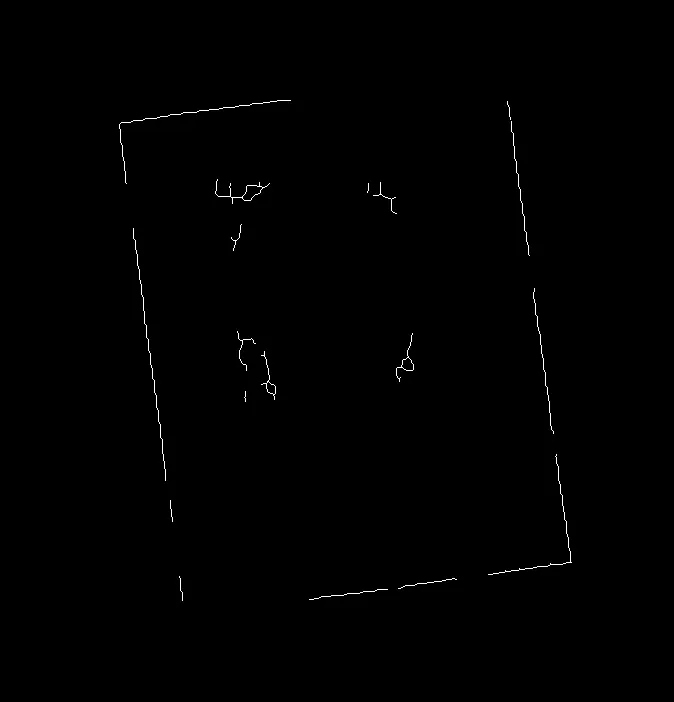
掩模1图像:
骨架图像:
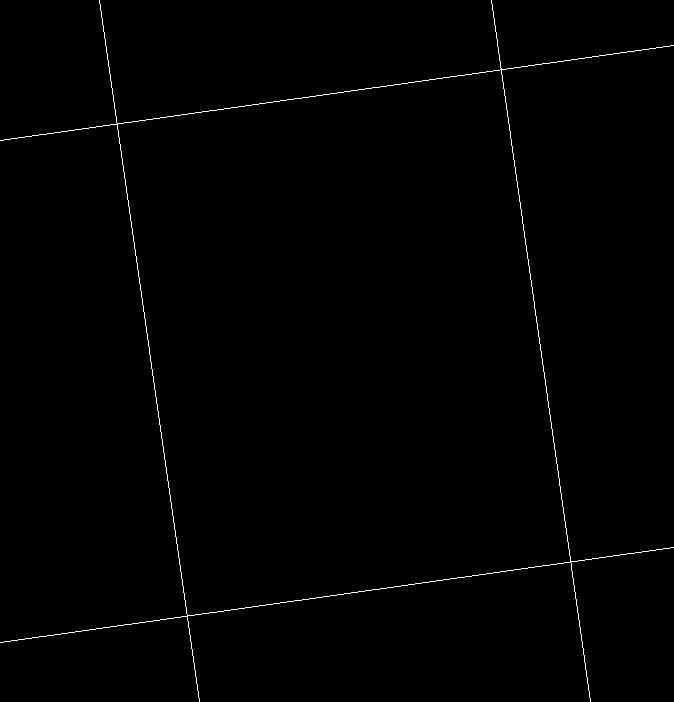
(霍夫)线条图像:
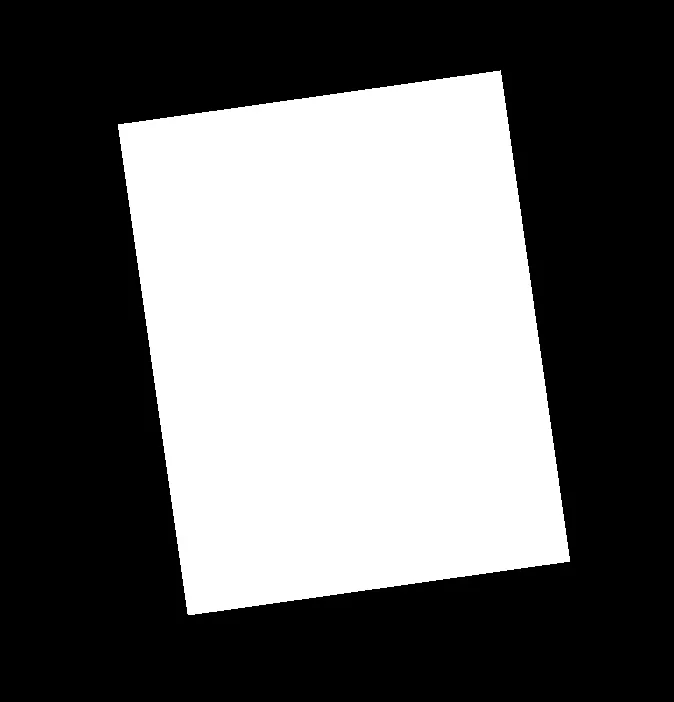
填洪线条图像-掩模2:
未旋转的填充图像:

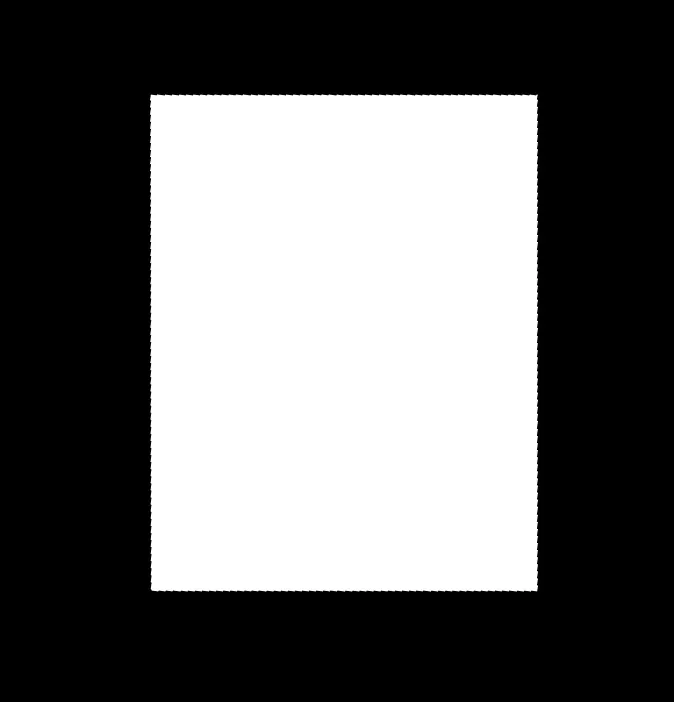
未旋转的掩模2图像:
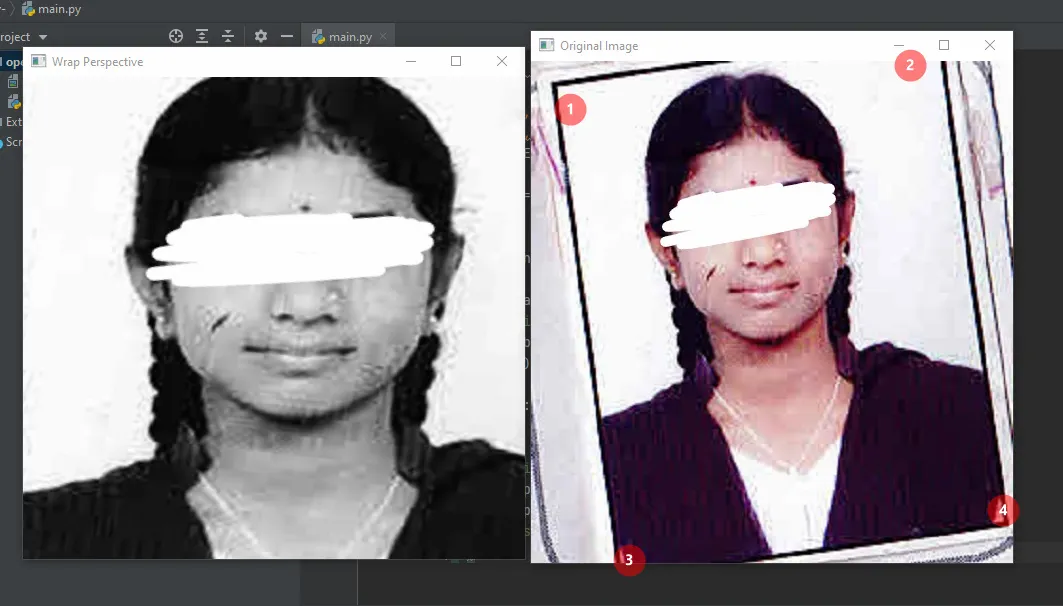
裁剪后的图像:

cascadeClassifiers来实现它,后者是更好的方法。 - crispengari