我刚刚开始使用Markdown。我很喜欢它,但是有一件事情让我很烦恼:我怎样才能使用Markdown更改图片的大小?
文档只给出了以下建议:

如果可能的话,我希望图片也居中。我要求一般的Markdown格式,而不仅限于GitHub的格式。
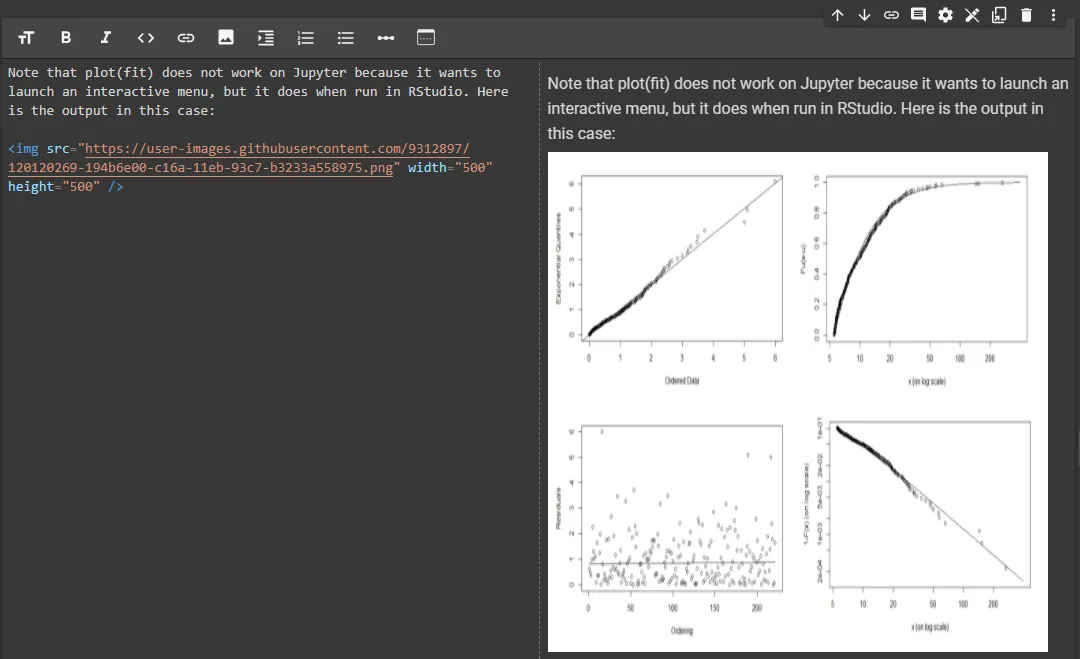
对于在Google Colaboratory上使用Markdown的用户,不需要将图像上传到会话存储文件夹或在Google Drive上链接。如果图像有一个URL,并且它可以包含在Jupyter笔记本中,并且其大小改变如下:
<img src="https://image.png" width="500" height="500" />
width而完全不输入height可以使图像适应小屏幕(例如手机)。我为在Jekyll中使用自定义大小的 img 标签编写了一个简单的标签解析器。
https://gist.github.com/nurinamu/4ccf7197a1bdfb0d7079
{% img /path/to/img.png 100x200 %}
您可以将该文件添加到_plugins文件夹中。
对于R-Markdown,以上两种解决方案都不适用于我,所以我转向使用常规LaTeX语法,这个方法非常有效。
\begin{figure}
 \includegraphics[width=300pt, height = 125 pt]{drawing.jpg}
\end{figure}
\begin{center}语句来使图片居中。\begin{figure}后面加上\centering或什么都不加。如果您使用的是\includegraphics[width=\linewidth]{drawing.jpg},那么我认为当图像比文本宽时,这应该是默认的pandoc输出。 - Fran我正在使用 jupyter_core-4.4.0 和jupyter notebook。

附件链接无法使用:<img src="attachment:Screen%20Shot%202019-08-06%20at%201.48.10%20PM.png" width="500"/>
只需添加 div 标签。
<div>
<img src="attachment:Screen%20Shot%202019-08-06%20at%201.48.10%20PM.png" width="500"/>
</div>
def prerender_jinja(text):
    prerendered_body = render_template_string(Markup(text))
    pygmented_body   = markdown.markdown(prerendered_body, extensions=['codehilite', 'fenced_code', 'tables', 'attr_list'])
    return pygmented_body
然后在Markdown中:
{: width=200px}
![图片][标志]{.类名}
[logo]: (picurl)

<style type="text/css">
    .classname{
        width: 200px;
    }
</style>

w, h用于定义边界框以适应内容,例如在Flutter包中https://pub.dev/packages/flutter_markdown
请重新考虑使用破坏兼容性的HTML解决方法,因为人们可能会使用本地/非HTML组件应用程序来显示Markdown。
<img src="IMAGE_URL_HERE" width="300" height="300">
您可以仅指定宽度或高度属性,也可以两者同时指定。
或者,您可以通过百分比值来改变图像大小,如下所示:
<img src="IMAGE_URL_HERE" width=50% height=50%>

小猫示例:
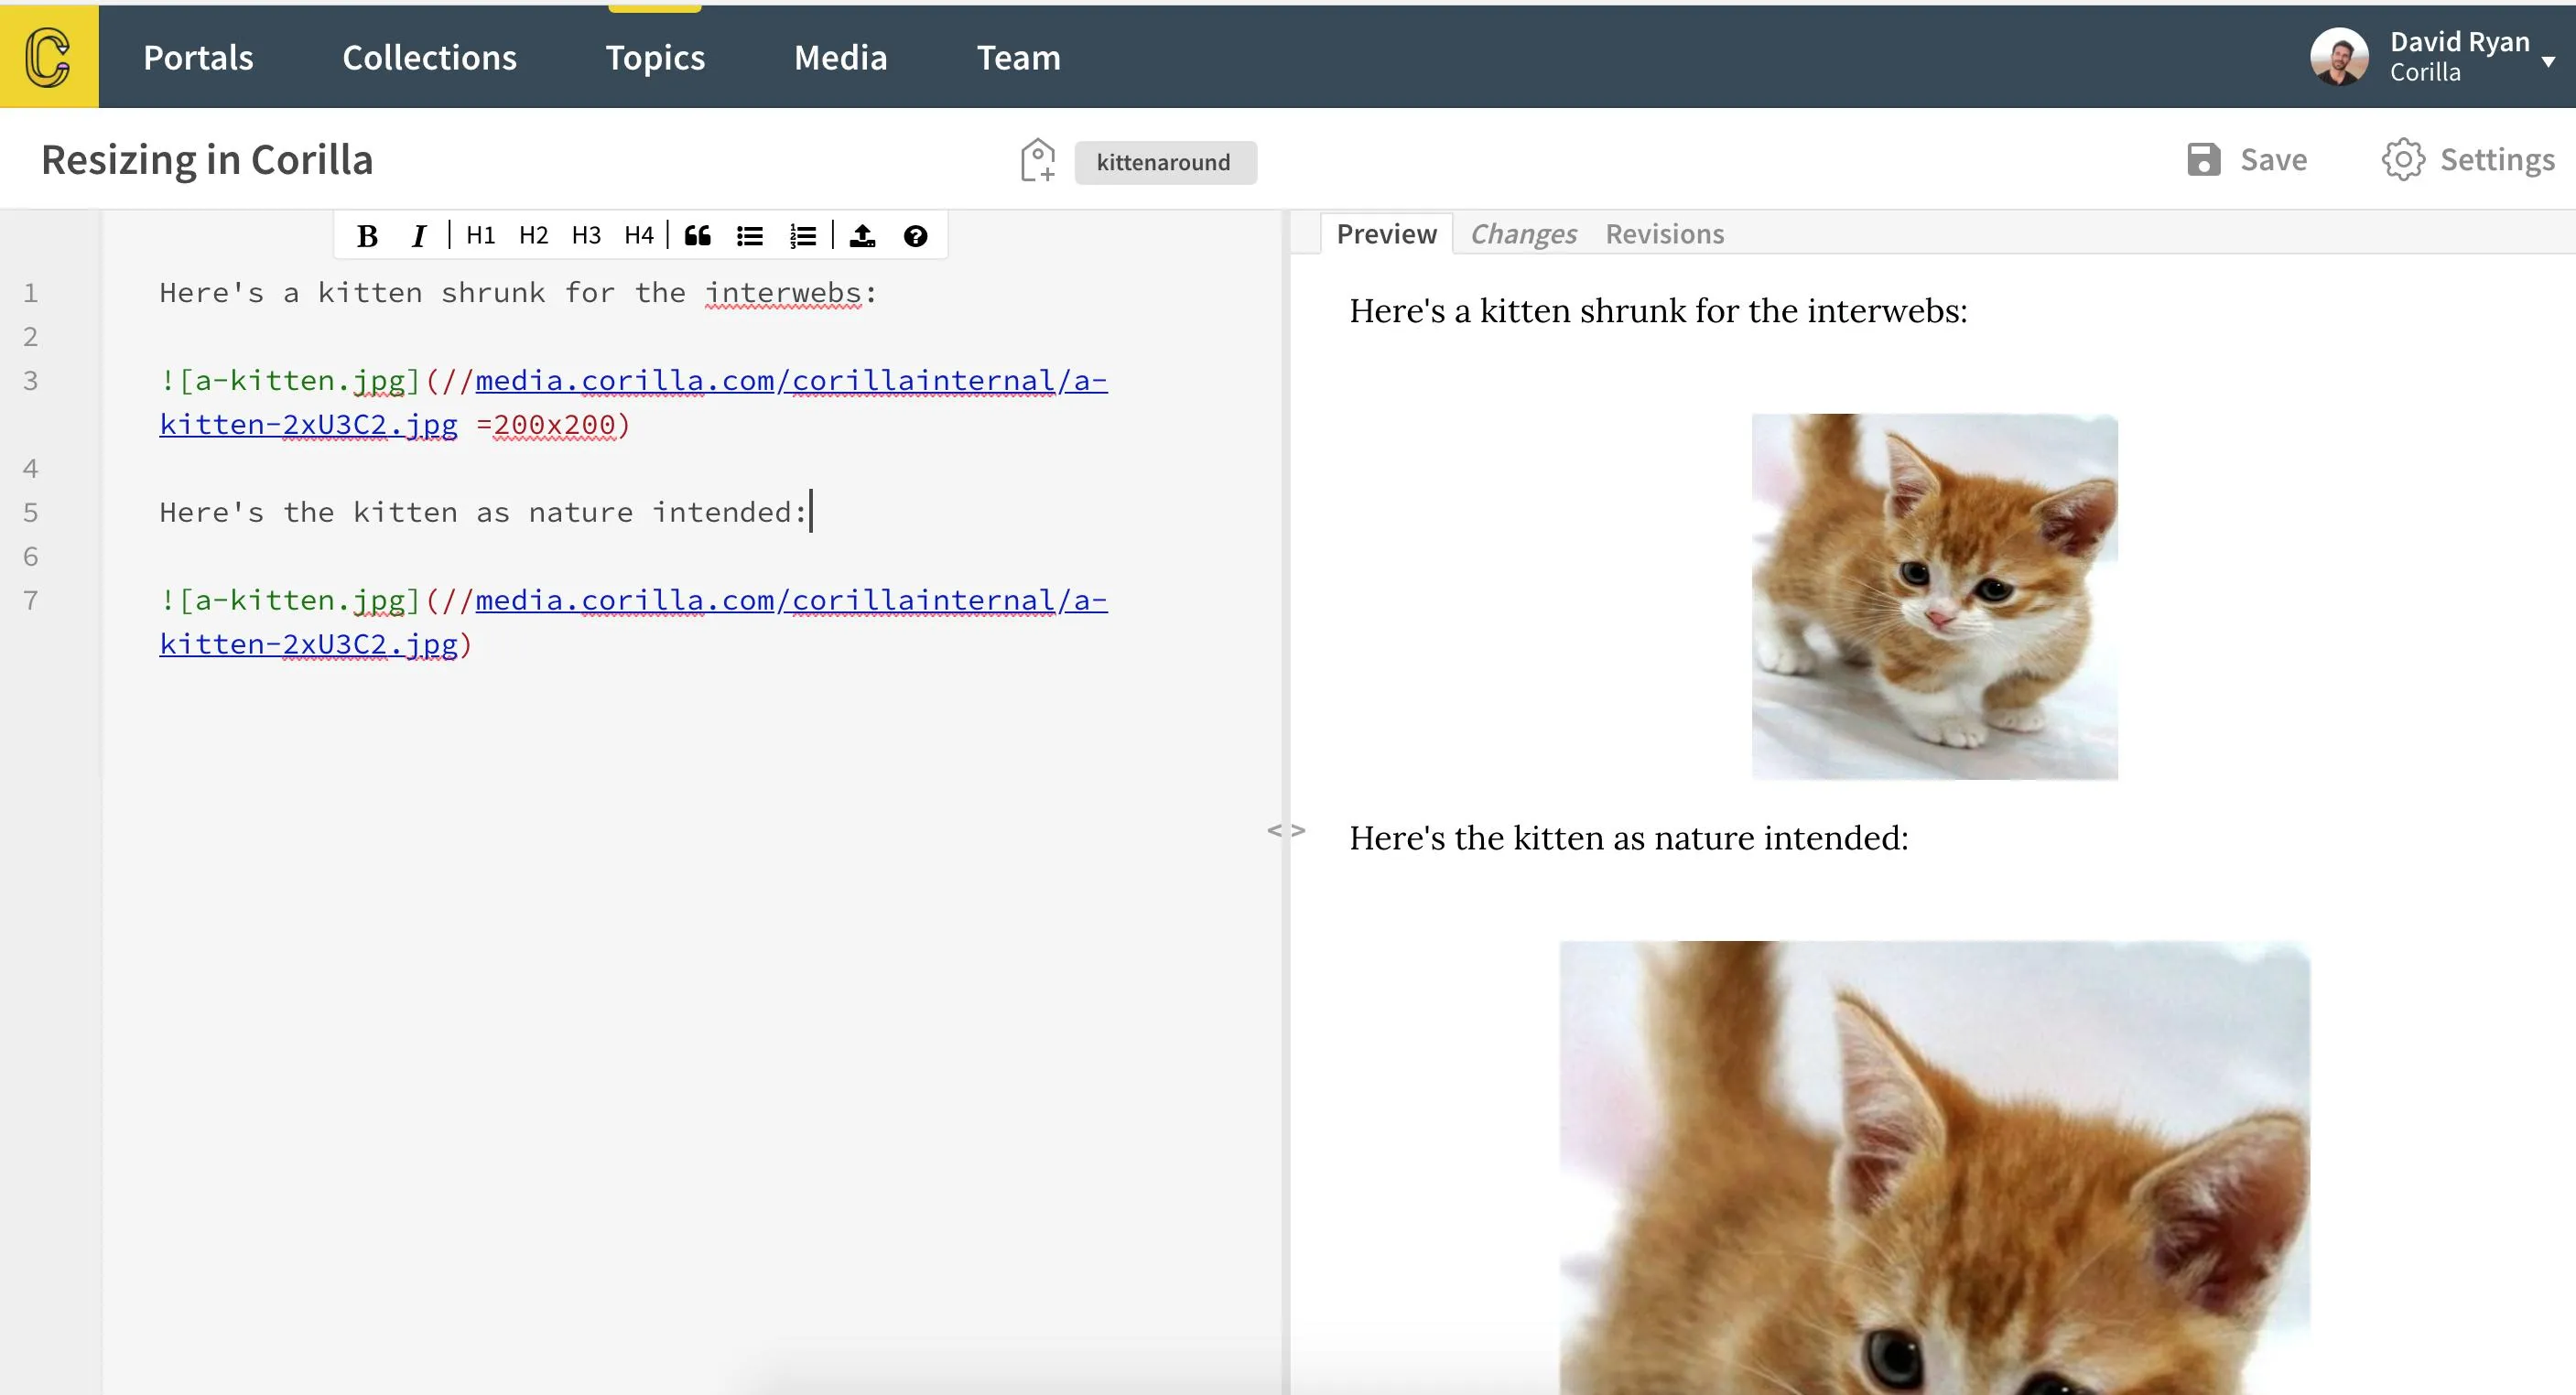
!是什么意思? - buhtz[text](URL)和图片。 - VonC{width=x height=y}约定。 - VonC{width=x height=y}的约定。 - undefined