如果我有一张背景图片,能否将其从另一张图片中移除并获取到所有的差异?比如:
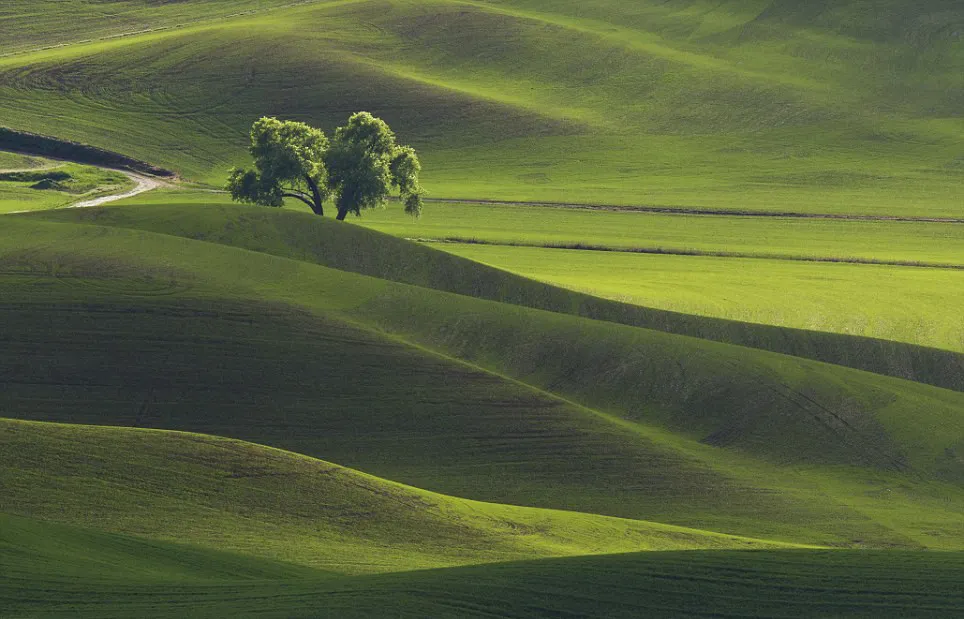
如果我有一张背景图片,能否将其从另一张图片中移除并获取到所有的差异?比如:
ImageChops模块具有减法操作:ImageChops.subtract(image1, image2, scale, offset) => image
Subtracts two images, dividing the result by scale and adding the offset.
If omitted, scale defaults to 1.0, and offset to 0.0.
out = (image1 - image2) / scale + offset
from PIL import Image
from PIL import ImageChops
image1 = Image.open("image1.jpg") # no cats
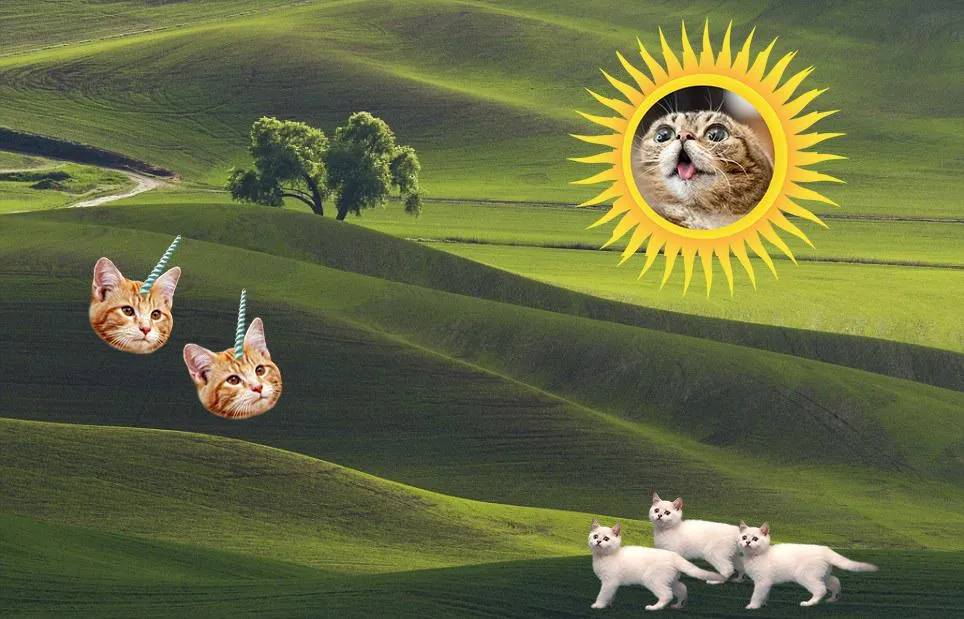
image2 = Image.open("image2.jpg") # with cats
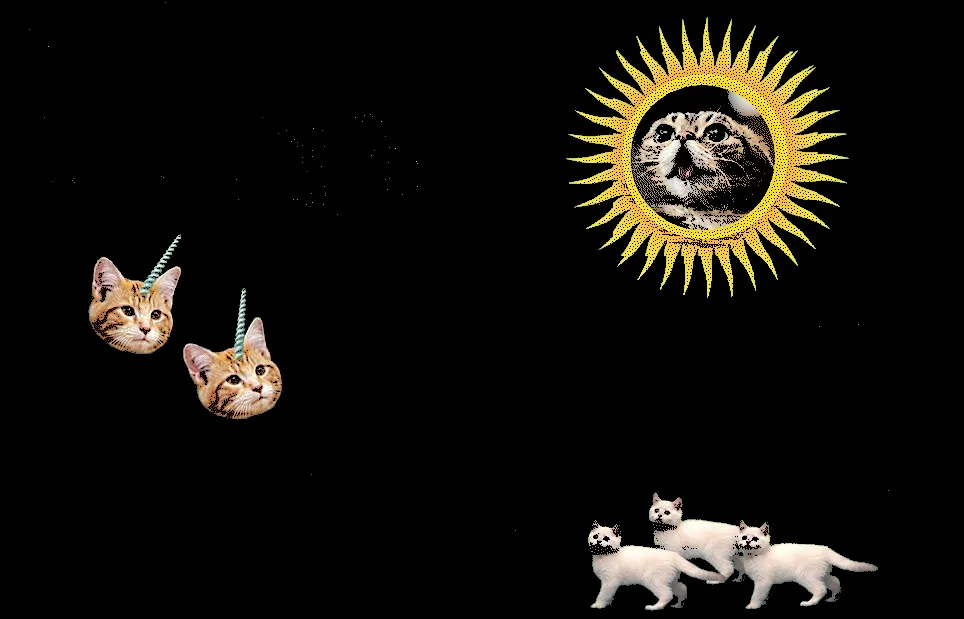
image = ImageChops.subtract(image2, image1)
mask1 = Image.eval(image, lambda a: 0 if a <= 24 else 255)
mask2 = mask1.convert('1')
blank = Image.eval(image, lambda a: 0)
new = Image.composite(image2, blank, mask2)
new.show()
它几乎可以工作 :-)
lambda a: 0 if a <= 24 else 255用于eval函数以获得合理的结果。
如果使用无损图像,则应该正常工作。然后,您应该使用0 if a == 0 else 255创建掩码。
请注意,如果某些“猫”像素意外地与背景像素相同,则它们将显示为黑色像素。
print image.info,print image.size等打印图像属性。请参见 http://effbot.org/imagingbook/image.htm#tag-Image.Image.verify。 - NZDRGB,另一个是RGBA。如果我使用image.convert('RGB')将第二张图片转换为RGB格式,它就可以工作了。 - NZDimage1 = Image.open("image3.png")然后print image1.mode。请参考http://effbot.org/imagingbook/image.htm#attributes - NZD