我想在我的SwiftUI应用程序中展示一个分隔线。为了达到这个目的,我尝试创建一个带有固定框架和背景颜色/边框的空视图:
EmptyView()
    .frame(width: 200, height: 2)
    .background(Color.black) // or:
    .border(Color.black, width: 2)
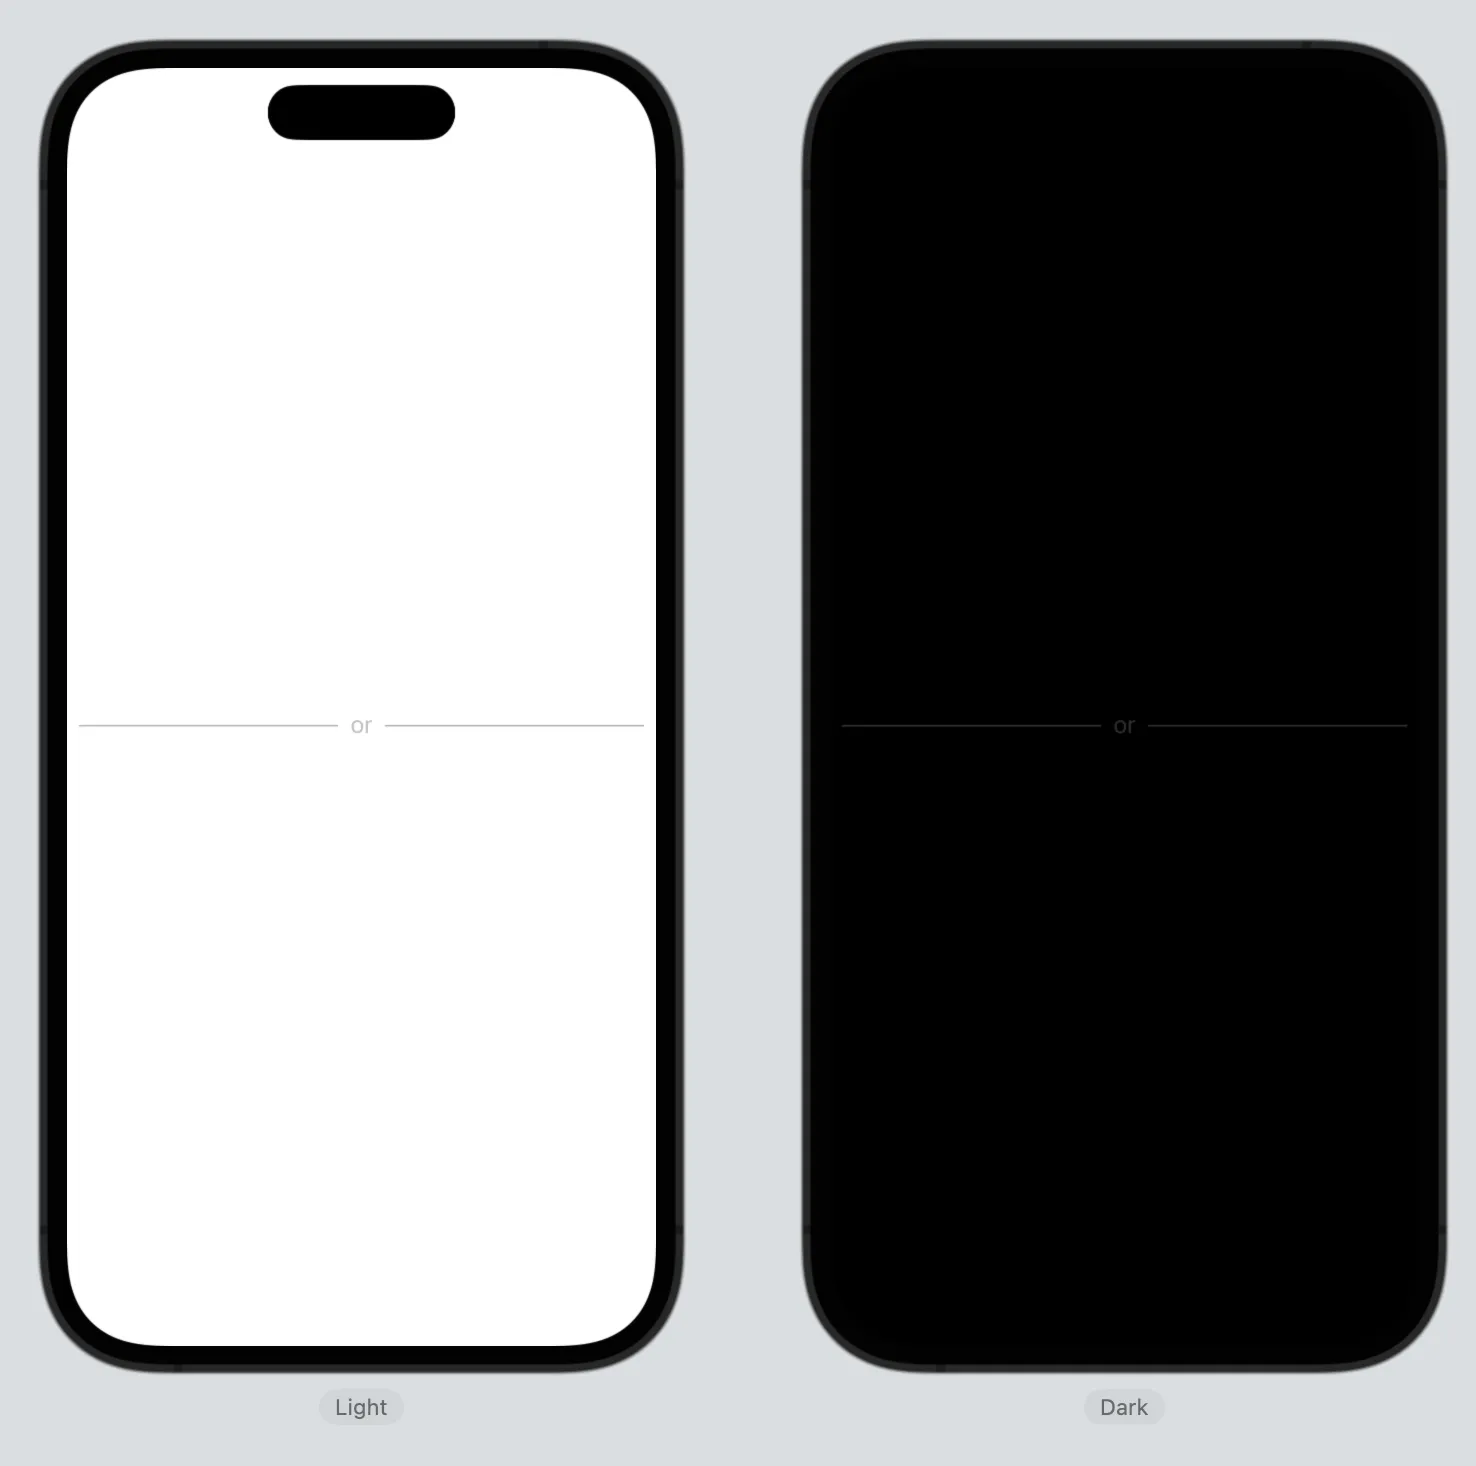
很遗憾,我看不到任何暗模式的显示。
有办法显示分隔符/线条视图吗?
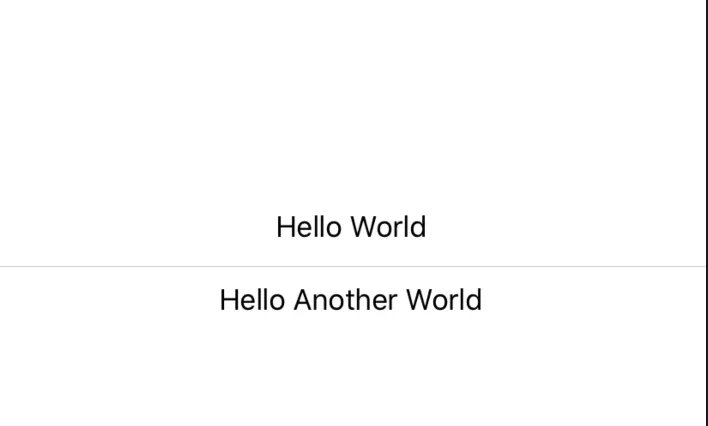
视图:
一种可用于分隔其他内容的视觉元素。
示例:
struct ContentView : View {
    var body: some View {
        VStack {
            Text("Hello World")
            Divider()
            Text("Hello Another World")
        }
    }
}
 }}
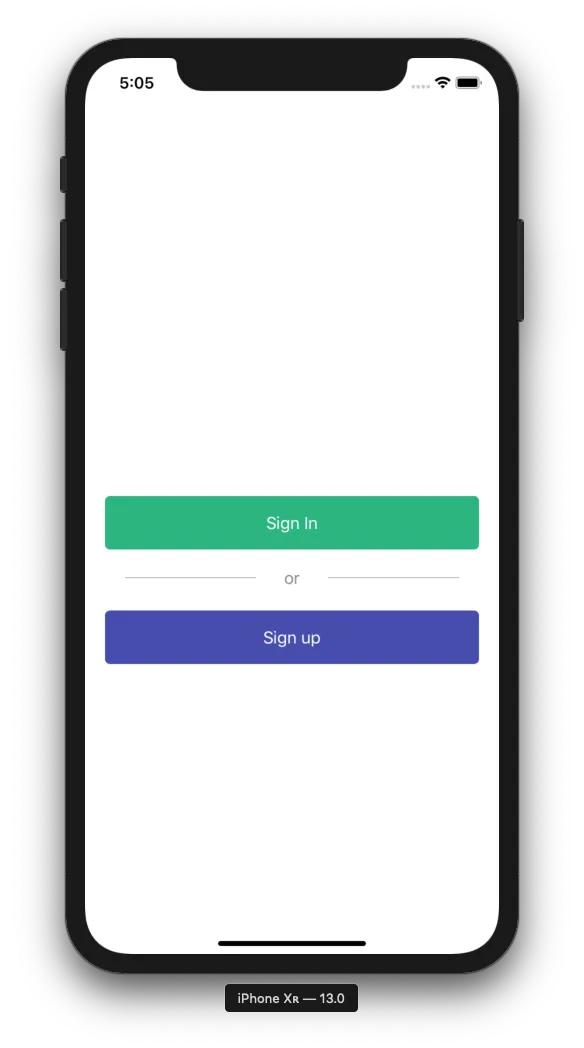
}}如果有人对这样看起来像这样的分隔符、文本、分隔符感兴趣:
LabelledDivider 代码struct LabelledDivider: View {
let label: String
let horizontalPadding: CGFloat
let color: Color
init(label: String, horizontalPadding: CGFloat = 20, color: Color = .gray) {
self.label = label
self.horizontalPadding = horizontalPadding
self.color = color
}
var body: some View {
HStack {
line
Text(label).foregroundColor(color)
line
}
}
var line: some View {
VStack { Divider().background(color) }.padding(horizontalPadding)
}
}
这看起来有些丑,但我不得不将Divider放到VStack中以使它们水平排列,否则,由于HStack,它们将是垂直排列的。如果您能简化此操作,请告诉我 :)
另外,也许对于LabelledDivider使用和存储属性可能不是最符合SwiftUI的解决方案,因此我可以接受改进。
这是导致上面屏幕截图的代码:
struct GetStartedView: View {
    var body: some View {
        NavigationView {
            VStack {

                NavigationLink(destination: SignInView()) {
                    Text("Sign In").buttonStyleEmerald()
                }

                LabelledDivider(label: "or")

                NavigationLink(destination: SignUpView()) {
                    Text("Sign up").buttonStyleSaphire()
                }

            }.padding(20)
        }
    }
}
为了完整起见,我还包括buttonStyle视图修饰符:
struct ButtonStyle: ViewModifier {

    private let color: Color
    private let enabled: () -> Bool
    init(color: Color, enabled: @escaping () -> Bool = { true }) {
        self.color = color
        self.enabled = enabled
    }

    dynamic func body(content: Content) -> some View {
        content
            .padding()
            .frame(minWidth: 0, maxWidth: .infinity, alignment: .center)
            .foregroundColor(Color.white)
            .background(enabled() ? color : Color.black)
            .cornerRadius(5)
    }
}

extension View {
    dynamic func buttonStyleEmerald(enabled: @escaping () -> Bool = { true }) -> some View {
        ModifiedContent(content: self, modifier: ButtonStyle(color: Color.emerald, enabled: enabled))
    }

    dynamic func buttonStyleSaphire(enabled: @escaping () -> Bool = { true }) -> some View {
        ModifiedContent(content: self, modifier: ButtonStyle(color: Color.saphire, enabled: enabled))
    }

}
编辑:请注意,Color.saphire 和 Color.emerald 是自定义声明的颜色:
extension Color {
    static var emerald:     Color { .rgb(036, 180, 126) }
    static var forest:      Color { .rgb(062, 207, 142) }
}

extension Color {
    static func rgb(_ red: UInt8, _ green: UInt8, _ blue: UInt8) -> Color {
        func value(_ raw: UInt8) -> Double {
            return Double(raw)/Double(255)
        }
        return Color(
            red: value(red),
            green: value(green),
            blue: value(blue)
        )
    }
}
Color.Radix.emerald 是什么? - fulvio.lineLimit(1).fixedSize() 以防止长翻译出现换行和省略号。 - Jannik Arndt您可以使用Color绘制一条线。如果您想要更改线宽或填充,可以像其他SwiftUI组件一样使用frame或padding。
//Horizontal Line in VStack
VStack{
    Color.gray.frame(height: 1 / UIScreen.main.scale)
}
//Vertical Line in HStack
HStack{
    Color.gray.frame(width: 1 / UIScreen.main.scale)
}
struct CustomDivider: View {
    let height: CGFloat = 1
    let color: Color = .white
    let opacity: Double = 0.2

    var body: some View {
        Group {
            Rectangle()
        }
        .frame(height: height)
        .foregroundColor(color)
        .opacity(opacity)
    }
}
回复变体 @Sajjon
修复:
struct LabelledDivider: View {

    let label: String
    let horizontalPadding: CGFloat
    let color: Color

    init(label: String, horizontalPadding: CGFloat = 8, color: Color = Color(UIColor.separator)) {
        self.label = label
        self.horizontalPadding = horizontalPadding
        self.color = color
    }

    var body: some View {
        HStack(alignment: .center, spacing: 0) {
            line
            Text(label)
                .font(.callout)
                .foregroundColor(color)
                .lineLimit(1)
                .fixedSize()
                .offset(y: -1)
            line
        }
    }

    var line: some View {
        VStack() { Divider().frame(height: 1).background(color) }.padding(horizontalPadding)
    }
}

struct PositionSampleView: View {
    var body: some View {

        LabelledDivider(label: "or")


    }

}
HStack {
    VStack {
        Divider()
    }
    Text("or")
        .font(.caption)
        .foregroundColor(Color(UIColor.systemGray))
    VStack {
        Divider()
    }
}
spacing设为零。即VStack(spacing: 0) {…}。 - 1-877-547-7272