在tesseract OCR文本识别中,最大的挑战之一是图像的不均匀照明。我需要一个算法,可以判断图像是否包含不均匀照明。
当我们使用大津二值化方法得到超过35%的黑色像素百分比时,我们可以检测到大约80%左右的不均匀照明图像。当照明发生在图像的一个小区域时,检测会失败。
提前感谢。
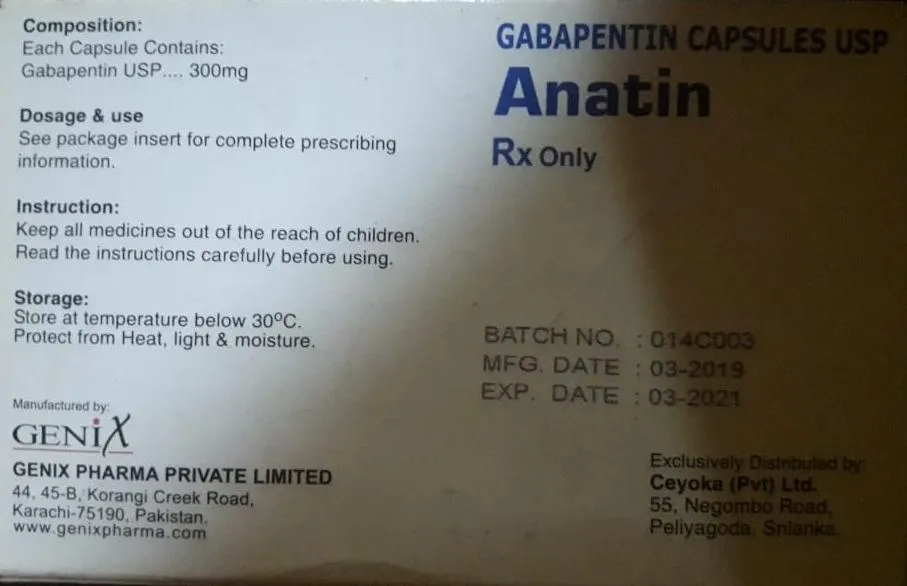
测试图像
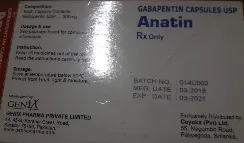
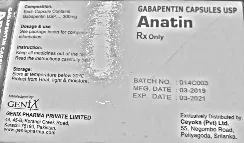
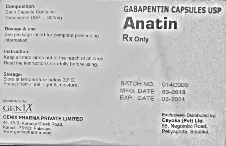
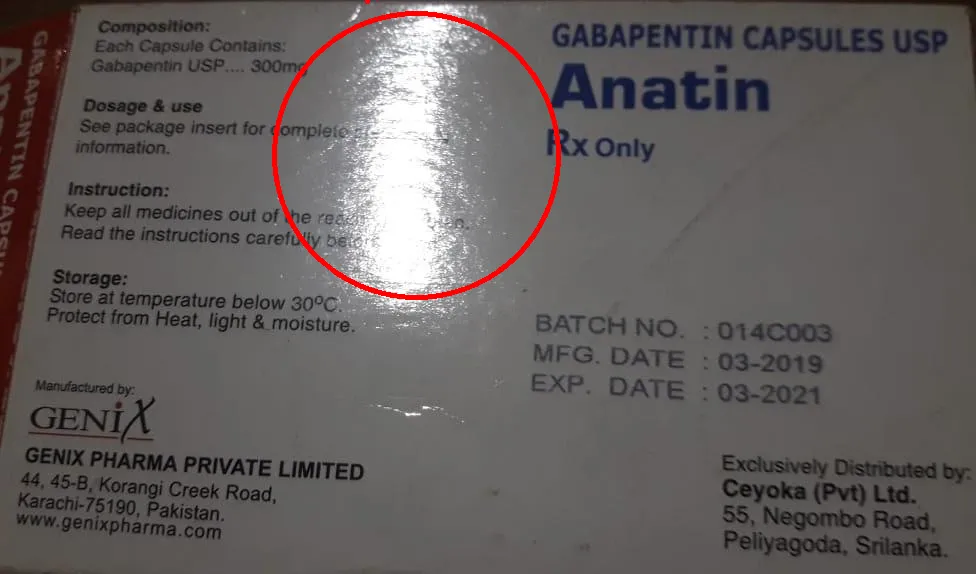
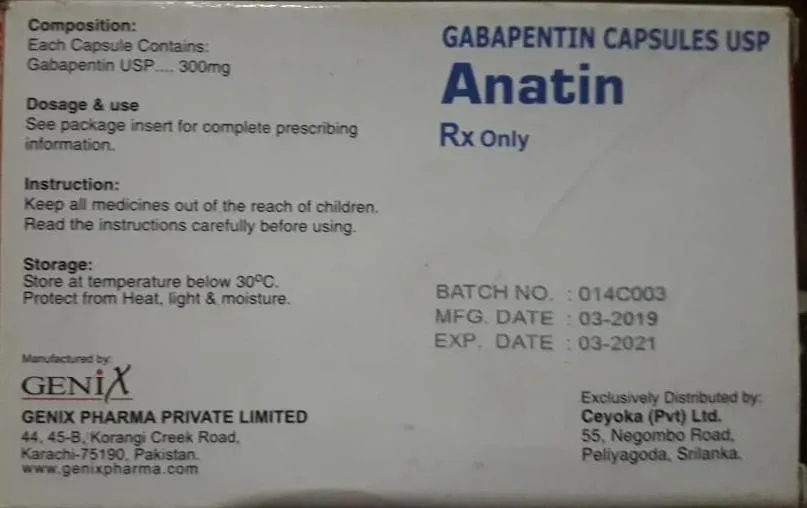
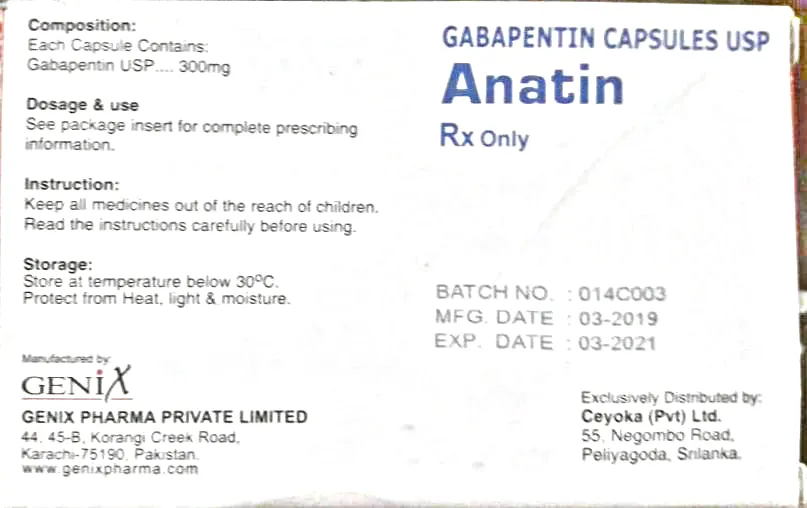
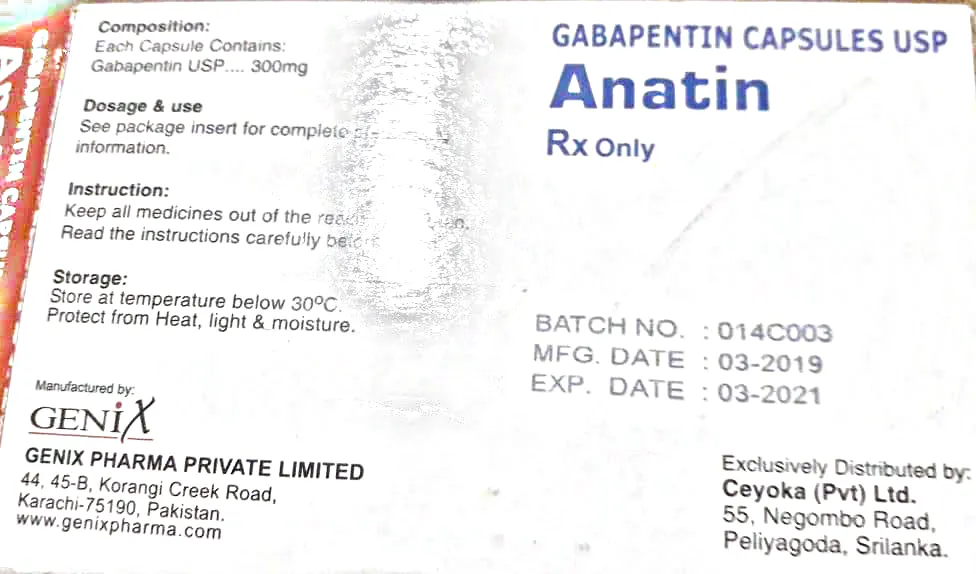
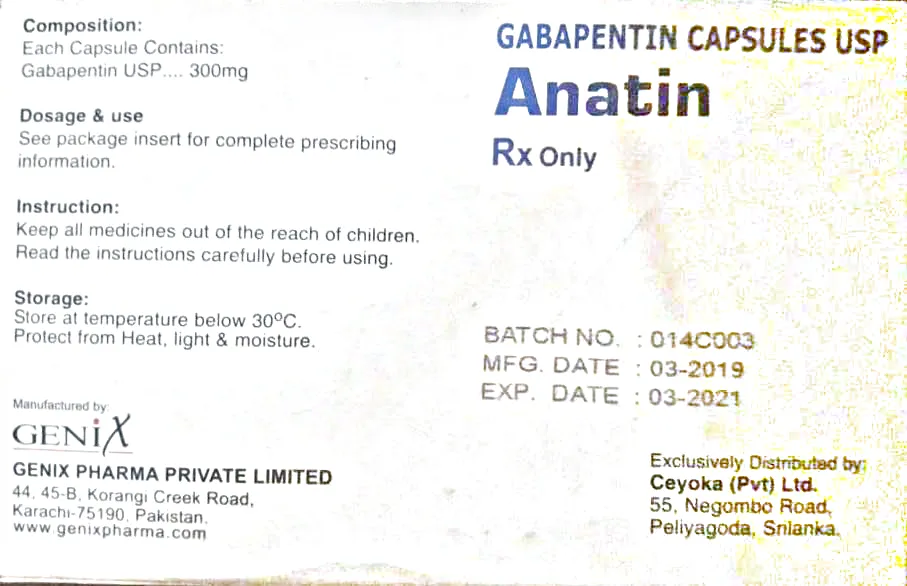
我附上了没有照明的图像、有光斑的图像(白斑图像)和包含阴影的图像的图像。
如果我们将一张图像给算法,该算法应该分为两类,如下:
- 没有不均匀照明 - 我们的
没有照明的图像将属于此类别。 - 不均匀照明 - 我们的
有光斑的图像(白斑图像)和包含阴影的图像将属于此类别。

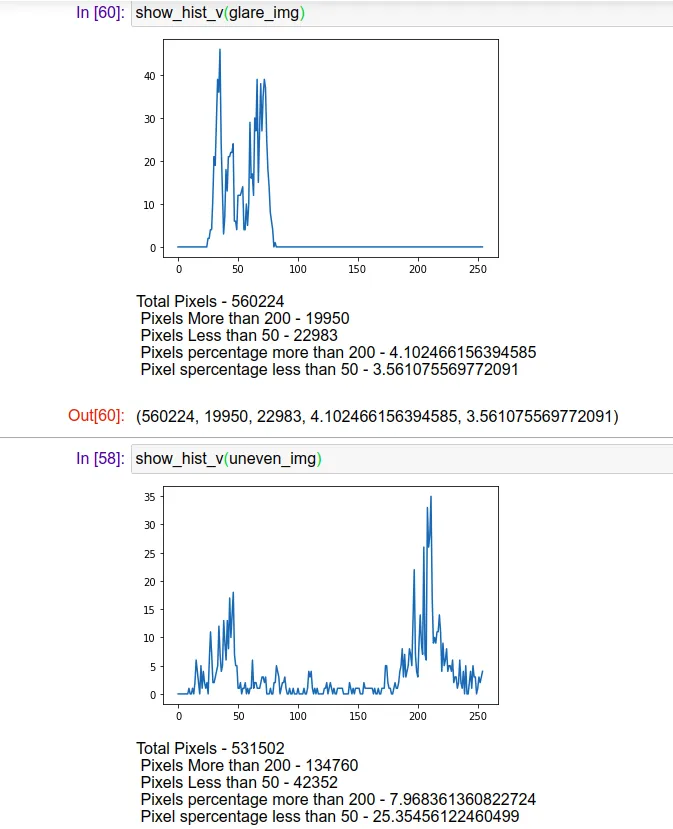
不均匀照明图像(眩光图像(白斑图像))B类

不均匀照明图像(包含阴影的图像)类别B
初始方法
将颜色空间转换为HSV
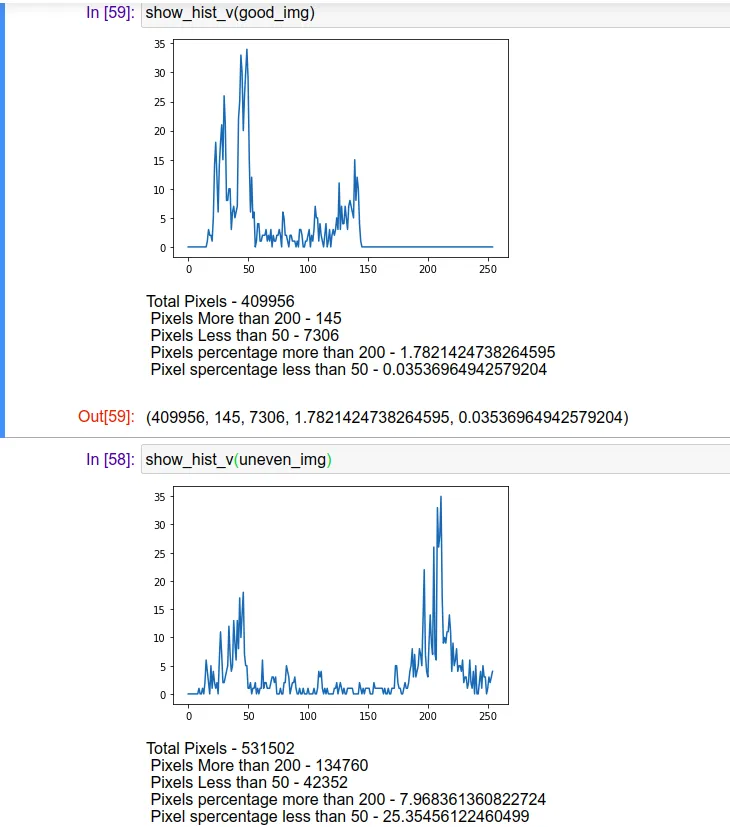
对HSV的值通道进行直方图分析,以识别不均匀的照明。
与前两个步骤不同,我们可以使用感知亮度通道代替HSV的值通道
设置低阈值以获取低于该阈值的像素数量
设置高阈值以获取高于该阈值的像素数量
低像素值百分比和高像素值百分比的比例来检测不均匀的光照条件(也要设置百分比的阈值)
def  show_hist_v(img_path):
    img = cv2.imread(img_path)
    hsv_img = cv2.cvtColor(img, cv2.COLOR_BGR2HSV)
    h,s,v  = cv2.split(hsv_img)
    histr =cv2.calcHist(v, [0], None, [255],[0,255])
    plt.plot(histr)
    plt.show()
    low_threshold =np.count_nonzero(v < 50)
    high_threshold =np.count_nonzero(v >200)
    total_pixels = img.shape[0]* img.shape[1]
    percenet_low =low_threshold/total_pixels*100
    percenet_high =high_threshold/total_pixels*100
    print("Total Pixels - {}\n Pixels More than 200 - {} \n Pixels Less than 50 - {} \n Pixels percentage more than 200 - {} \n Pixel spercentage less than 50 - {} \n".format(total_pixels,high_threshold,low_threshold,percenet_low,percenet_high))


    return total_pixels,high_threshold,low_threshold,percenet_low,percenet_high
那么有人可以改进我的初始方法或提供比这更好的方法来检测一般情况下图像中的不均匀照明吗?
此外,我尝试了感知亮度而不是值通道,因为值通道取(b,g,r)值的最大值,所以我认为感知亮度是一个不错的选择。
 def get_perceive_brightness( float_img):
    float_img = np.float64(float_img)  # unit8 will make overflow
    b, g, r = cv2.split(float_img)
    float_brightness = np.sqrt(
        (0.241 * (r ** 2)) + (0.691 * (g ** 2)) + (0.068 * (b ** 2)))
    brightness_channel = np.uint8(np.absolute(float_brightness))
    return brightness_channel

def  show_hist_v(img_path):
    img = cv2.imread(img_path)
    v = get_perceive_brightness(img)
    histr =cv2.calcHist(v, [0], None, [255],[0,255])
    plt.plot(histr)
    plt.show()
    low_threshold =np.count_nonzero(v < 50)
    high_threshold =np.count_nonzero(v >200)
    total_pixels = img.shape[0]* img.shape[1]
    percenet_low =low_threshold/total_pixels*100
    percenet_high =high_threshold/total_pixels*100
    print("Total Pixels - {}\n Pixels More than 200 - {} \n Pixels Less than 50 - {} \n Pixels percentage more than 200 - {} \n Pixel spercentage less than 50 - {} \n".format(total_pixels,high_threshold,low_threshold,percenet_low,percenet_high))


    return  total_pixels,high_threshold,low_threshold,percenet_low,percenet_high
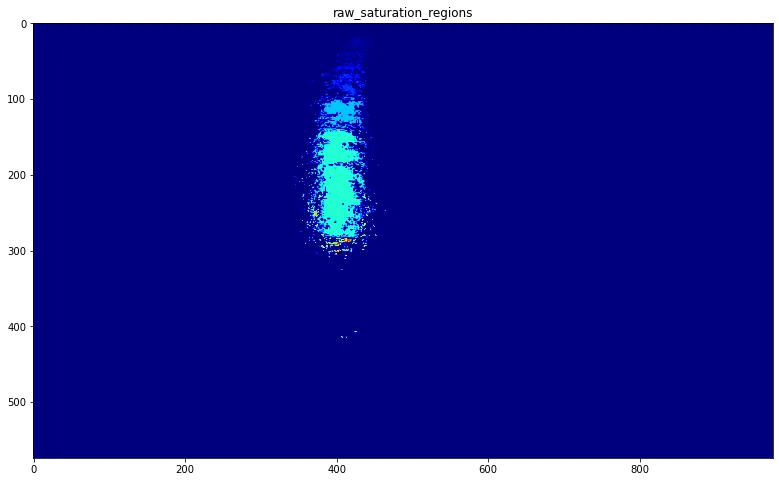
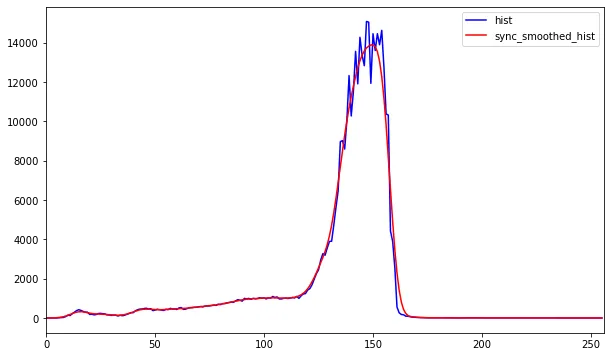
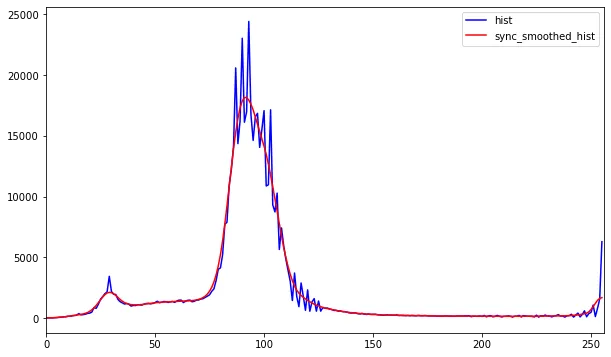
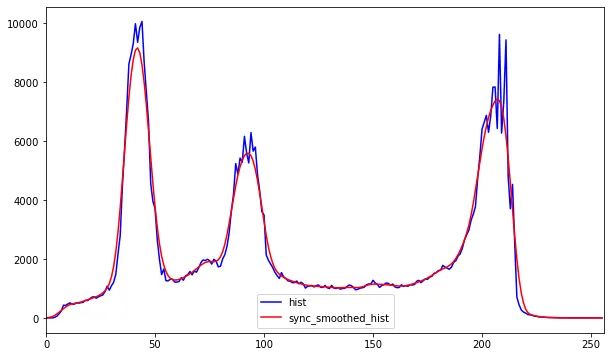
感知亮度通道的直方图分析

正如Ahmet所建议的。
def get_percentage_of_binary_pixels(img=None, img_path=None):
  if img is None:
    if img_path is not None:
      gray_img = cv2.imread(img_path, 0)
    else:
      return "No img or img_path"
  else:
    print(img.shape)
    if len(img.shape) > 2:
      gray_img = cv2.cvtColor(img, cv2.COLOR_BGR2GRAY)
    else:
      gray_img = img
  h, w = gray_img.shape
  guassian_blur = cv2.GaussianBlur(gray_img, (5, 5), 0)
  thresh_value, otsu_img = cv2.threshold(guassian_blur, 0, 255,
                                         cv2.THRESH_BINARY + cv2.THRESH_OTSU)
  cv2.imwrite("binary/{}".format(img_path.split('/')[-1]), otsu_img)
  black_pixels = np.count_nonzero(otsu_img == 0)
  # white_pixels = np.count_nonzero(otsu_img == 255)

  black_pixels_percentage = black_pixels / (h * w) * 100
  # white_pixels_percentage = white_pixels / (h * w) * 100

  return black_pixels_percentage
当我们使用大津二值化方法得到超过35%的黑色像素百分比时,我们可以检测到大约80%左右的不均匀照明图像。当照明发生在图像的一个小区域时,检测会失败。
提前感谢。


normalize。 - Spektre